

When your website goes live, it’s generally accessible to users worldwide. However, there might be instances where you want to block IP address from specific countries. To address this, you can set up firewall measures to block IP addresses from those countries. This article will explain two methods to set up firewalls on Siteground and Hostinger servers:
- Using the server’s built-in features: This guide will show how to set up on SiteGround. If you use a different server, you should check with their customer support to see if such features are available in their dashboard.
- Using the .htaccess file: If your hosting provider does not offer built-in firewall features, you can manually set up firewall rules using the .htaccess file. This guide will demonstrate the steps for Hostinger.
Block IP Address Using SiteGround's Dashboard
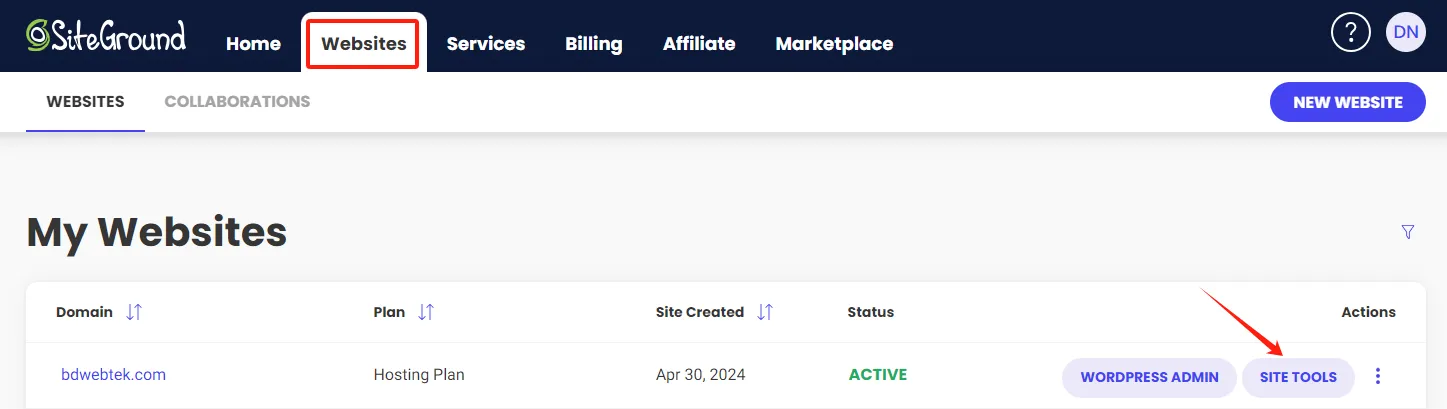
Step 1. Log in to SiteGround, select the website you want to block IP address, and click “SITE TOOLS.”
Step 2. In the SITE TOOLS dashboard, click on “Blocked Traffic” under the “Security” section on the left sidebar.

Step 3. Click on “BLOCK COUNTRY,” select the countries you want to block, and click “BLOCK.” You can repeat this step to block multiple countries.

Step 4. You have successfully blocked a country. To unblock, click the trash icon in the bottom right.

To block IP address using SiteGround’s built-in feature is very convenient. However, not all hosting providers offer such features. It’s recommended to check with your provider’s customer support or search their website for related documentation, such as “Block country IP,” “Block country,” “Block IP,” etc. Now, let’s move on to the more universal method using the .htaccess file.
Blocking Country IPs Using the .htaccess File on Hostinger
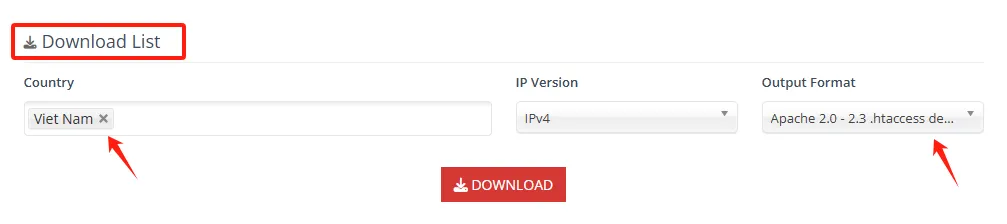
Step 1. Visit the IP2Location Firewall IP list tool, scroll down to “Download list,” select the country, choose the appropriate format for your web server in the “Output Format” dropdown (e.g., “Apache 2.0-2.3 .htaccess deny” for Hostinger), and click “DOWNLOAD.”
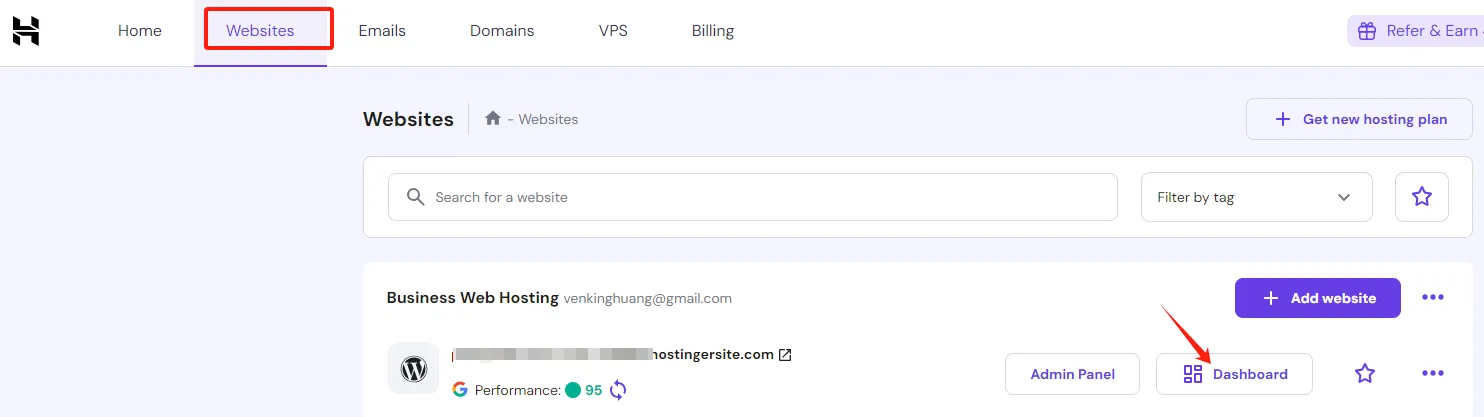
Step 2. Log in to Hostinger, go to the Dashboard of the website you want to configure.
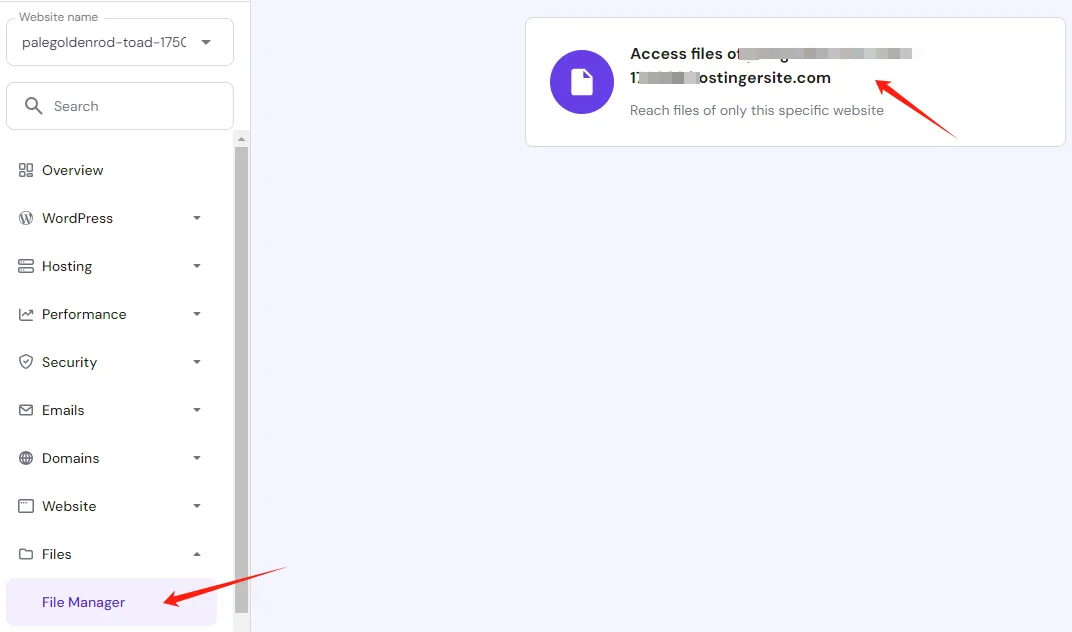
Step 3. Access the “File Manager.”
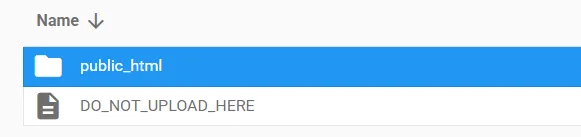
Step 4. Double-click on “public_html.”
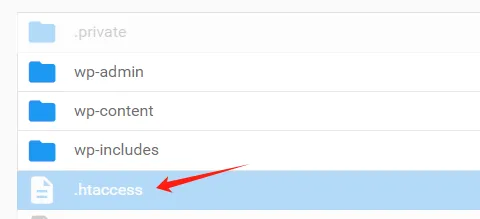
Step 5. Locate and double-click the .htaccess file.
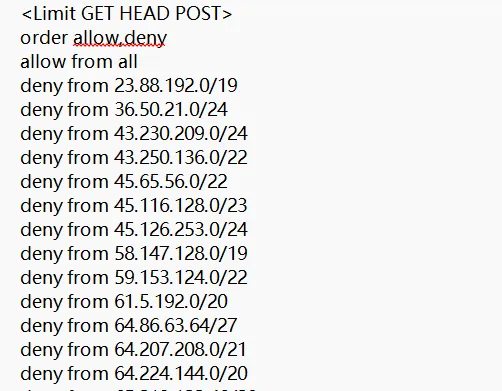
Step 6. Open the downloaded file from IP2Location, which contains many IP addresses.
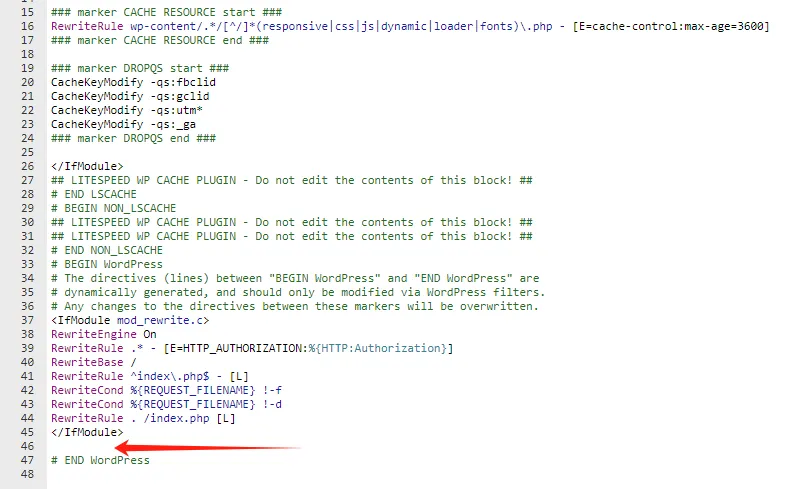
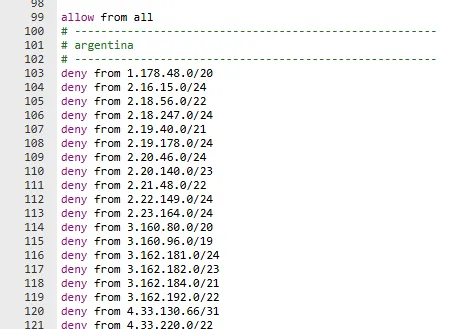
Step 7. In the .htaccess file, scroll to the bottom, and paste the IP addresses from the IP2Location file. You can separate multiple countries with “#————-” like this:
Step 8. Save the .htaccess file by clicking the save button in the top right.
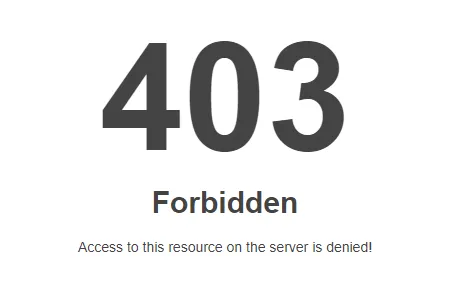
Step 9. Test by accessing your website from an IP address in the blocked country to ensure it’s working.
By following these steps, you can effectively block IPs from specific countries, enhancing your website’s security and control.