
PayPal is a globally renowned online payment platform widely used in cross-border e-commerce, service transactions, and online shopping. For businesses, registering a PayPal business account not only facilitates receiving payments from global customers but also provides numerous professional benefits, such as higher transaction limits, enterprise-grade fund management tools, invoicing services, and 24/7 customer support. Whether you aim to enhance cash flow or optimize customer payment experiences, a PayPal business account is an ideal choice. Below, I will guide you step-by-step on how to register a PayPal business account from scratch.
1. Visit the PayPal Website
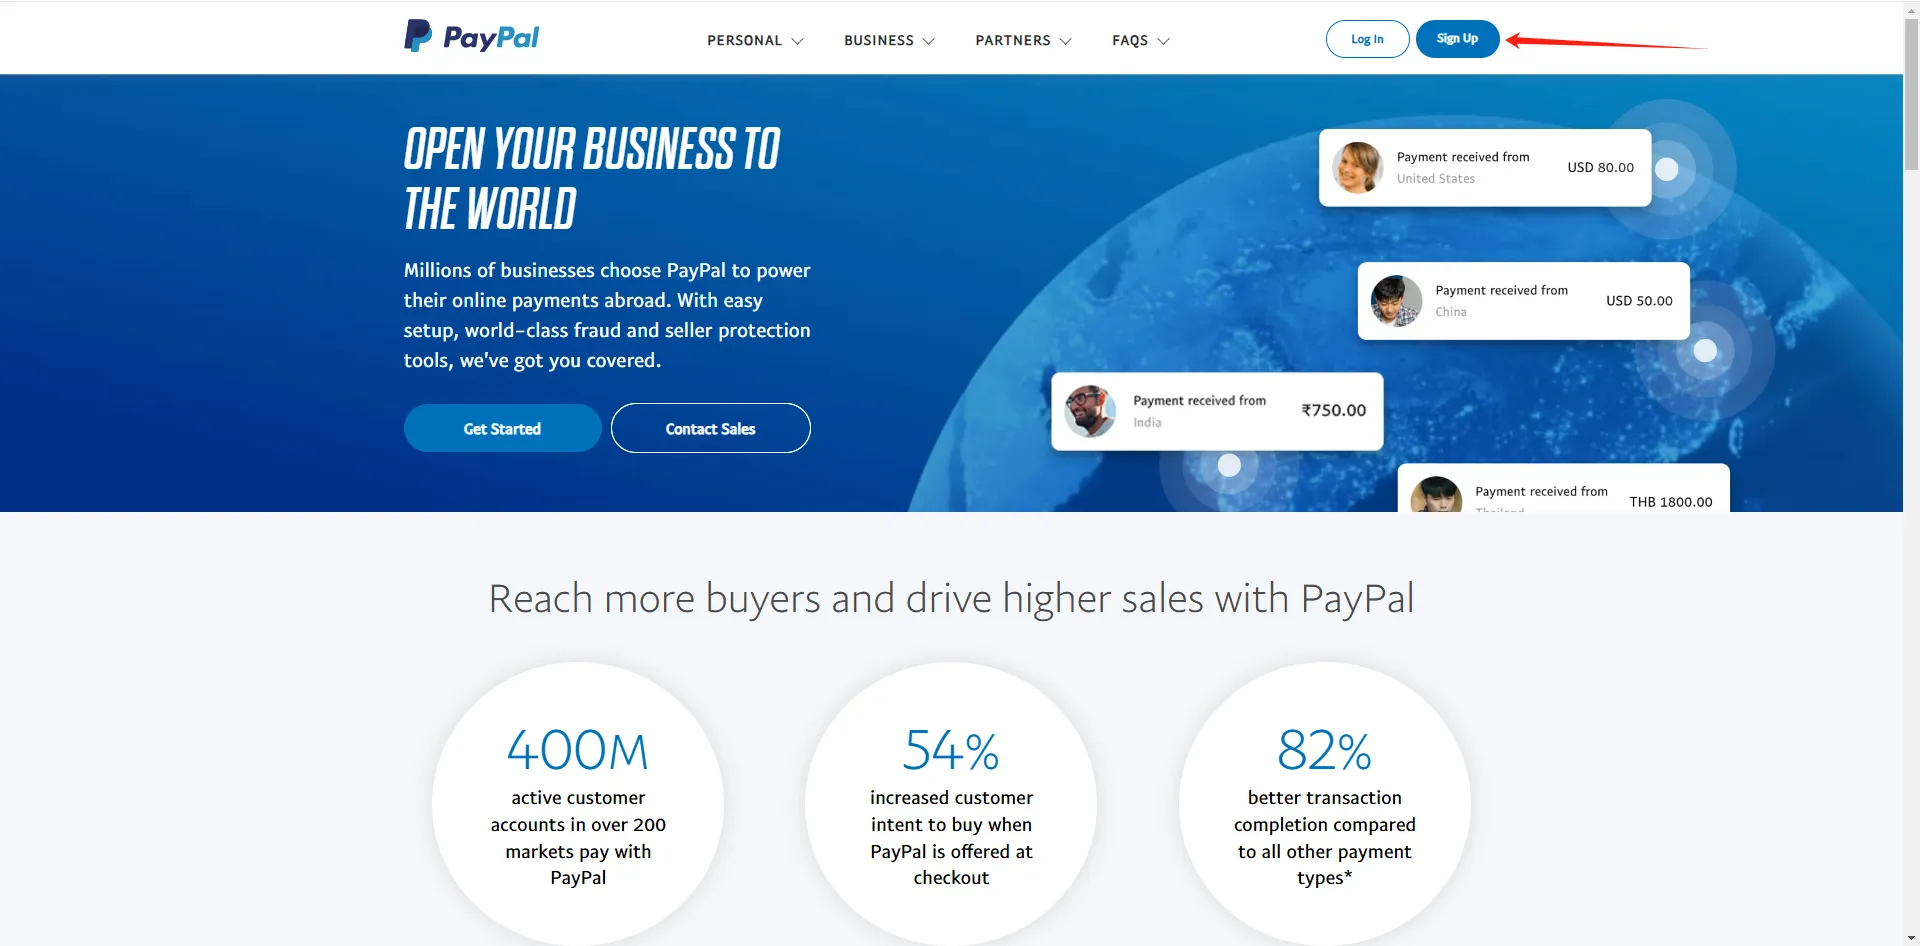
Navigate to the PayPal website and click Sign Up to enter the registration page.
If you need to switch languages, you can do so at the bottom of the webpage.

2. Choose Business Account
PayPal offers both personal and business accounts. To enjoy more comprehensive features such as receiving payments for e-commerce websites and service transactions, as well as higher transaction limits and enterprise-level tools, select the Business Account option.

3. Create an Account
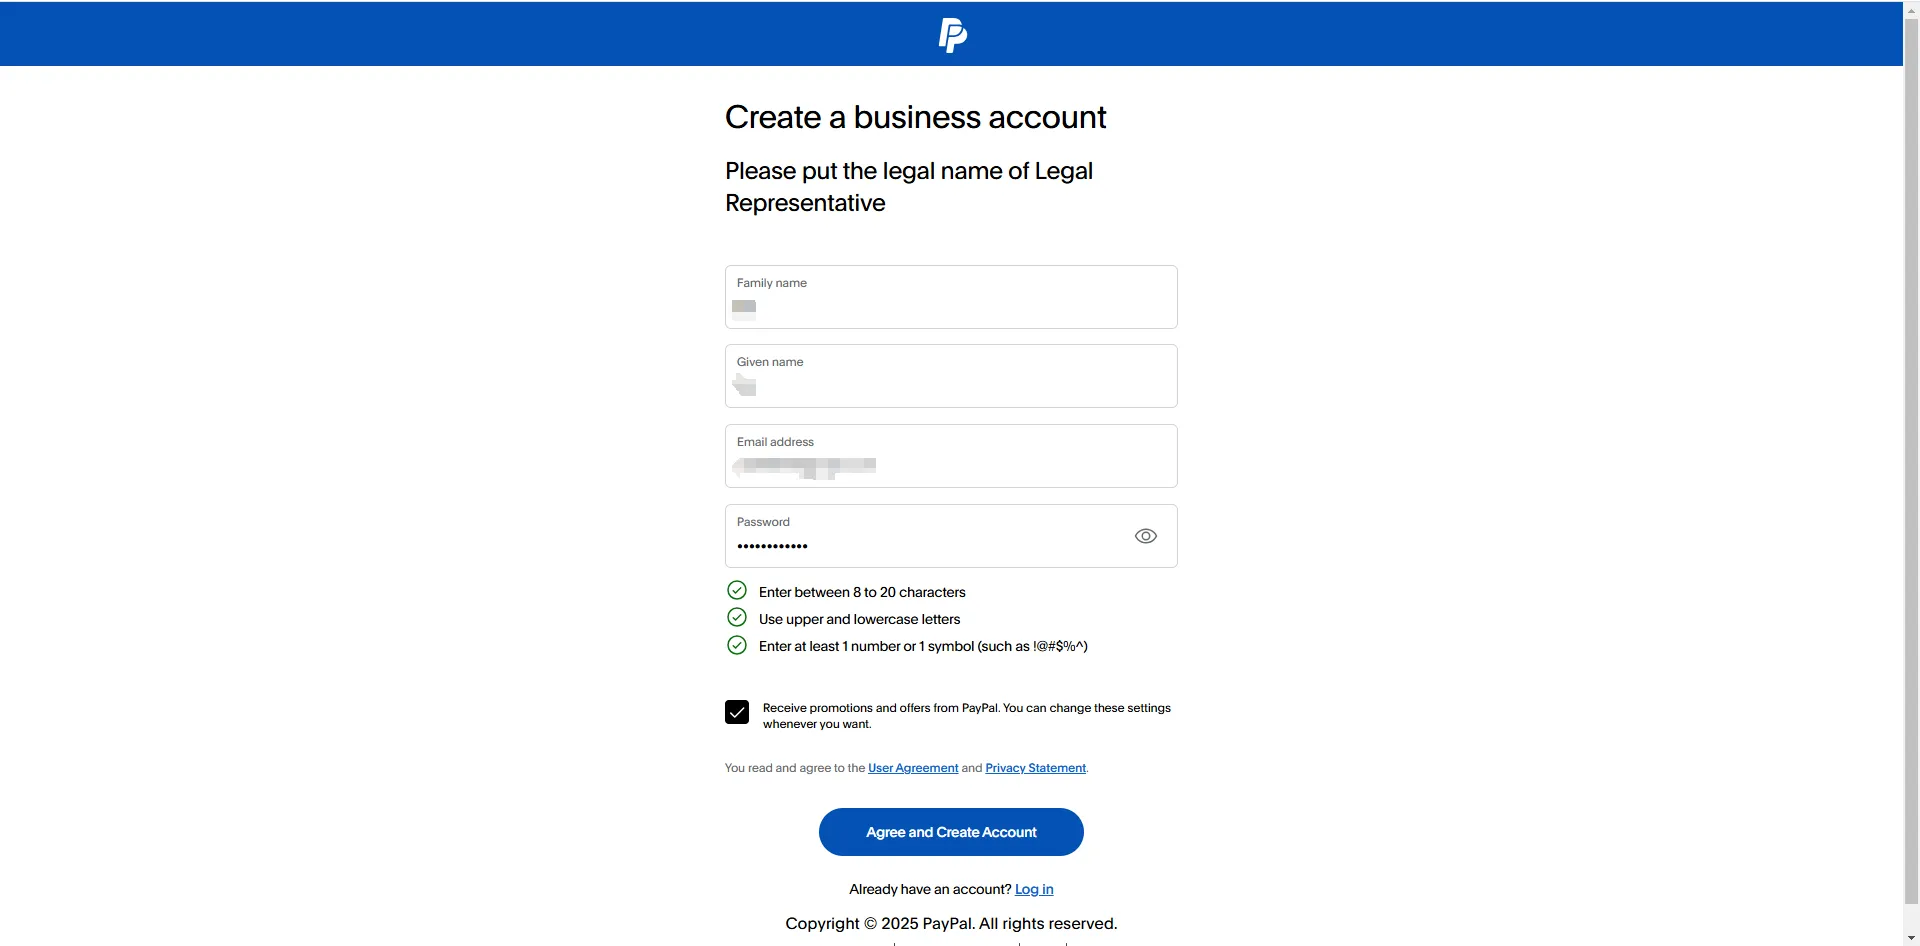
On the account creation page, fill in the required fields, including the business owner’s first and last name, email address, and a password. The password must include numbers, uppercase and lowercase letters, and special characters.
4. Account Verification
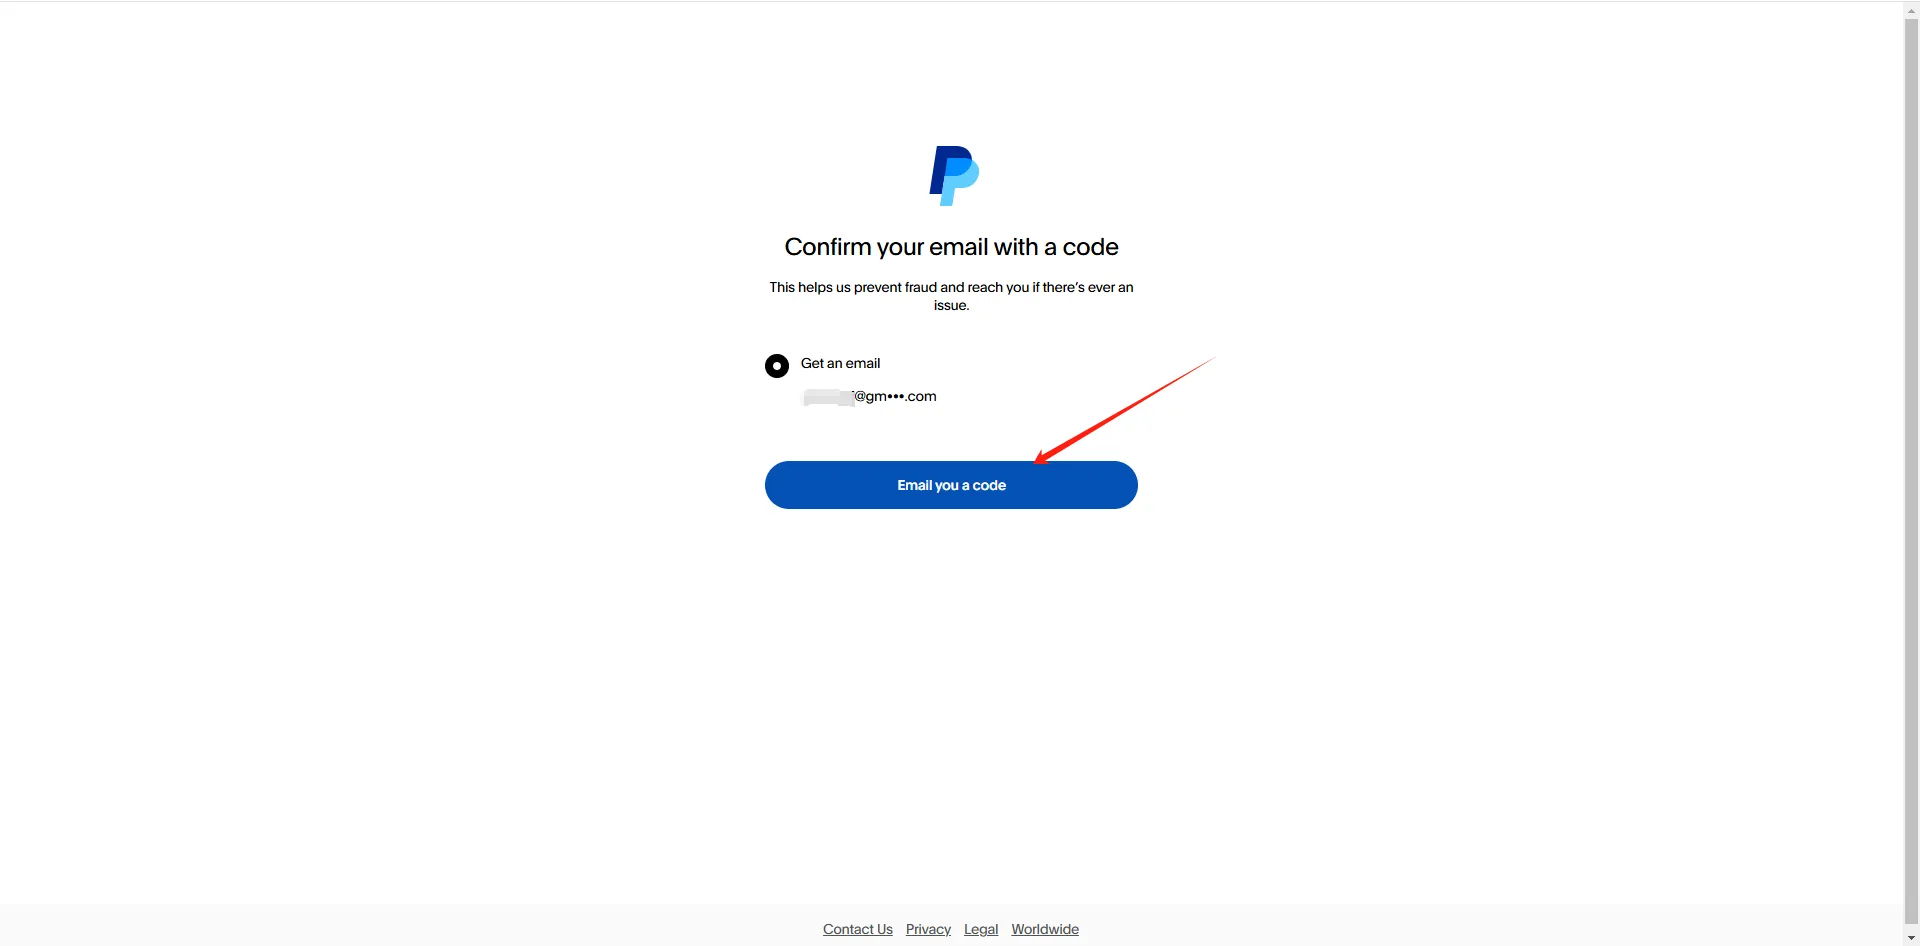
PayPal will send a verification code to the email address you provided. Enter the code to complete the verification.
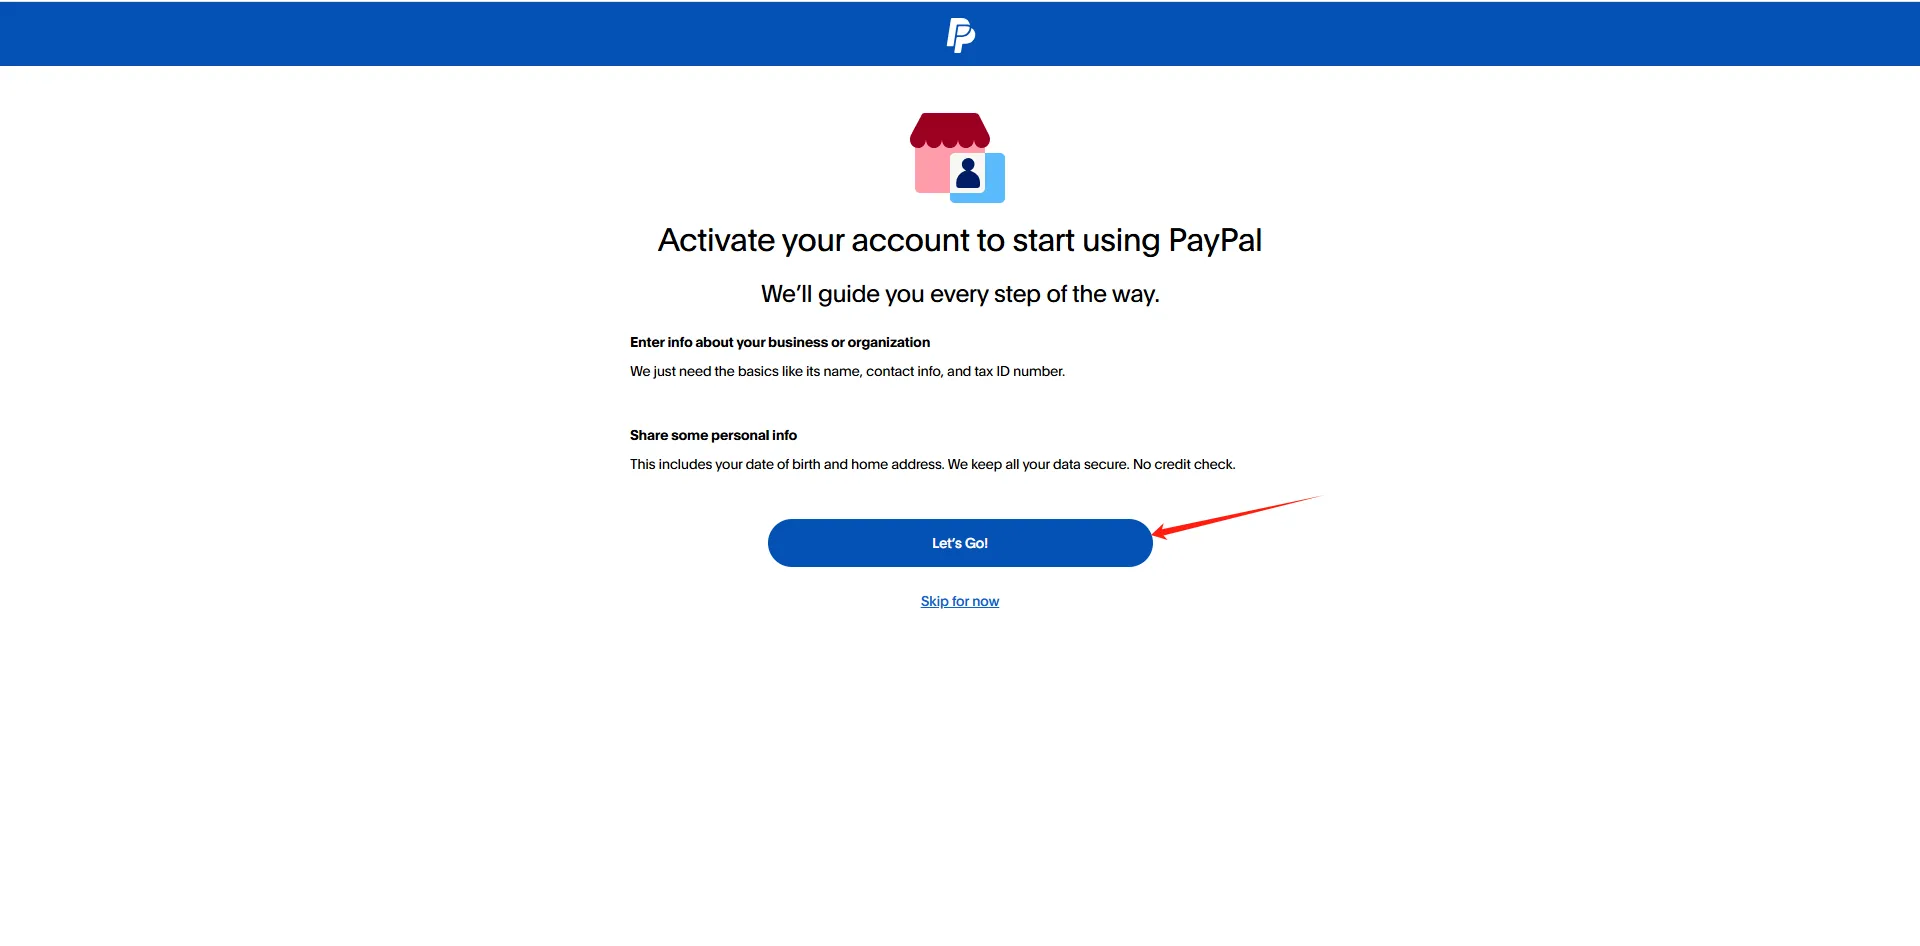
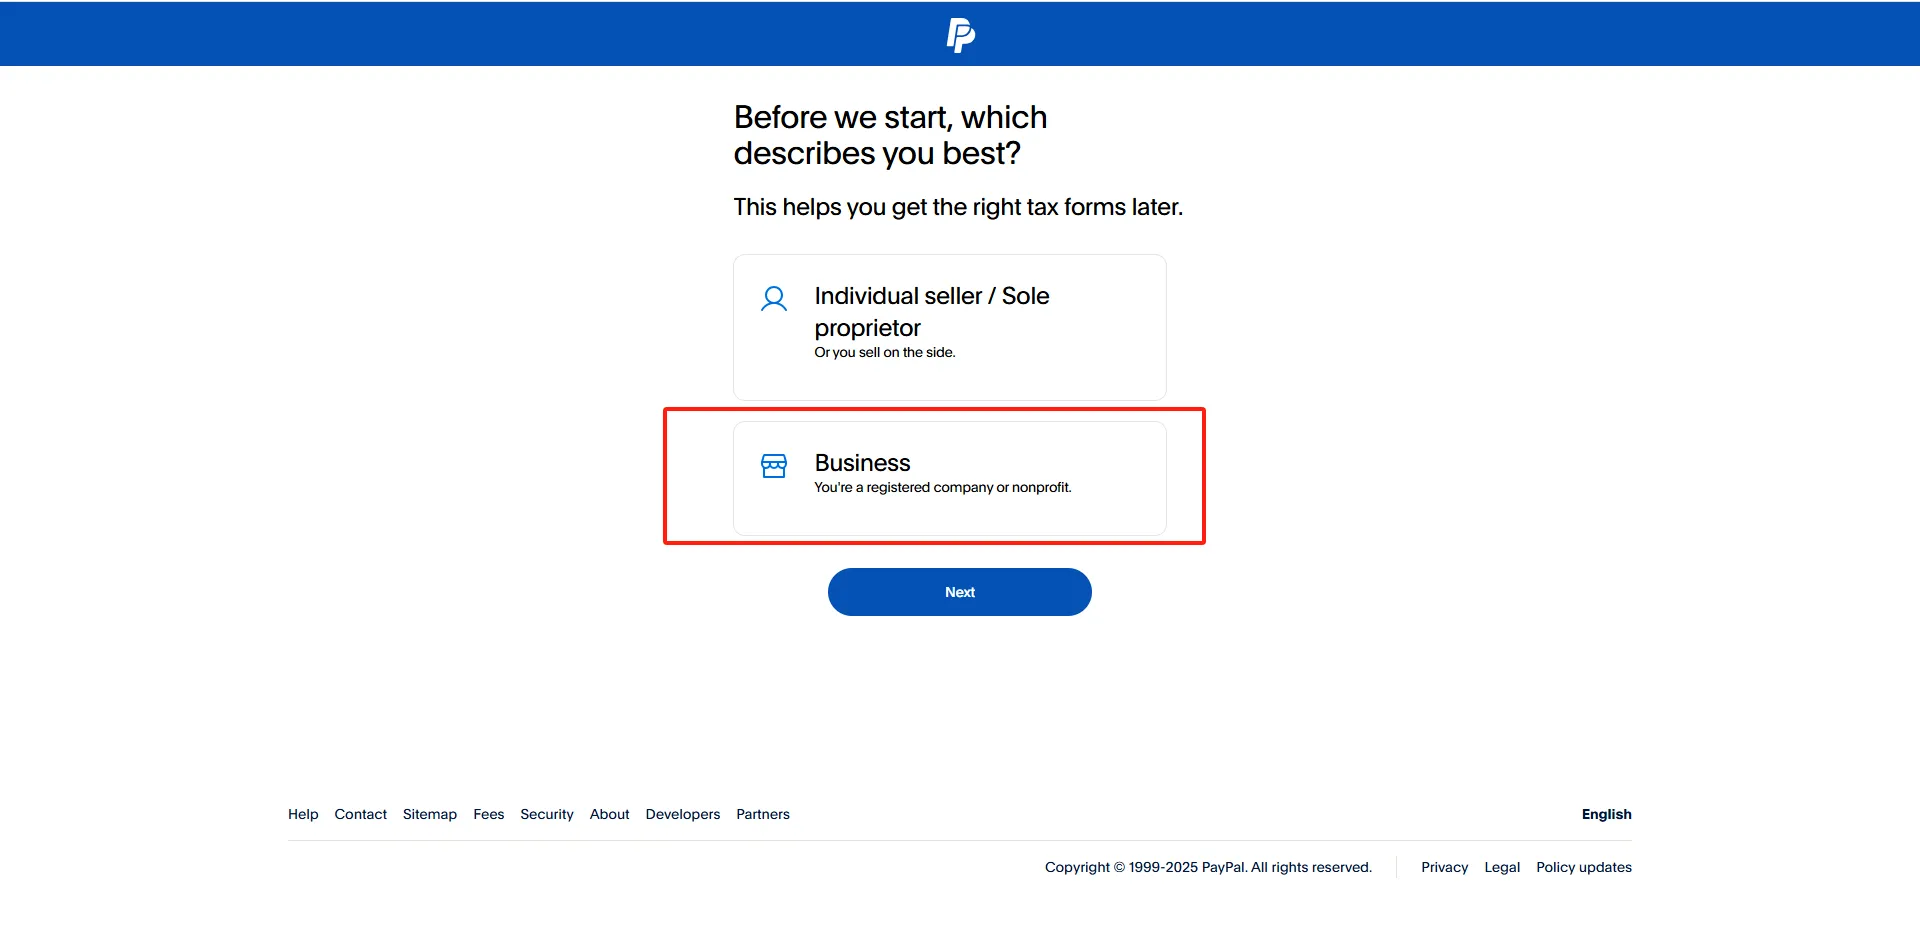
After verification, you will see a new page prompting you to choose the account type again.
Select Business Account.
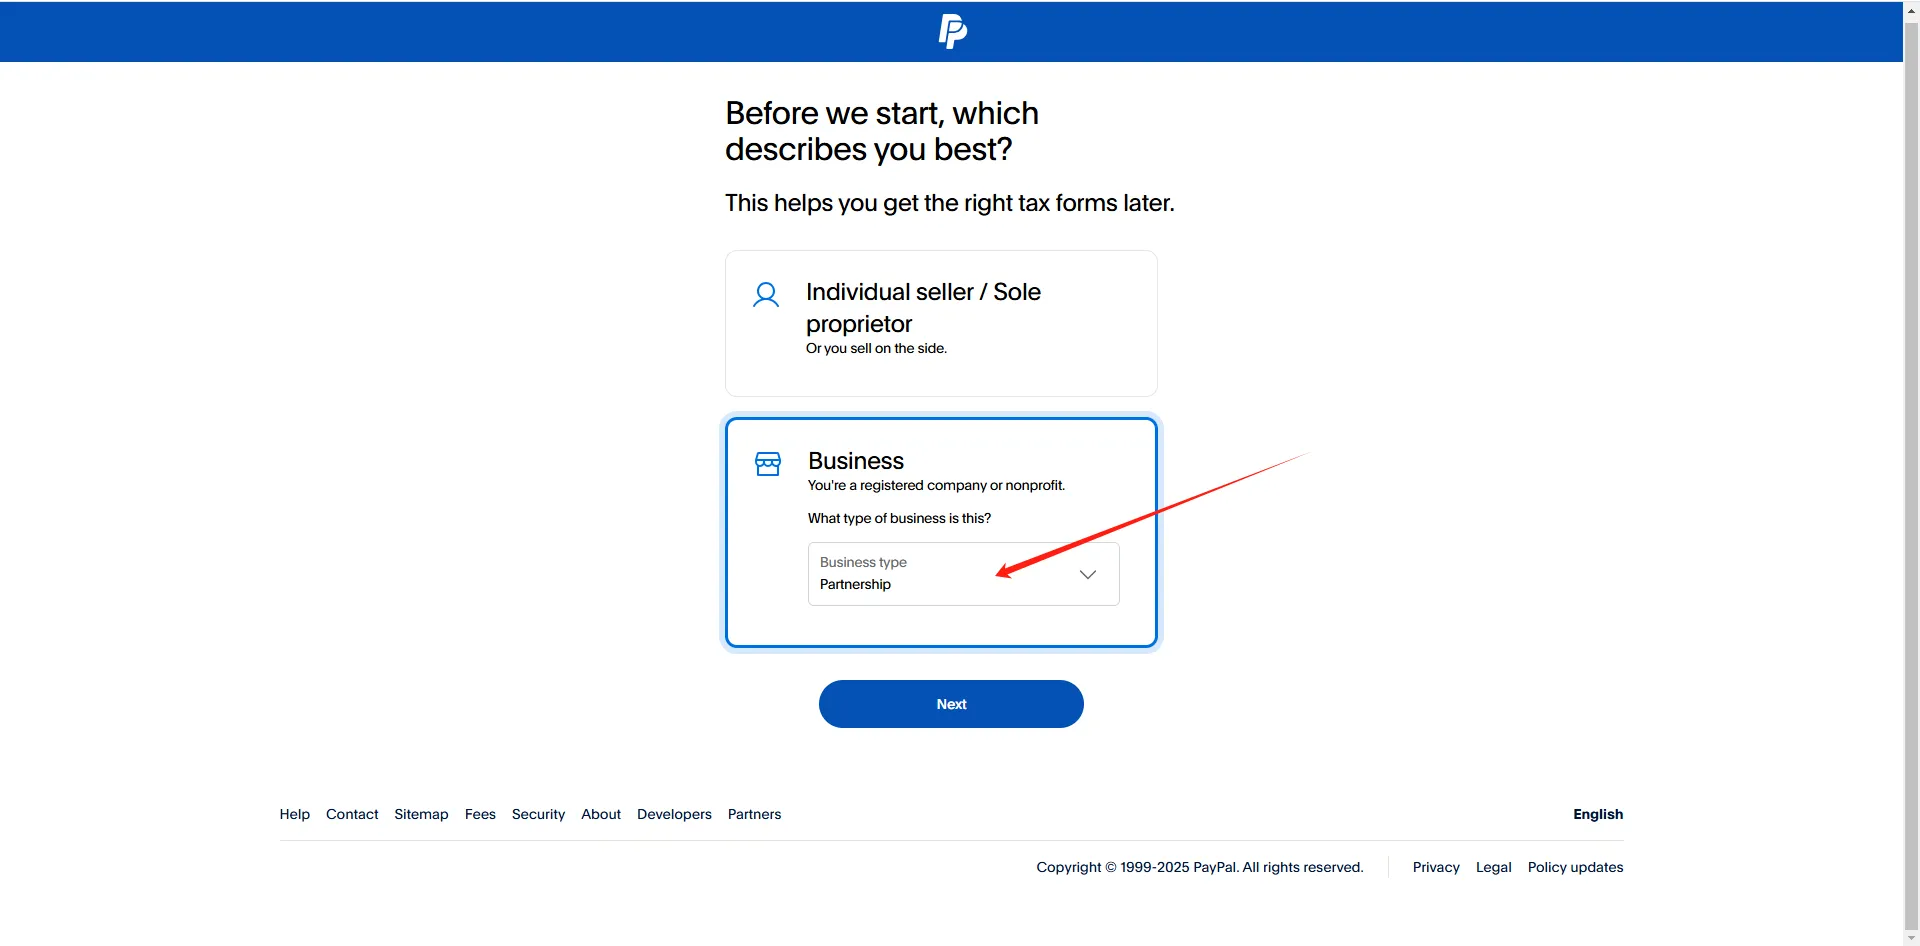
Next, choose your business type: Partnership, Private Enterprise, or Public Company. Make a selection based on your actual situation.
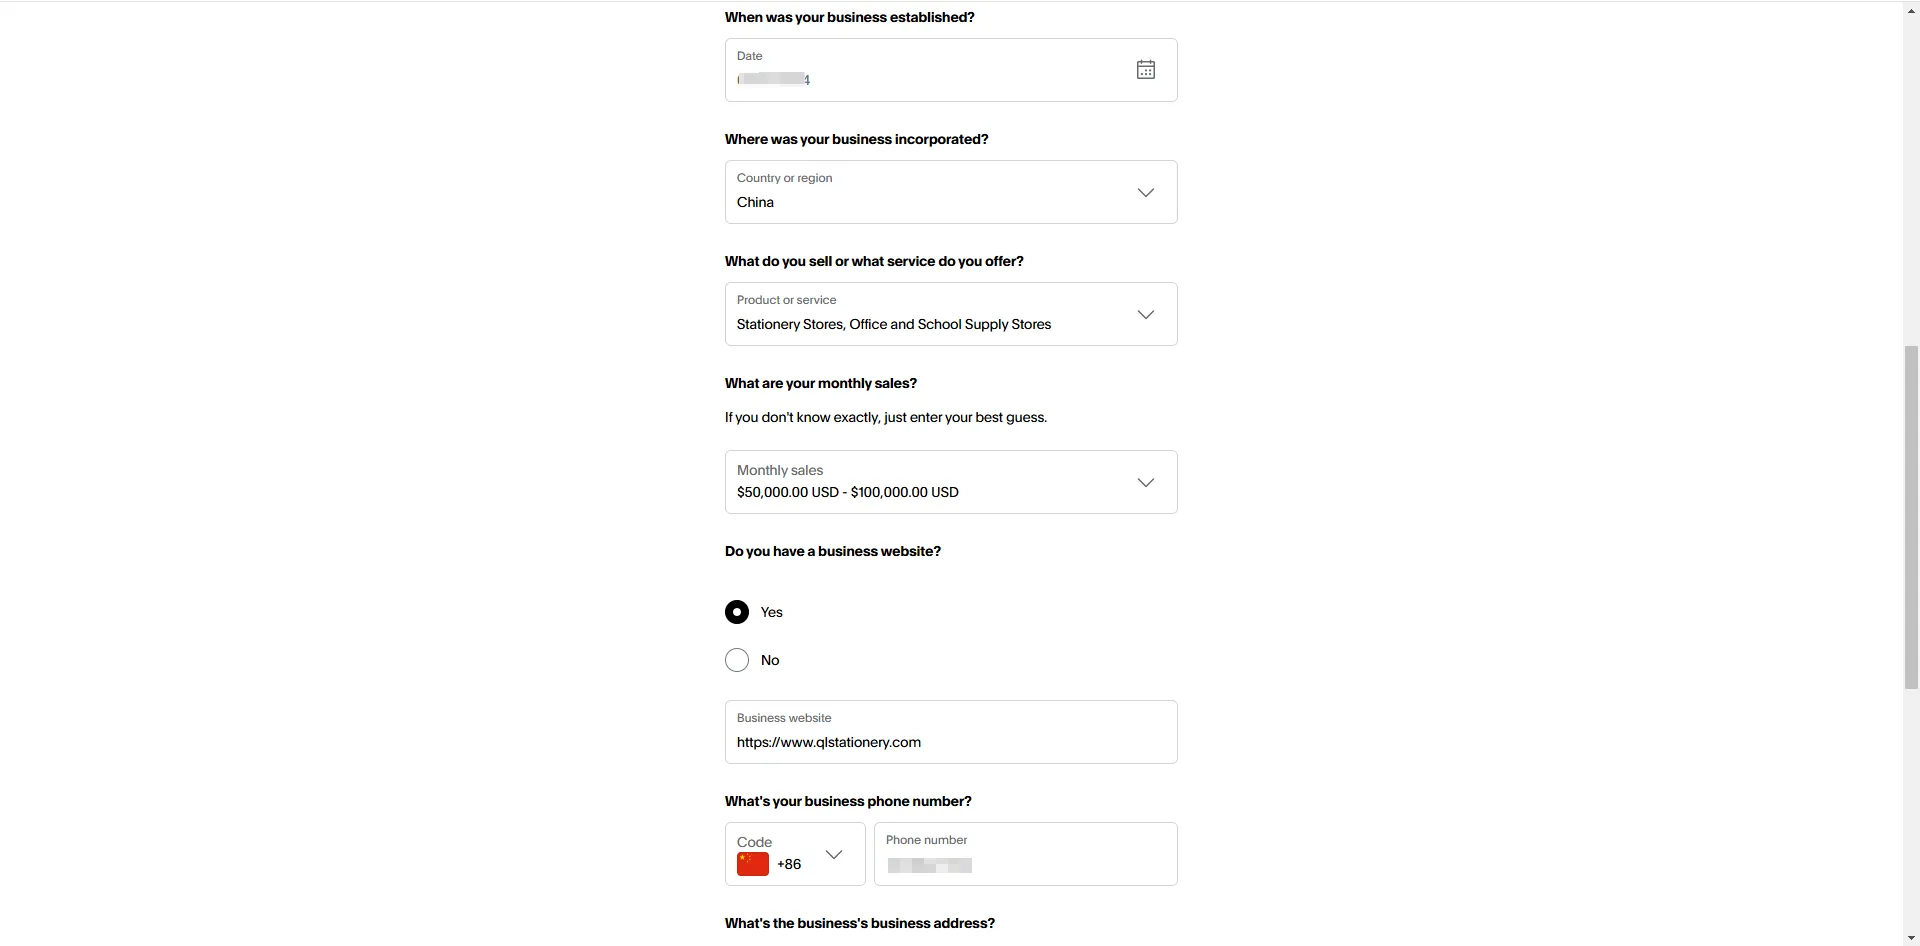
5. Provide Business Information
You will be asked to enter detailed business information:
- Company name
- Unified Social Credit Code
- Date of establishment
- Country
- Industry
- Monthly sales revenue
- Website
- Contact number
- Address and postal code
Ensure all information is accurate and truthful.


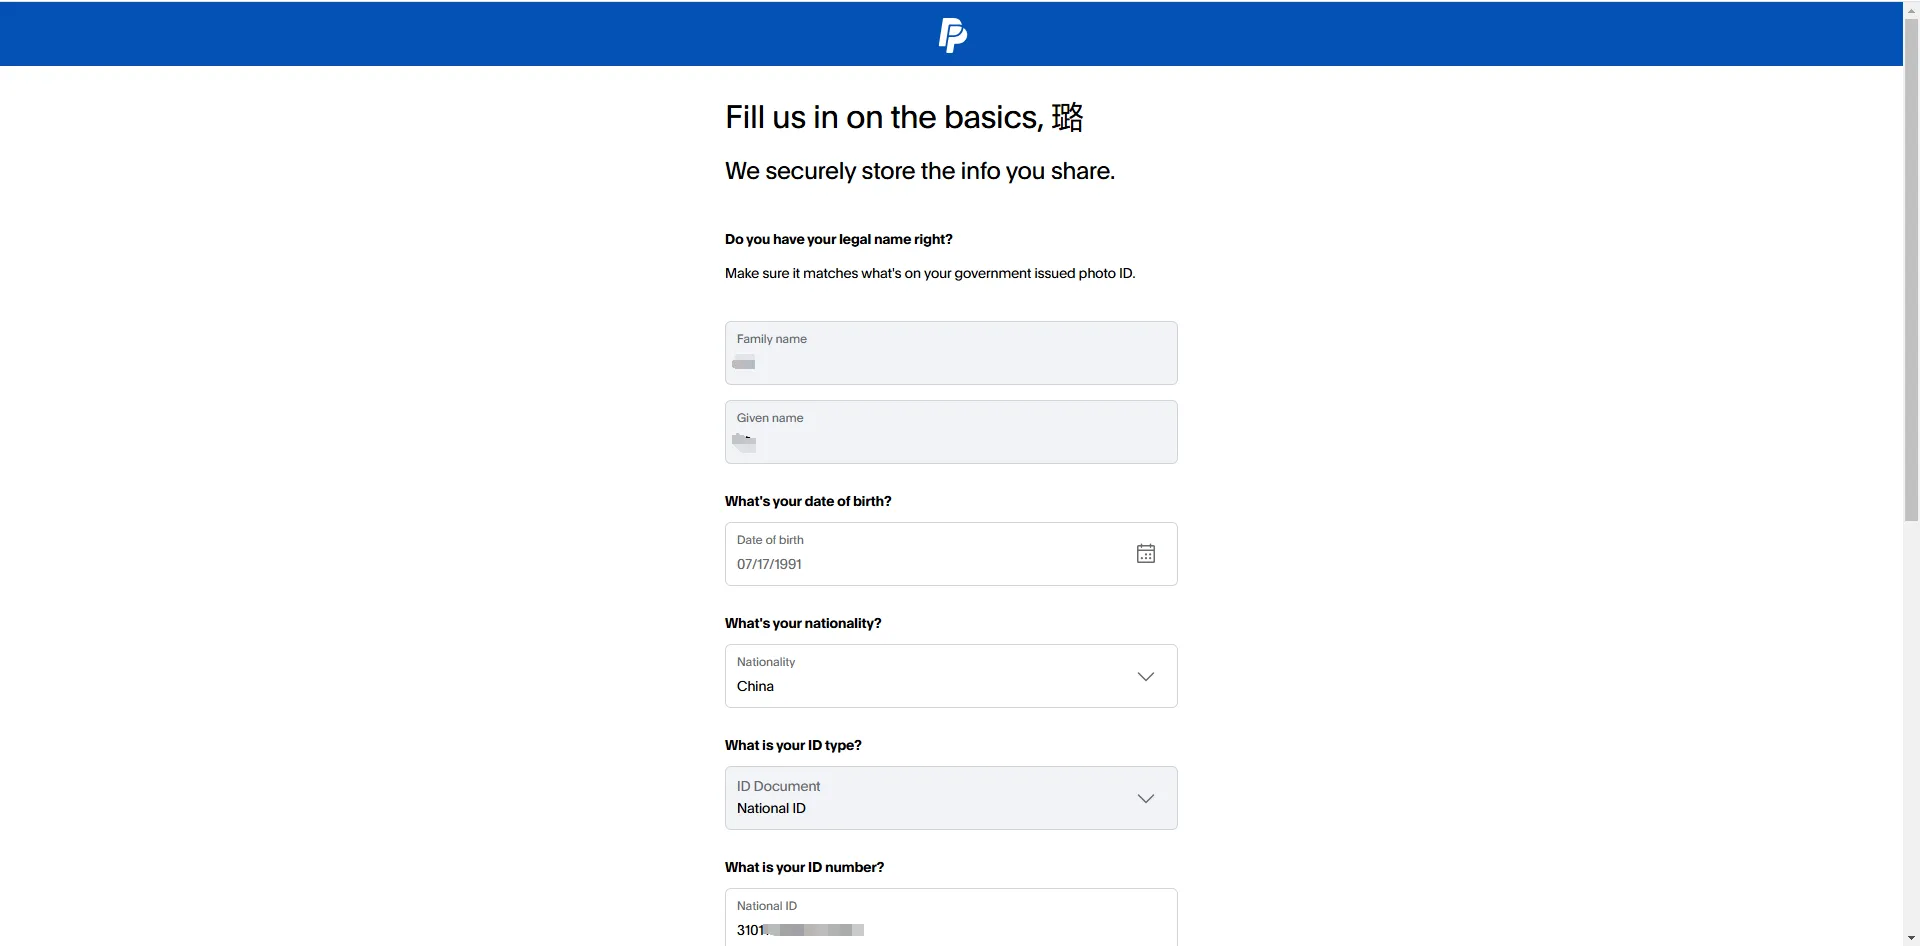
Then, fill in the details of the legal representative, including:
- Name
- Date of birth
- Nationality
- ID number
- Address

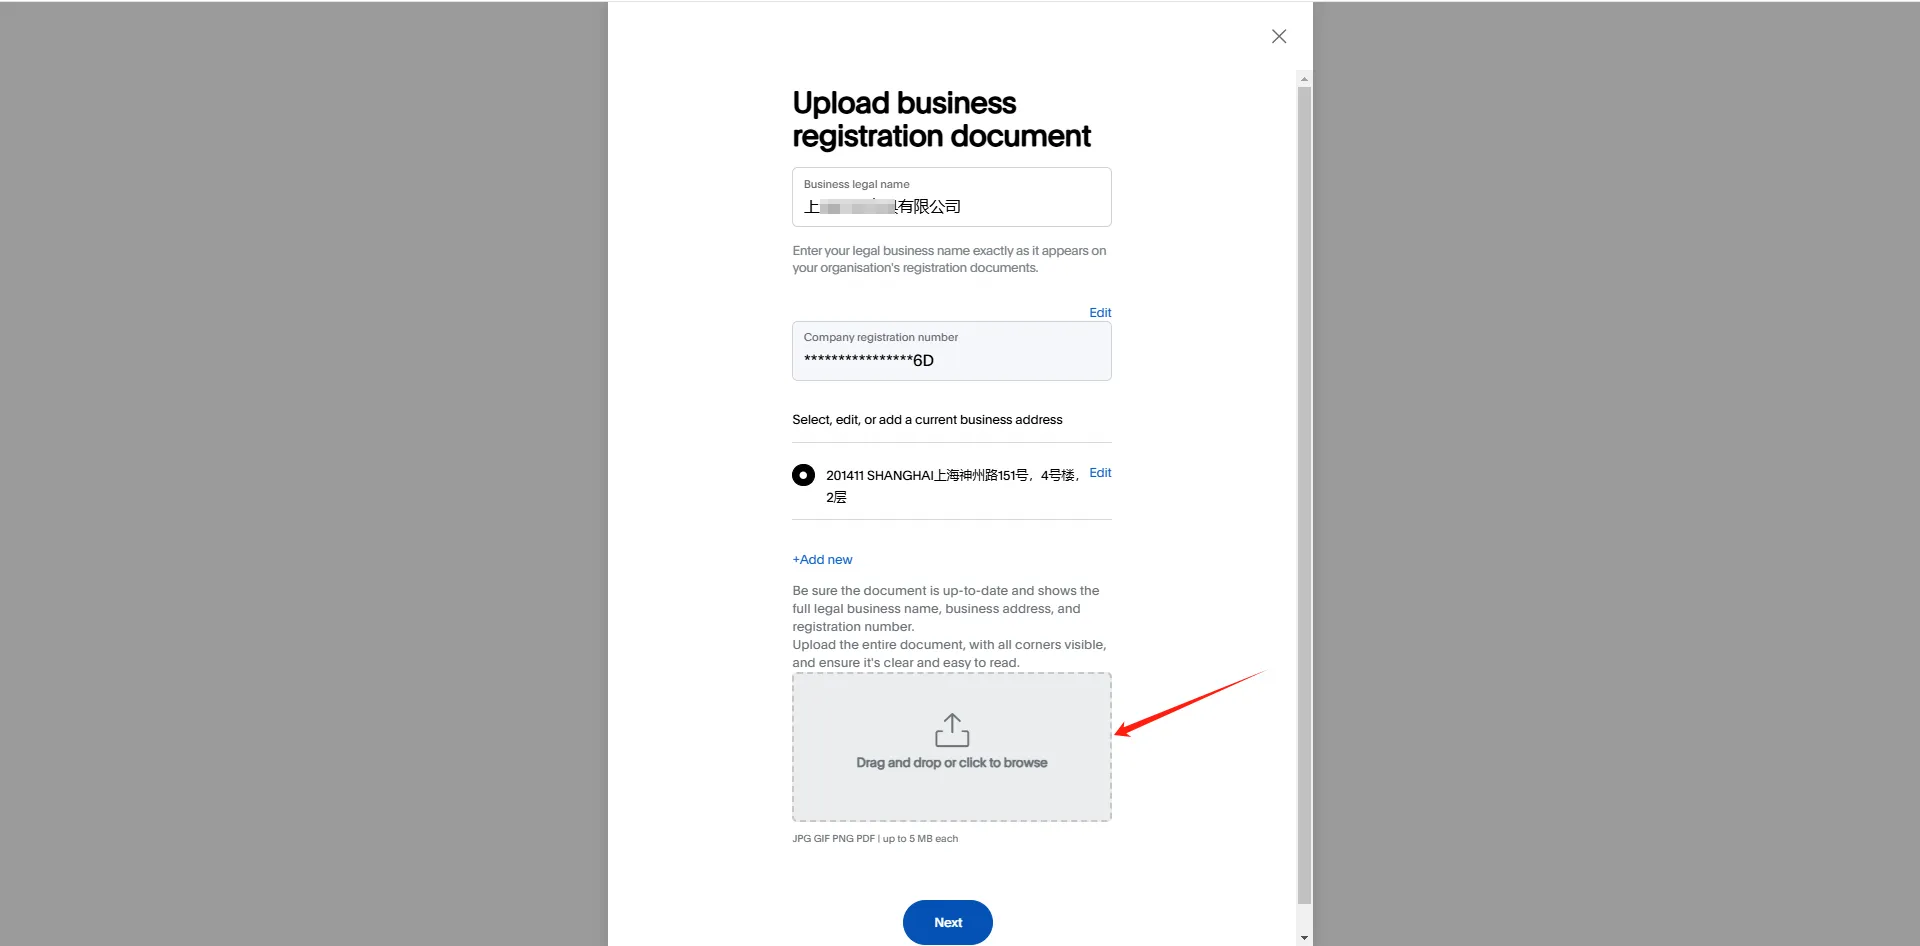
6. Upload Documents
You’ll need to upload two documents:
- Business license
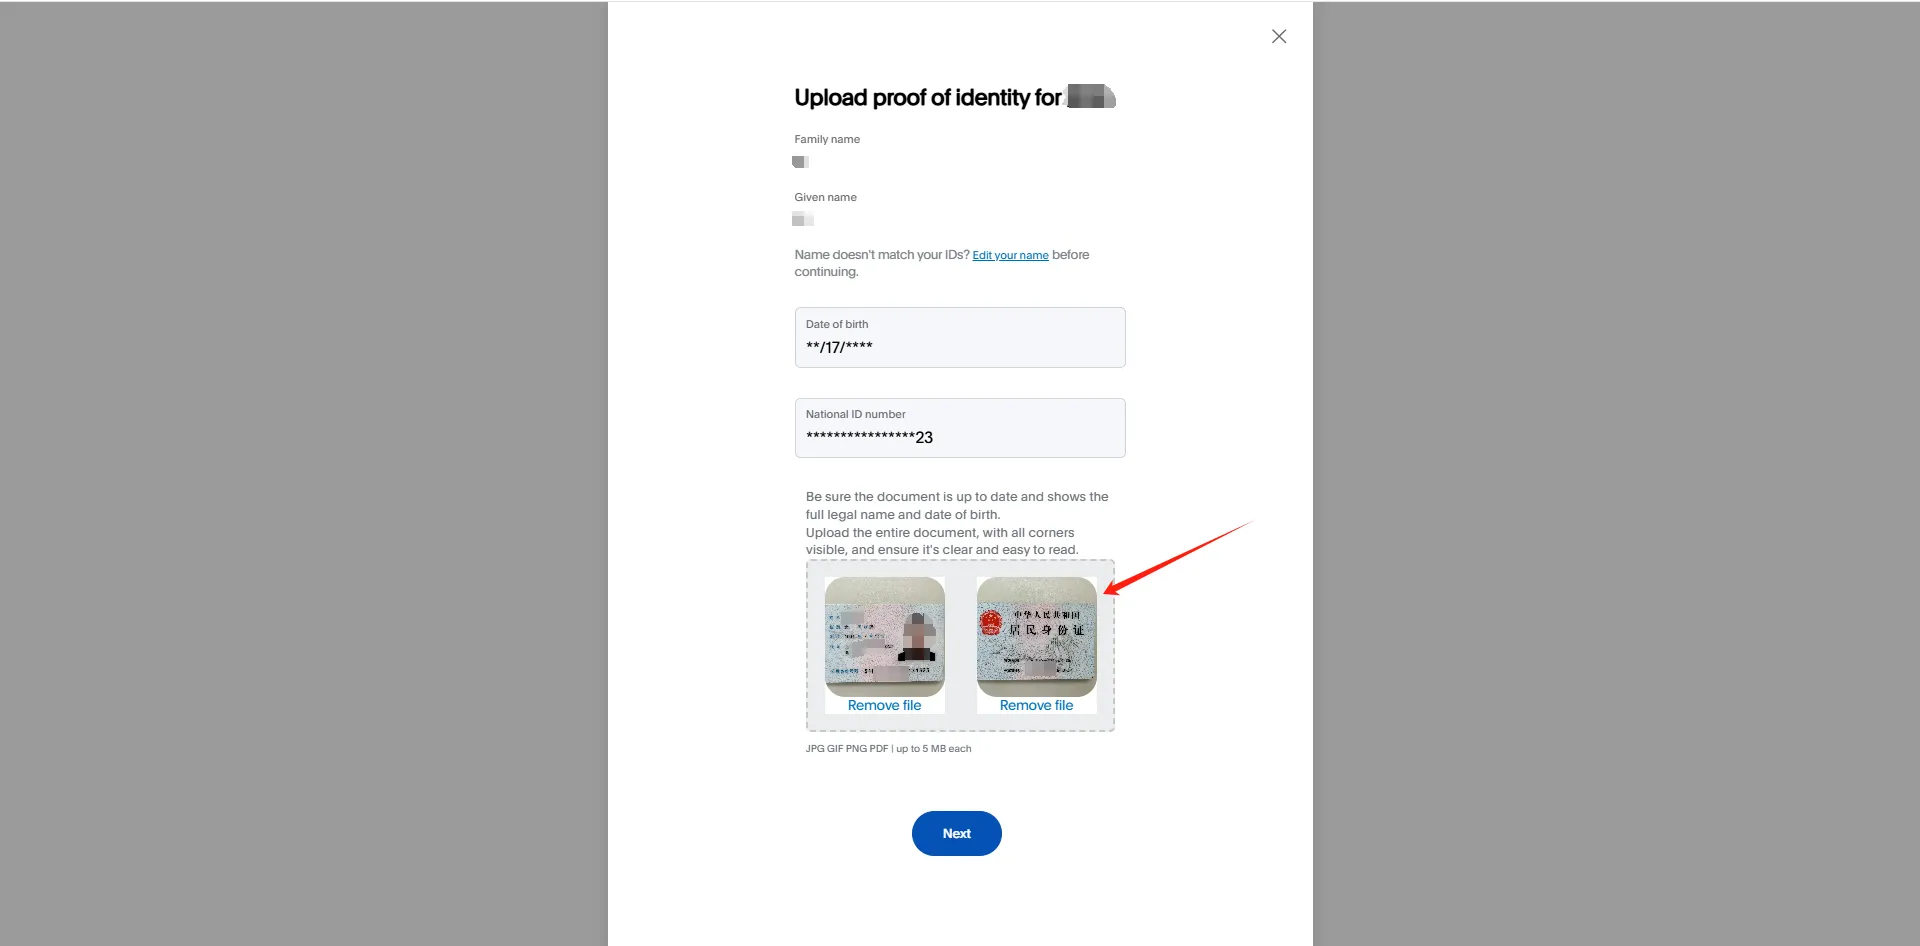
- Legal representative’s ID
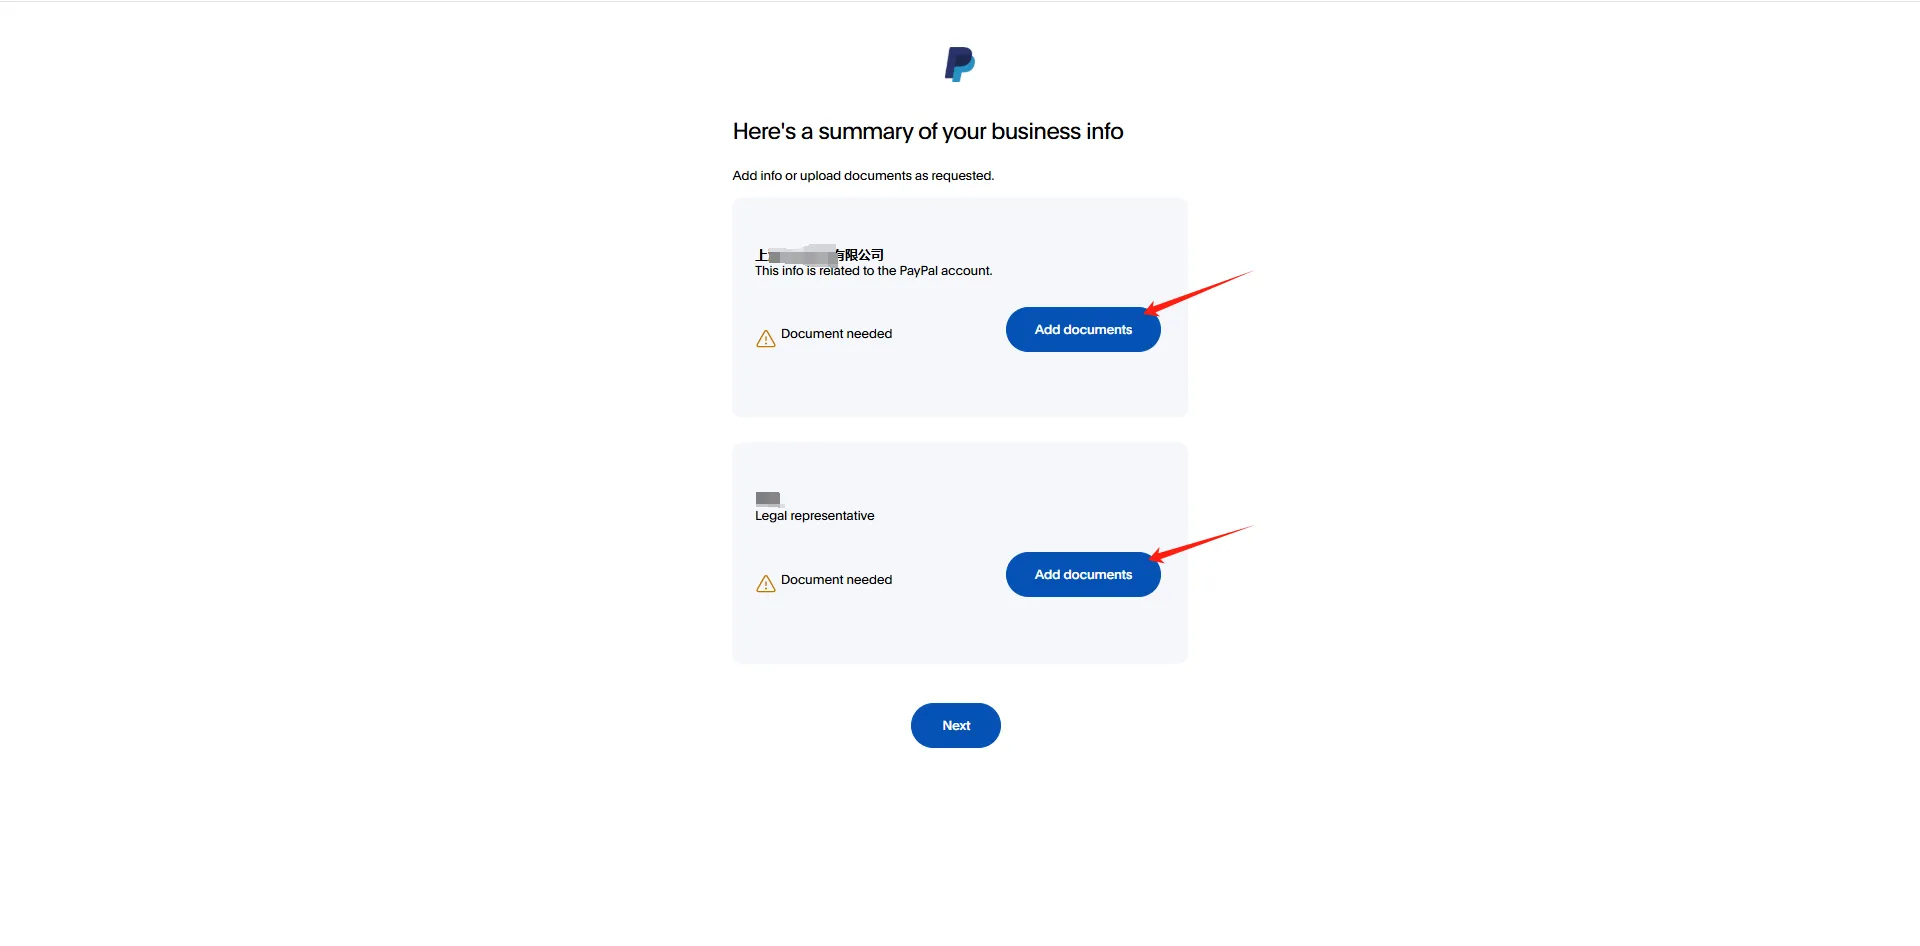
Upload the business license, confirming the business name and address. Accepted file formats include PDF, JPEG, and PNG.
Upload both sides of the legal representative’s ID card.
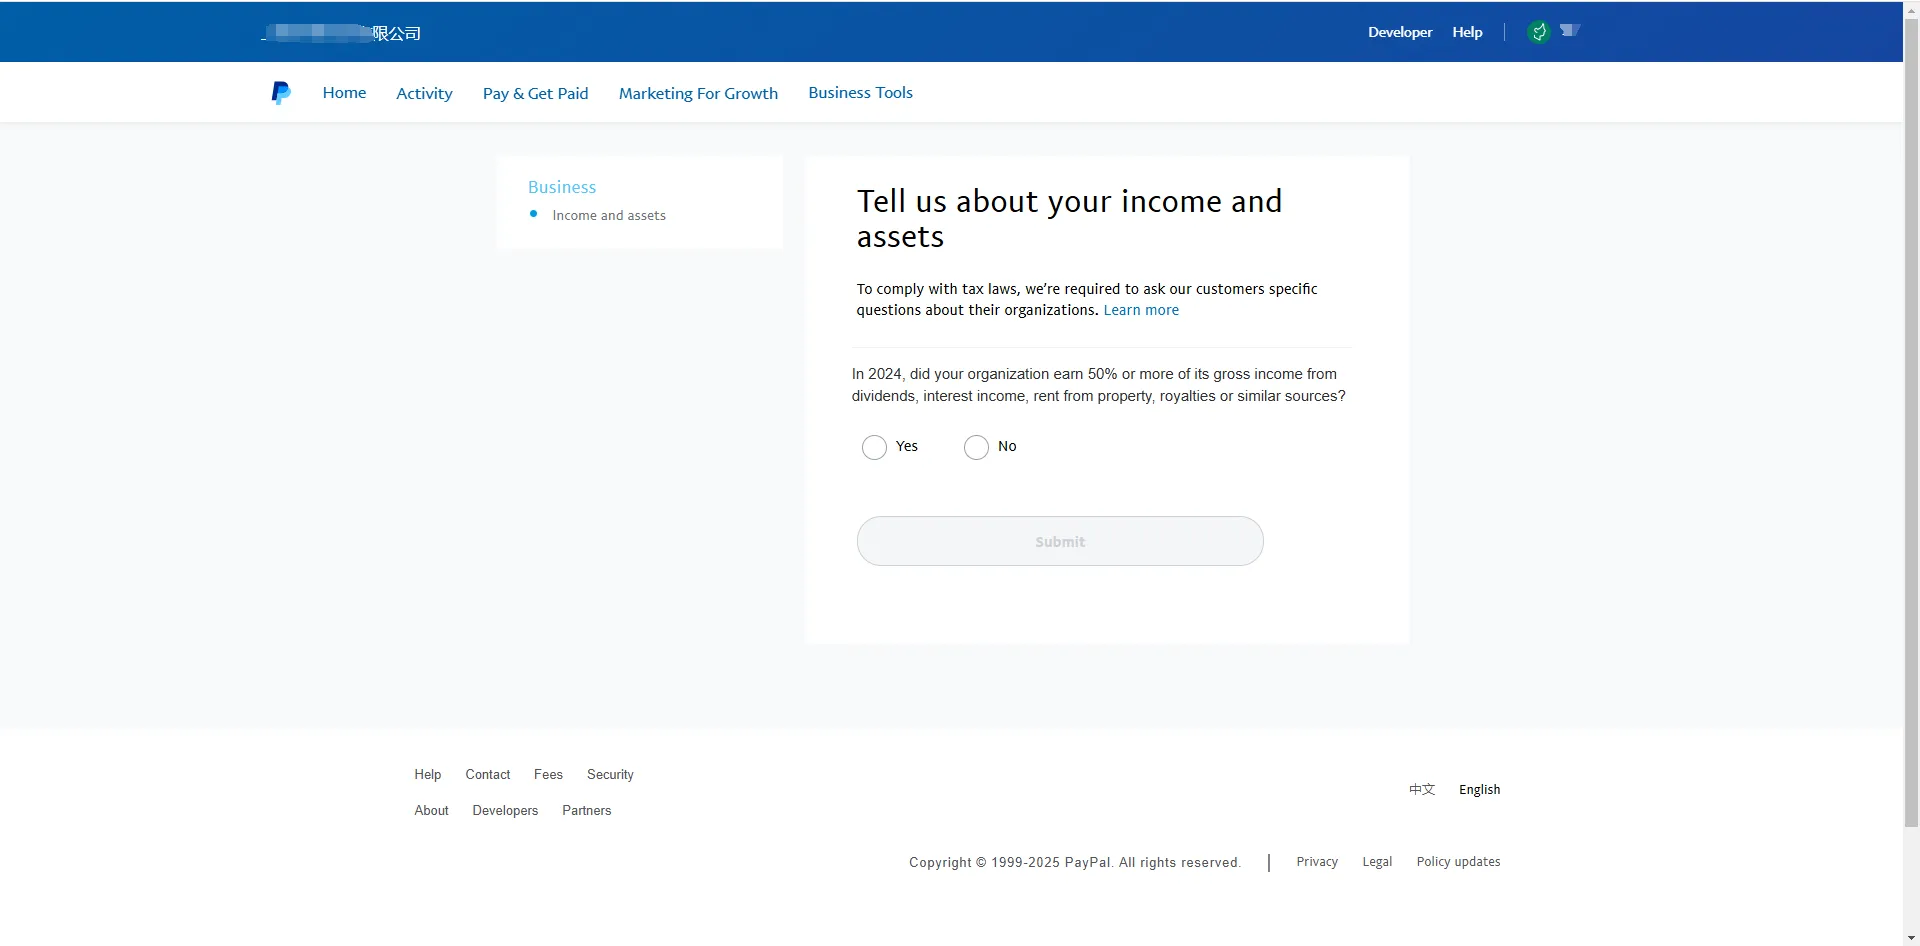
7. Income Source Disclosure
You’ll need to disclose whether more than 50% of the company’s income comes from dividends, interest, rent, or similar sources, and whether more than 50% of the income is related to real estate. Answer truthfully.
8. Non-U.S. or U.S. Company Disclosure
As a non-U.S. company, you will need to confirm your status and disclose that you are not subject to U.S. tax laws.
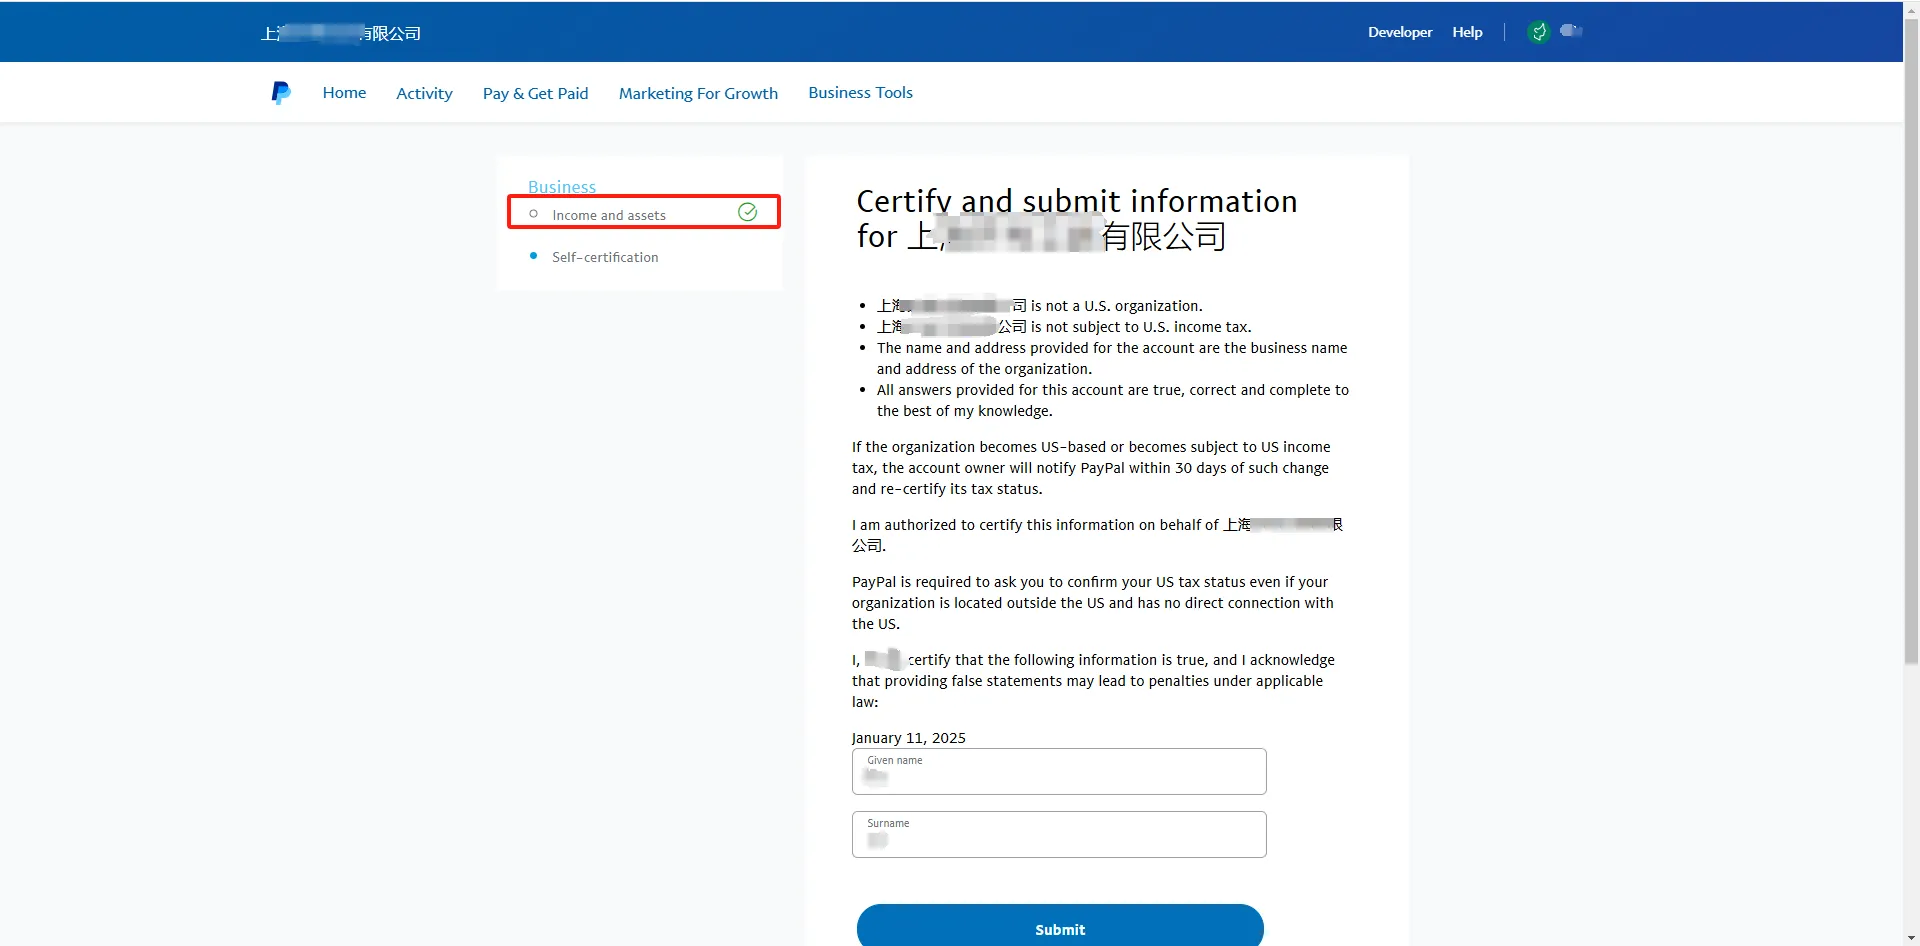
After completing these disclosures, you will see a confirmation page.
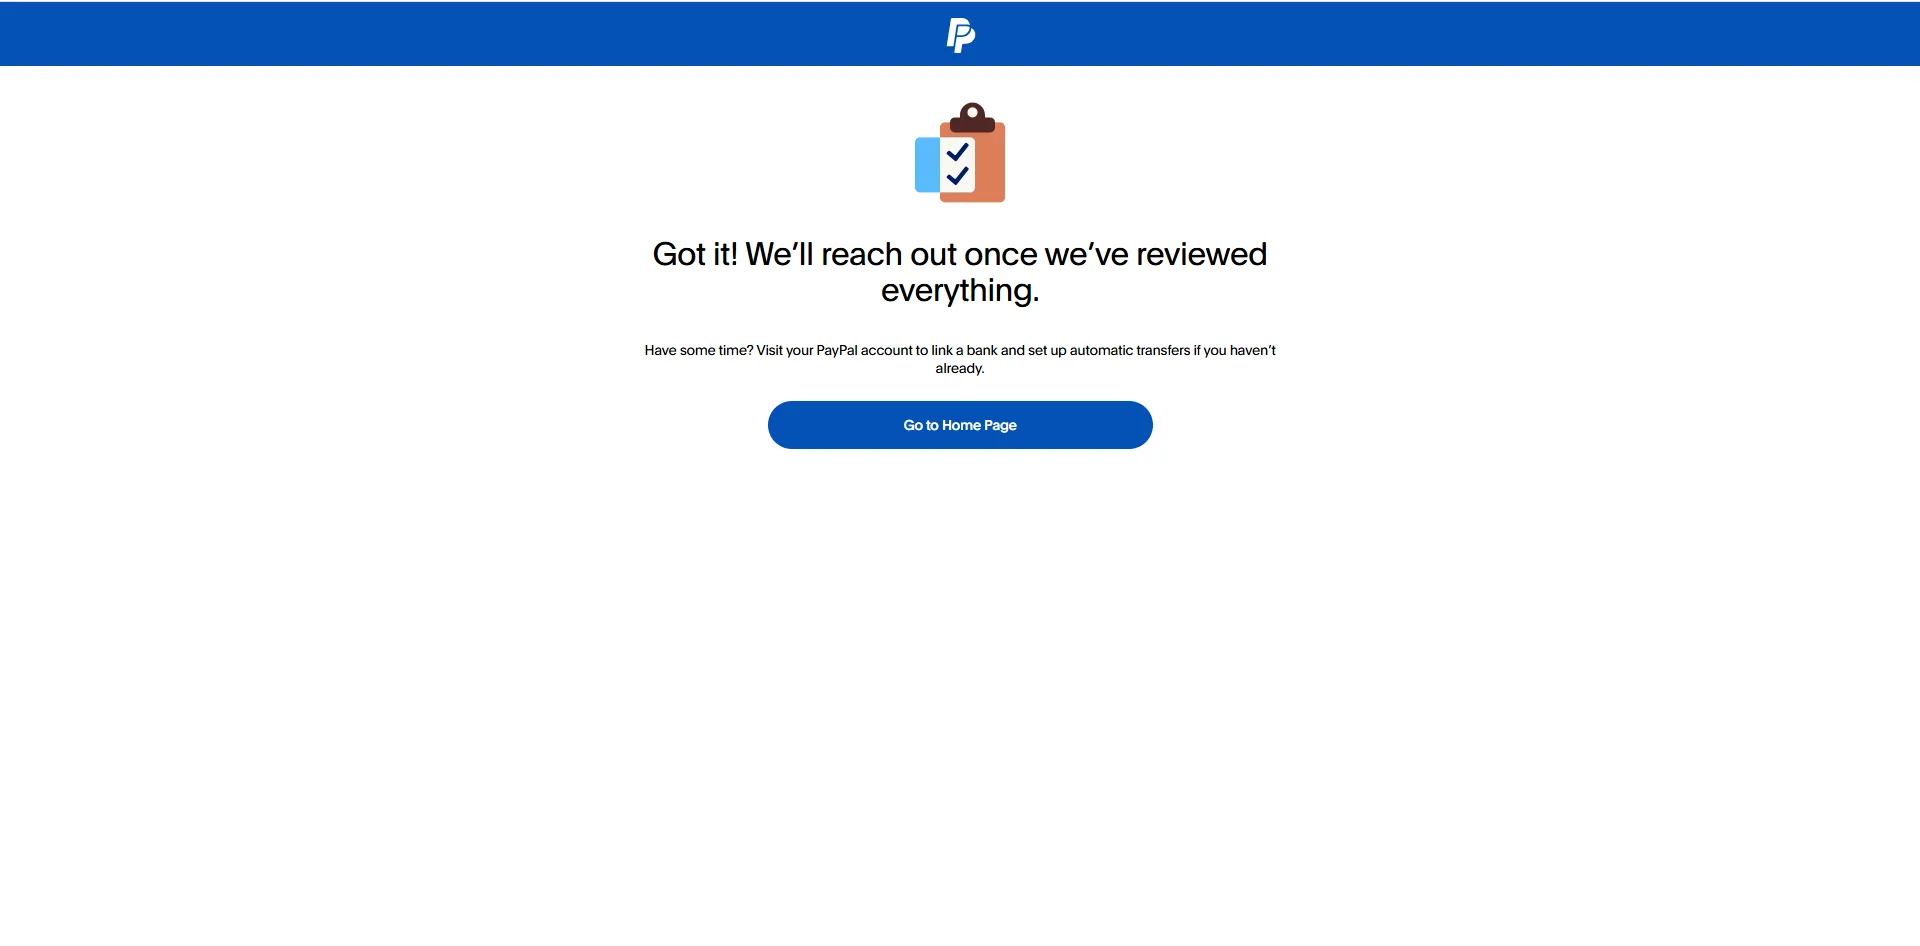
9. Wait for Review
At this stage, PayPal will review your submitted documents. The review process typically takes 5-7 business days.
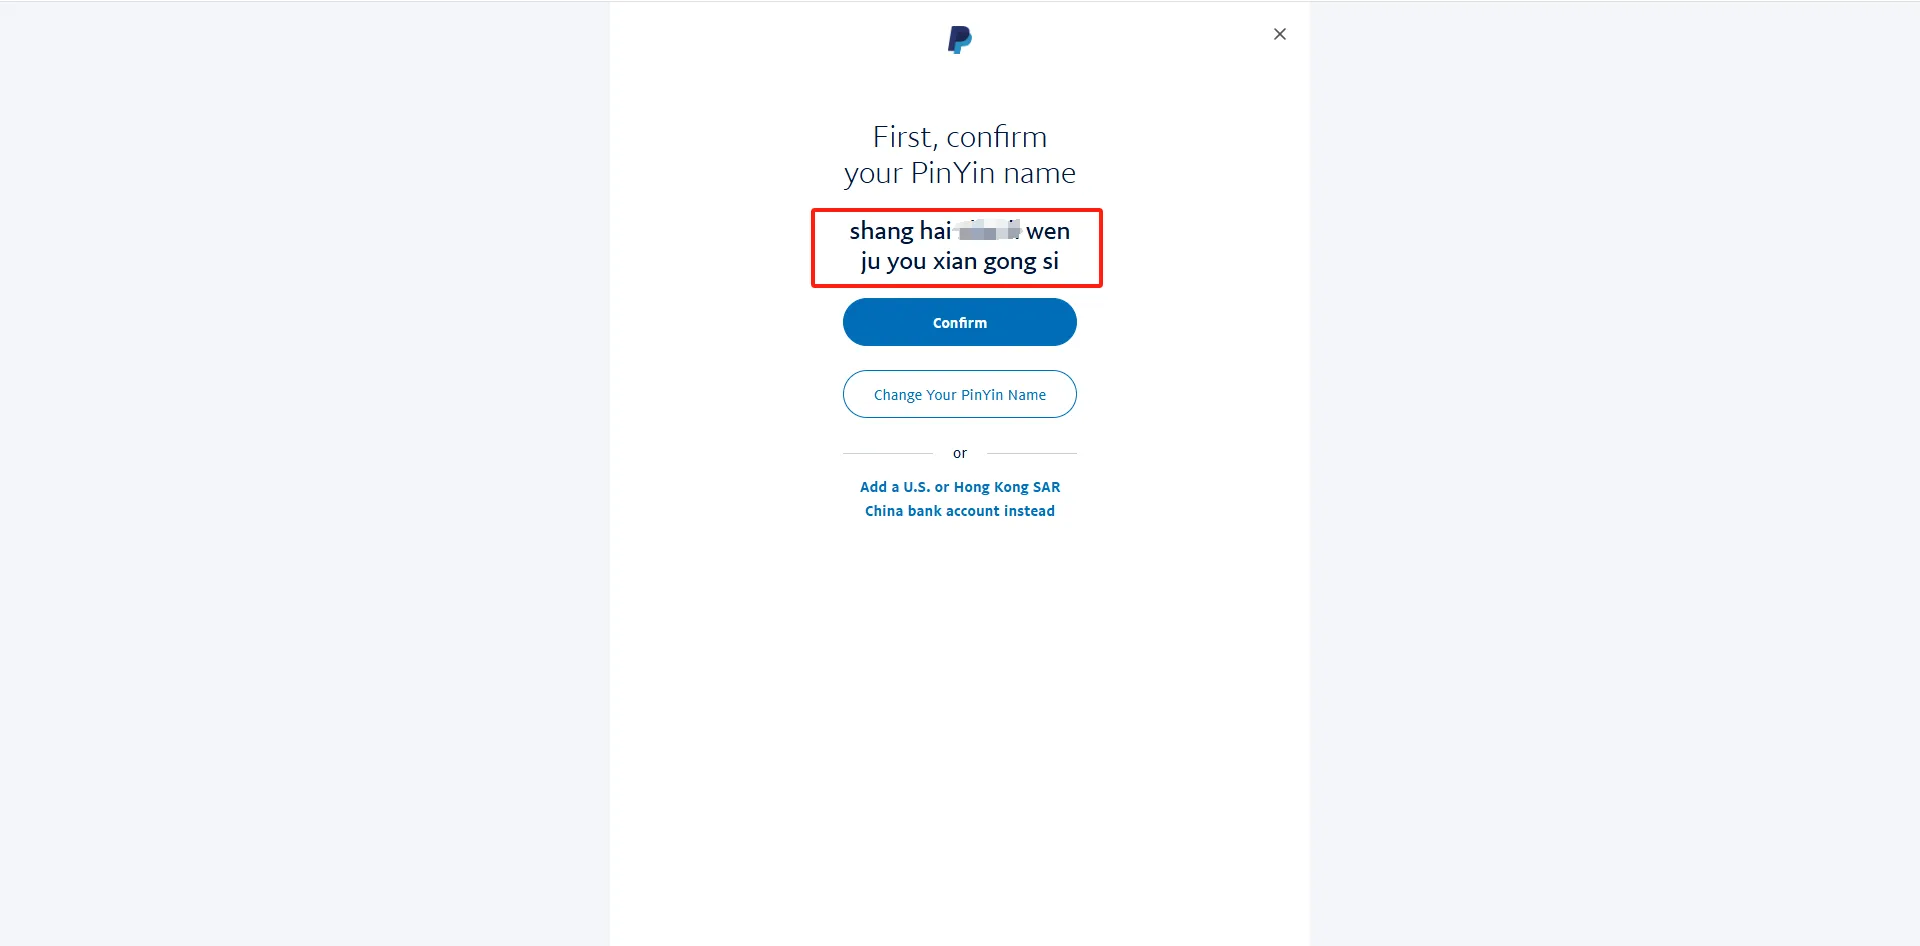
10. Link a Bank Account
While waiting for approval, you can link your PayPal account to your business bank account.
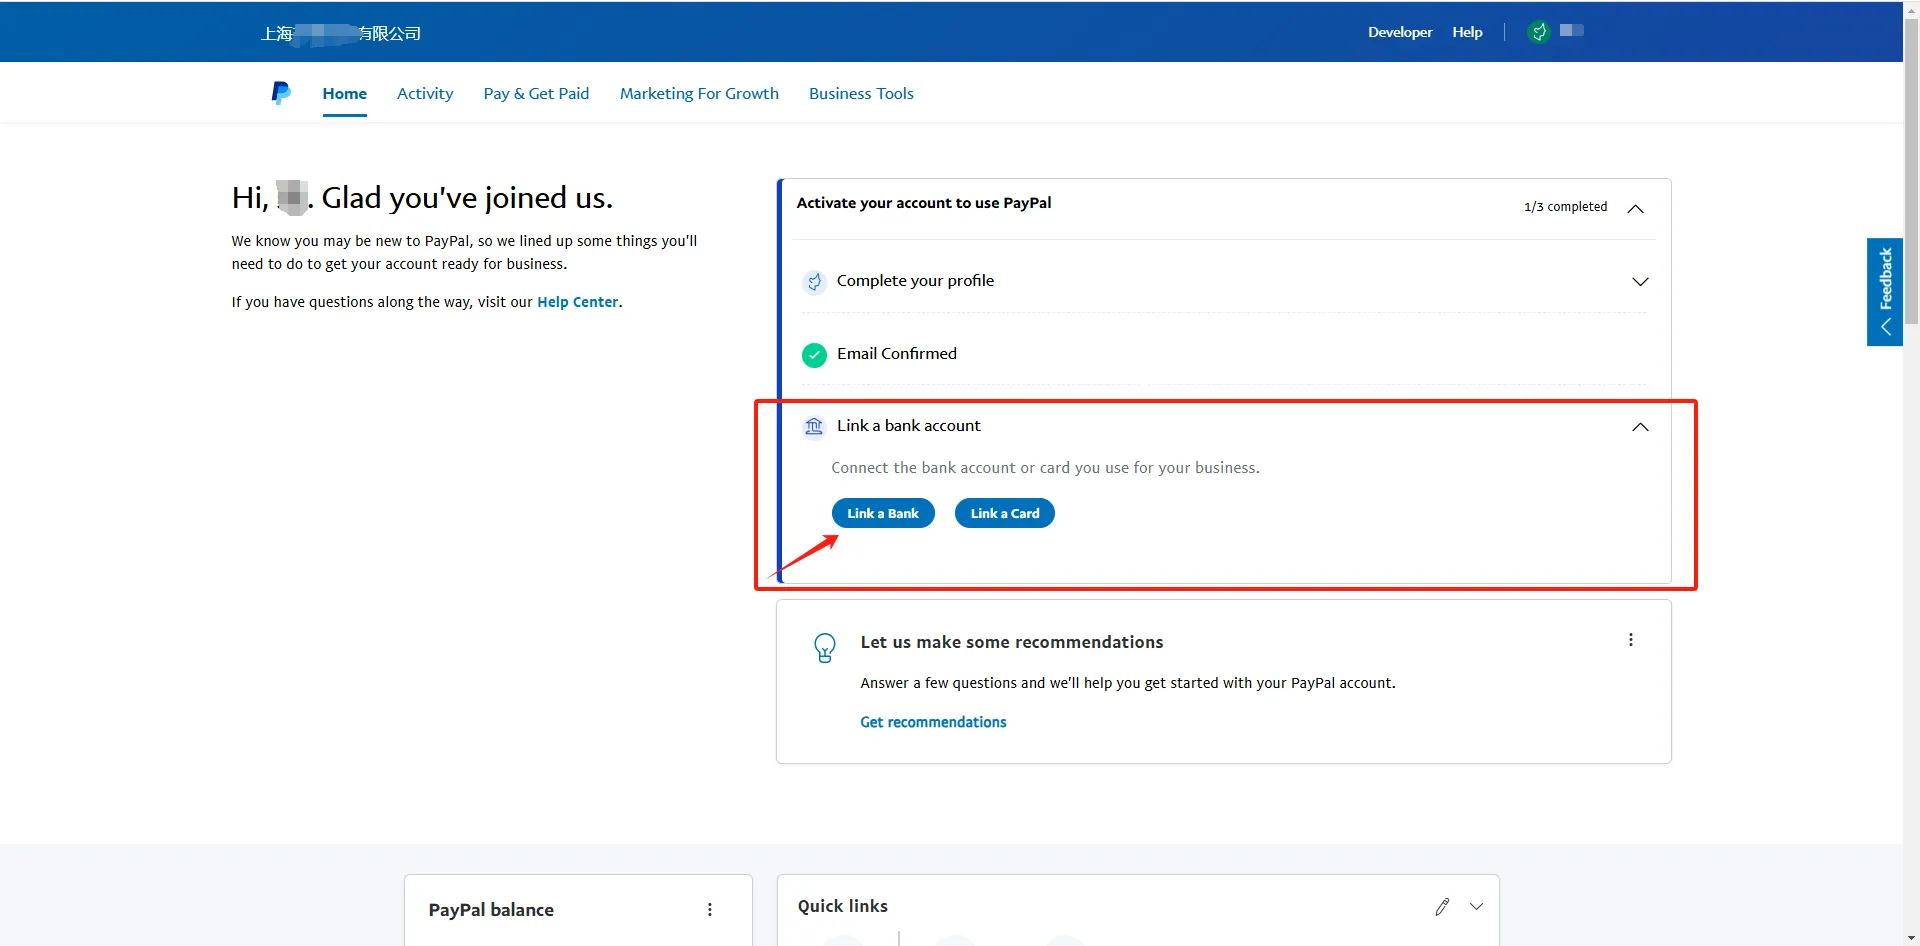
Confirm the business name.
Enter bank details, including:
- Bank name
- SWIFT code
- Branch location
- Account number
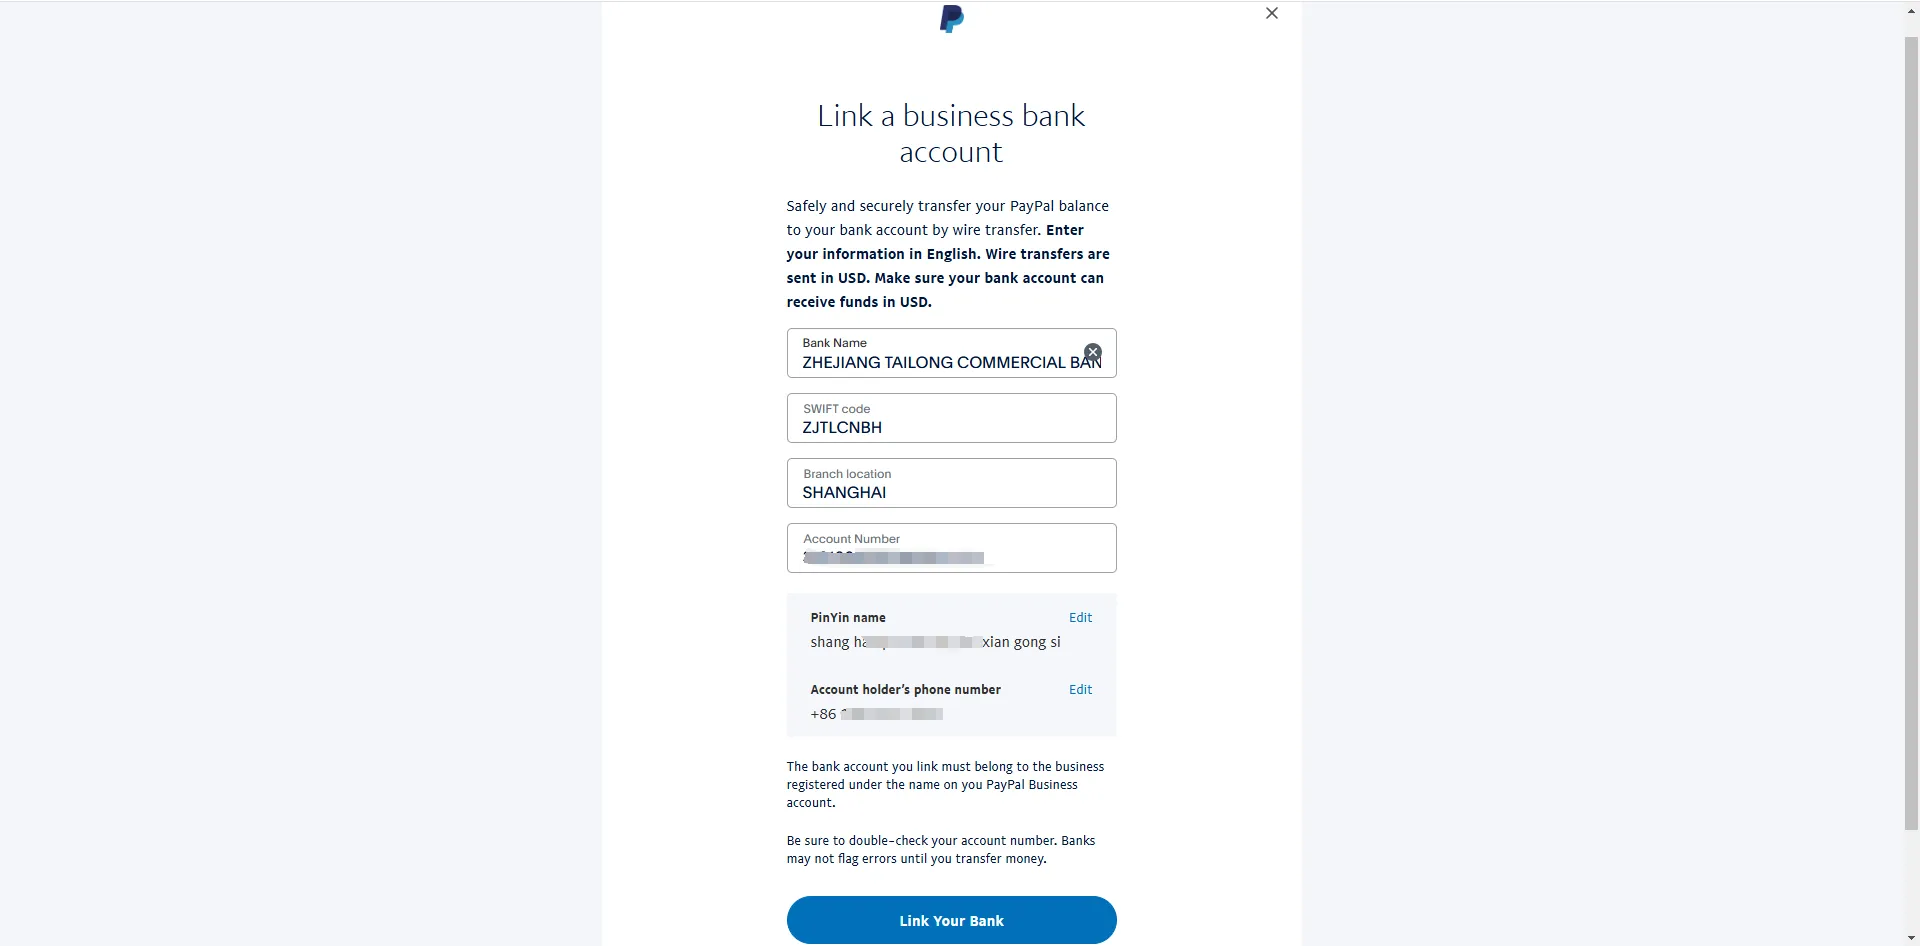
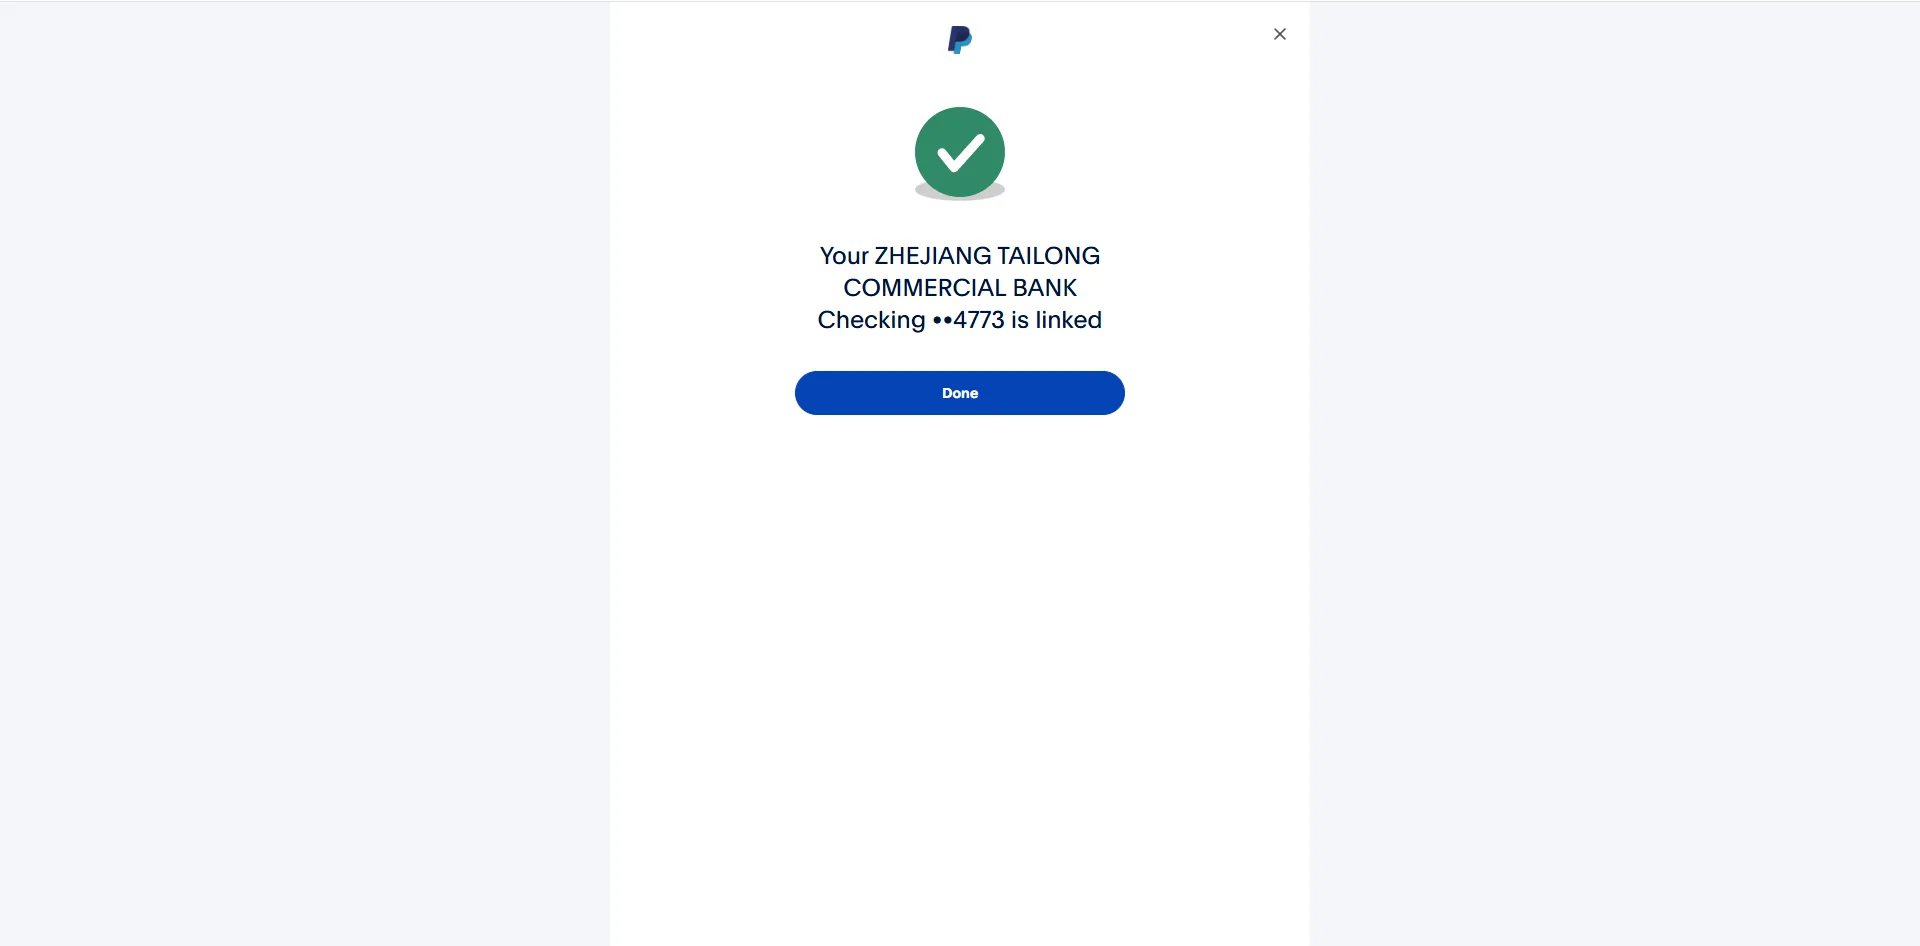
Once this is completed, your accounts will be successfully linked.
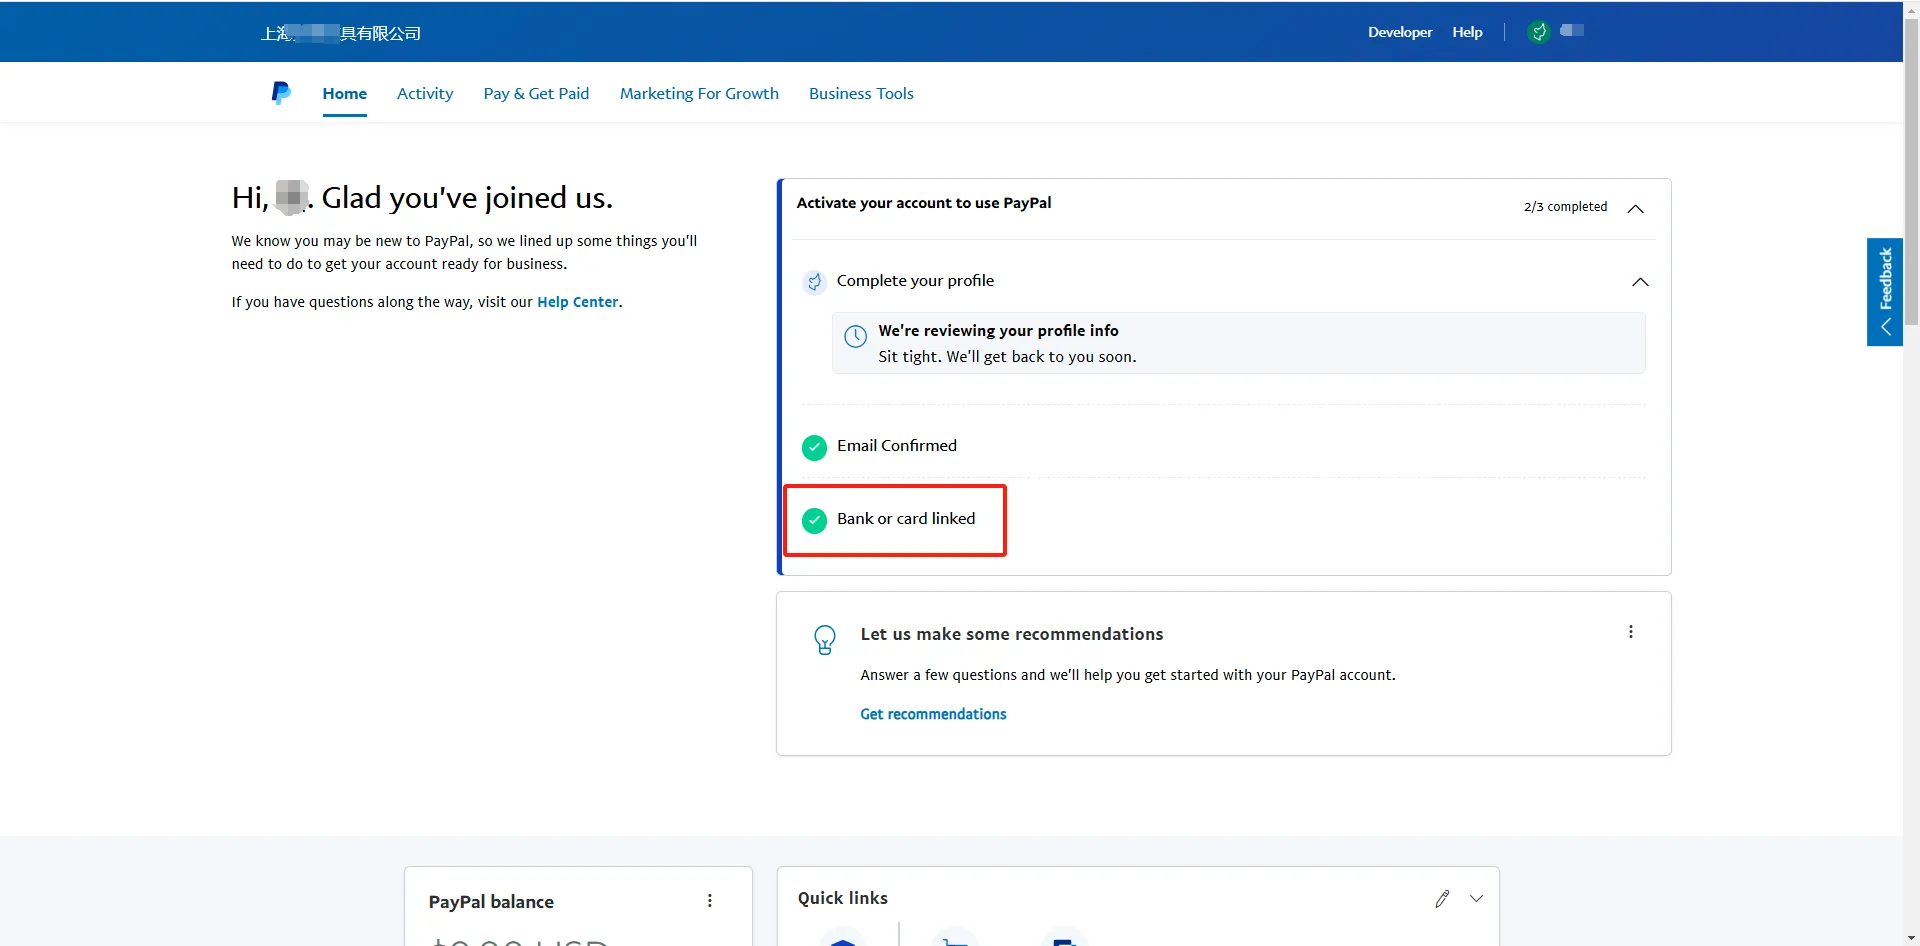
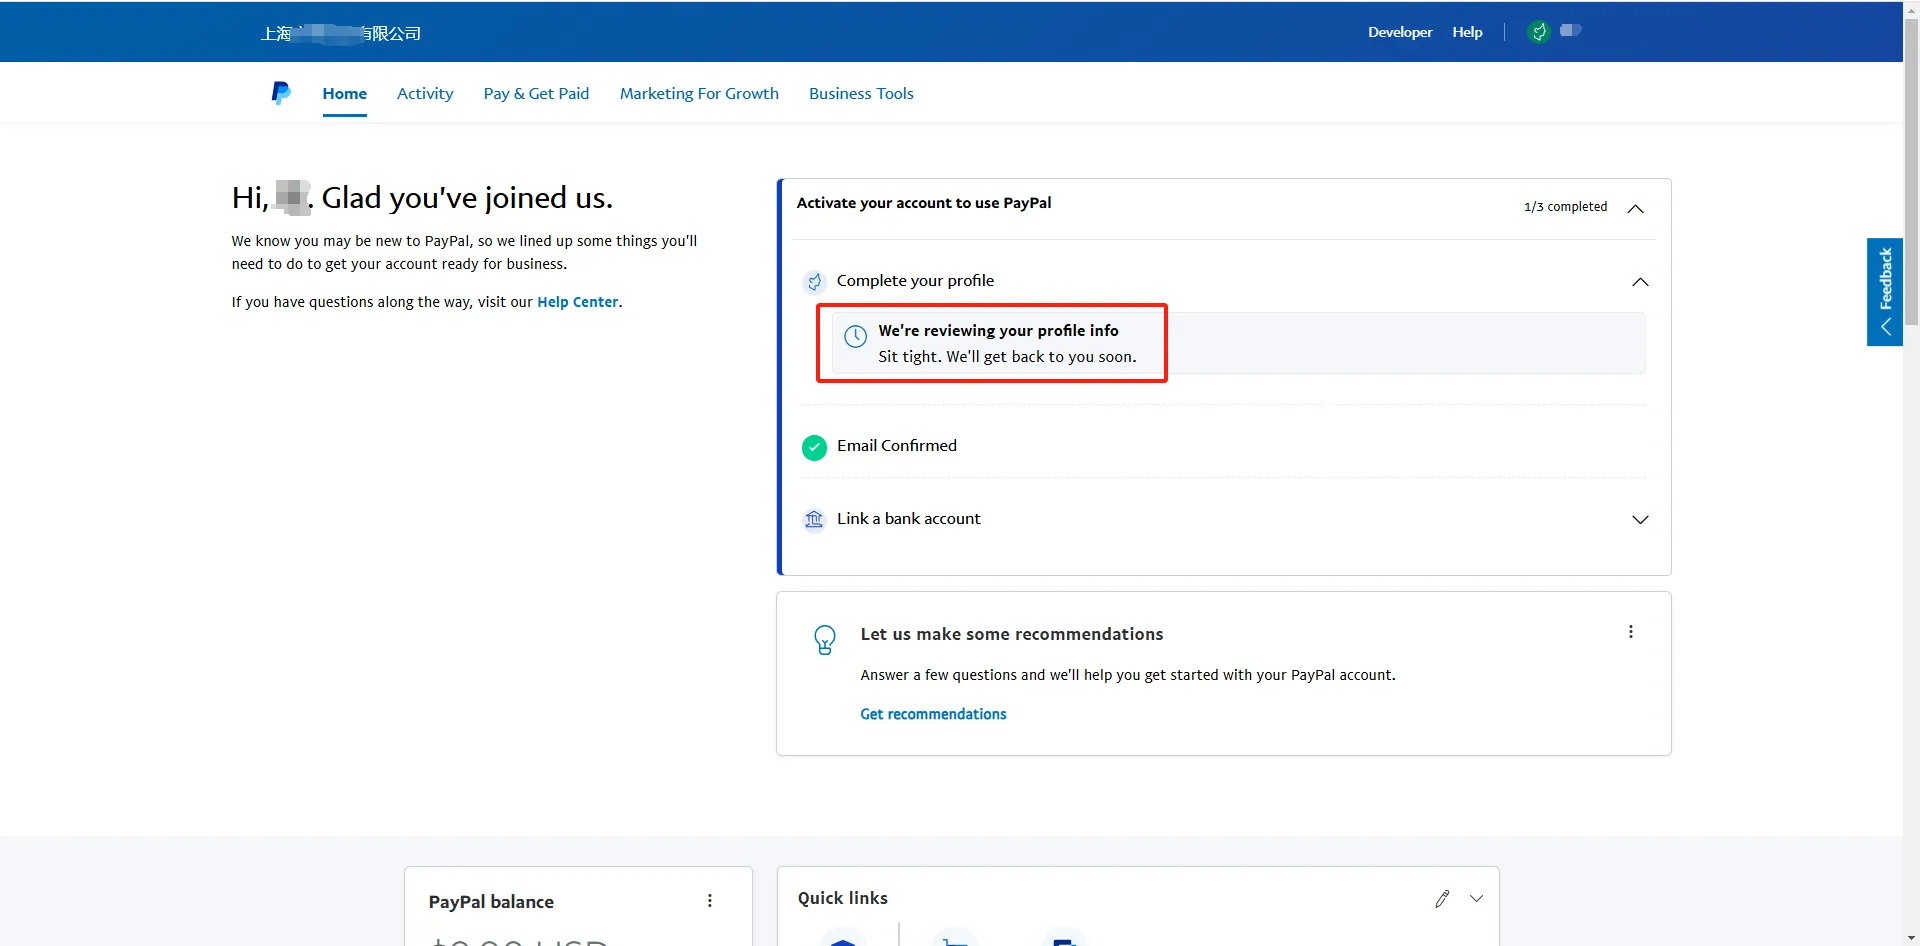
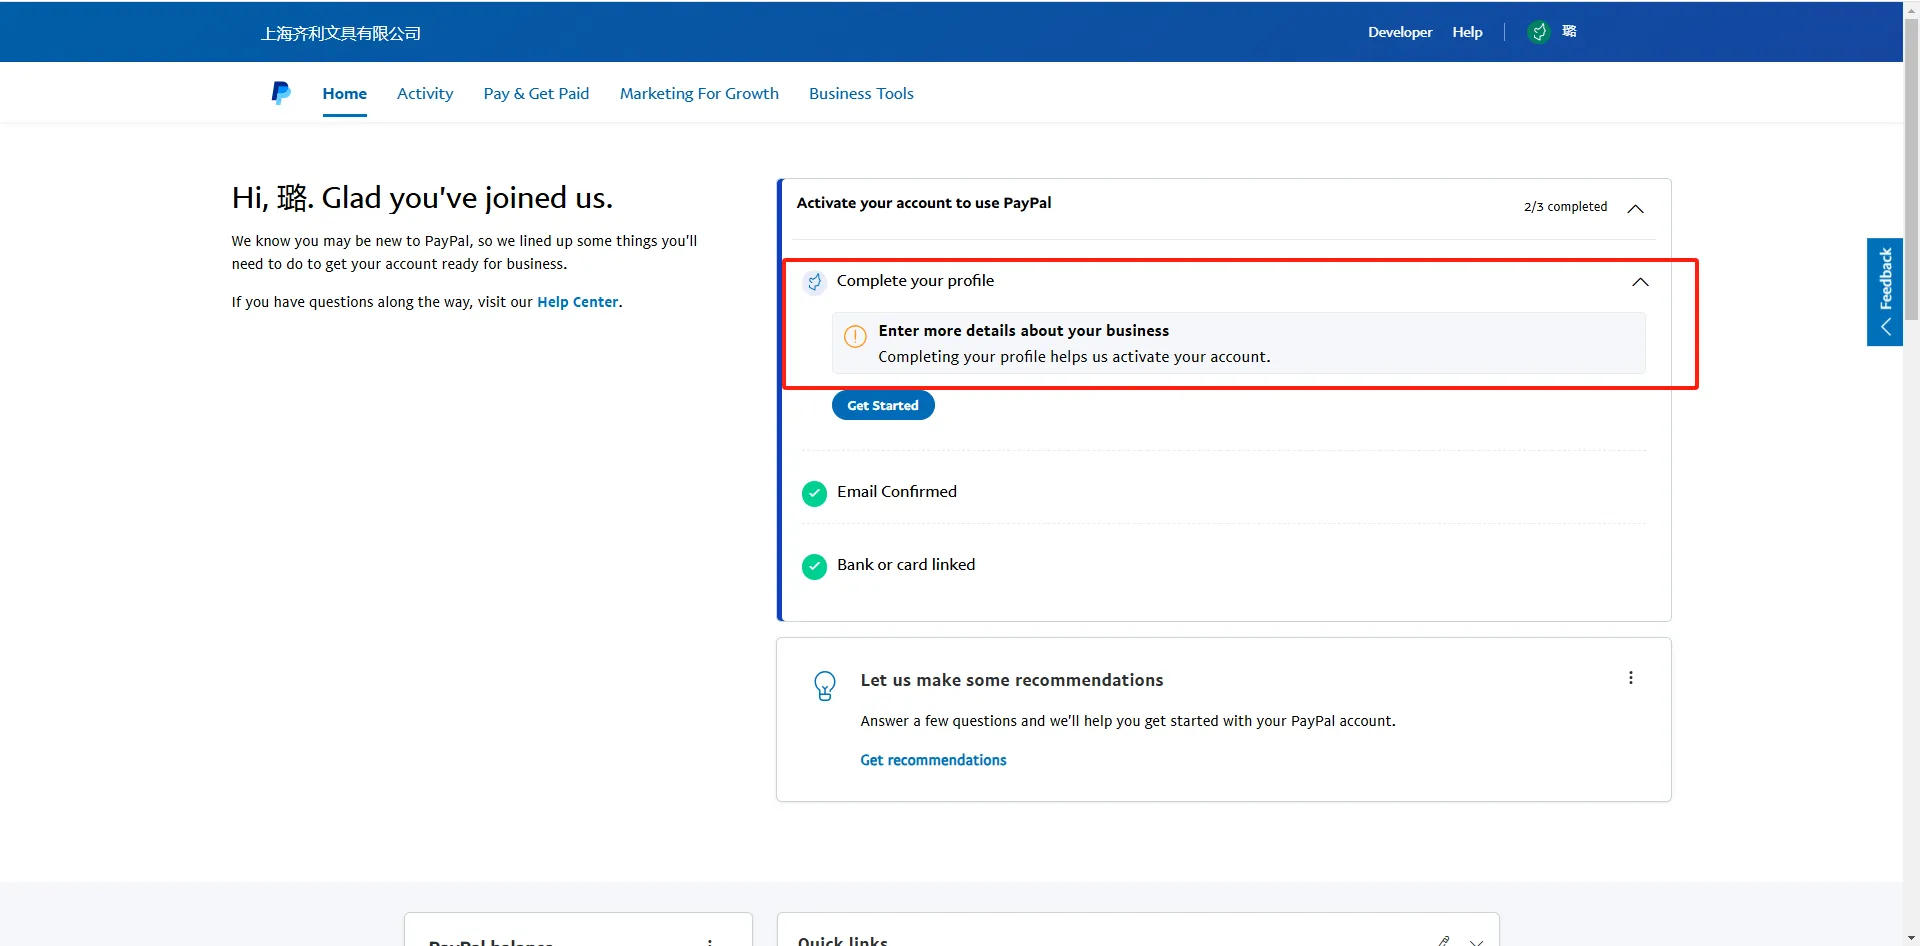
11. Submit Additional Information
If you see a prompt for additional information on the dashboard after logging in, provide the required details to proceed. Continue until the account registration is fully completed.
After about 2 days, the review is completed, our PayPal business account is all set.
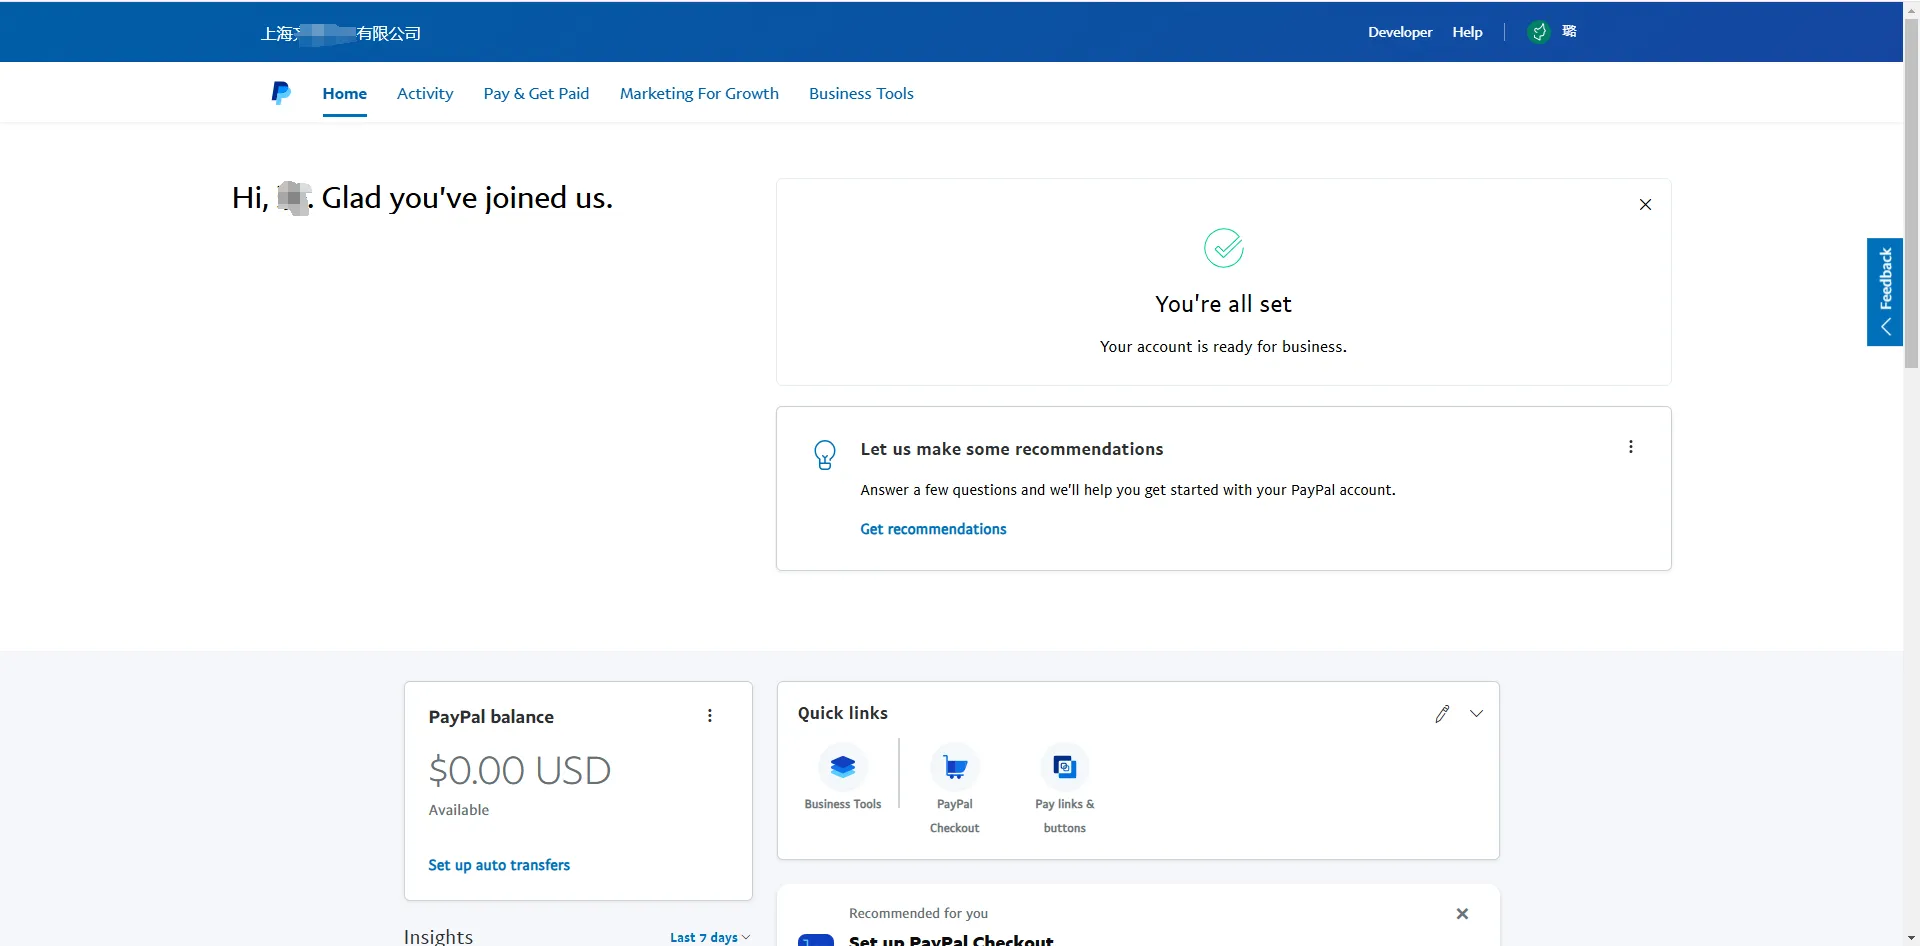
With all the steps above completed, your PayPal business account is ready! You can now use PayPal to receive payments for your e-commerce website and facilitate cross-border payments between businesses.