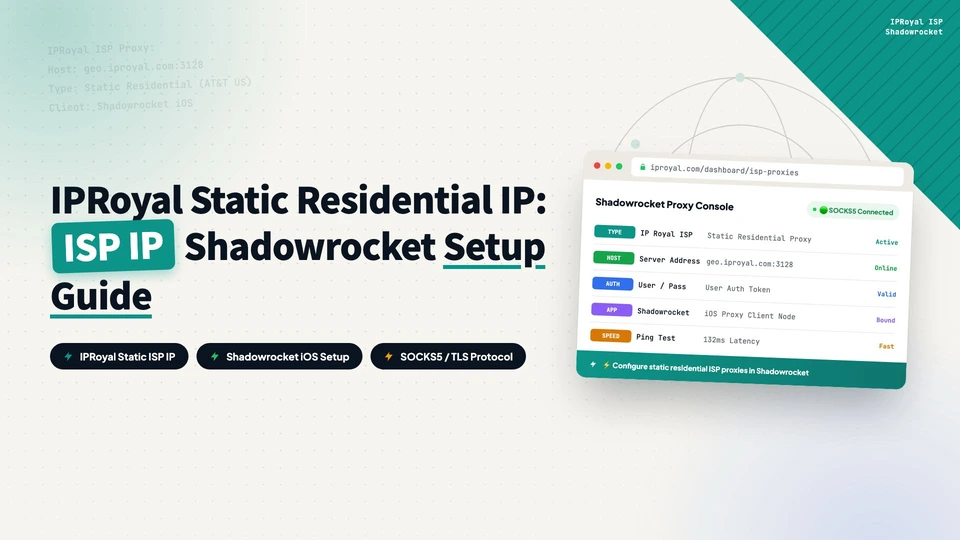
This guide explains how to buy an IPRoyal ISP IP and configure it in Shadowrocket for a stable long-term network exit.
Why choose an ISP IP here
If your goal with Shadowrocket is to keep a stable long-term network exit instead of rotating IPs frequently, an ISP IP from IPRoyal fits this use case better. It is closer to a fixed proxy exit provided through ISP-related networks, which makes it suitable for a small number of long-term devices and accounts.
The reason I choose an ISP IP is consistency. For tools where account environment stability matters, the device, system region, language, timezone, and network exit should point in the same direction over time. If your goal is high-rotation testing or frequent exit switching, you should evaluate a different product type instead of following this setup directly.
Decide what you need first
- Buy the IPRoyal ISP IP / ISP Proxies product, not the dynamic Residential Proxy product.
- Decide whether the region needs to be fixed, such as a U.S. exit.
- Use the protocol, host, port, username, and password shown in your own IPRoyal dashboard.
Do not mix tutorials across product lines. Residential, ISP, and datacenter proxy products can use different endpoints, ports, and authentication settings. If you bought an ISP IP, use the ISP IP connection details from your own account.
Get ISP IP details from IPRoyal
- Create or log in to your IPRoyal account.
- Choose the ISP Proxies / ISP IP product, not the dynamic Residential Proxy product.
- Select region, protocol, and authentication method.
- Copy host, port, username, and password from the dashboard.
- If IPRoyal provides a formatted proxy list, copy that instead of typing manually.
Shadowrocket still needs the same core fields: Address / Host, Port, User, and Password. Do not fill them from memory or copy someone else’s screenshot. Use the exact values from your own IPRoyal dashboard.
Add the server in Shadowrocket
- Open Shadowrocket and add a new server.
- Choose HTTP, HTTPS, or SOCKS5 according to your IPRoyal dashboard.
- Fill Address / Host, Port, User, and Password.
- Save and test the node.
- If you need all traffic to use the proxy, set Global Routing to Proxy and enable the connection.
ISP IPs, Residential Proxies, and Datacenter Proxies may use different hosts and ports. If you bought an ISP IP, use the ISP IP parameters from your own dashboard instead of copying a Residential Proxy tutorial.
Why I prefer a fixed ISP IP
My goal is not to rotate IPs every day. My goal is long-term consistency. Account, device, system region, language, timezone, and network exit should all point in the same direction. For a high-frequency tool like Claude Code, I would rather let the system see one or two stable exits over time than a new network source every day.
So my operating pattern is simple: keep a small number of U.S. ISP IPs, normally use one of them, and switch only when one temporarily fails. The important question is not only where the IP is located. It is whether the network environment stays consistent over time.
Troubleshooting
| Problem | Check first |
|---|---|
| Cannot connect | Host, port, username, password, and protocol |
| Connected but slow | Region distance and proxy product type |
| One app bypasses the proxy | Shadowrocket routing mode and rules |
| Frequent drops | Try another fixed ISP IP, then check local network stability |
References
every Thursday.
Hosting reviews, builder comparisons, performance tips, and plugin picks — curated weekly for WordPress site owners and builders.