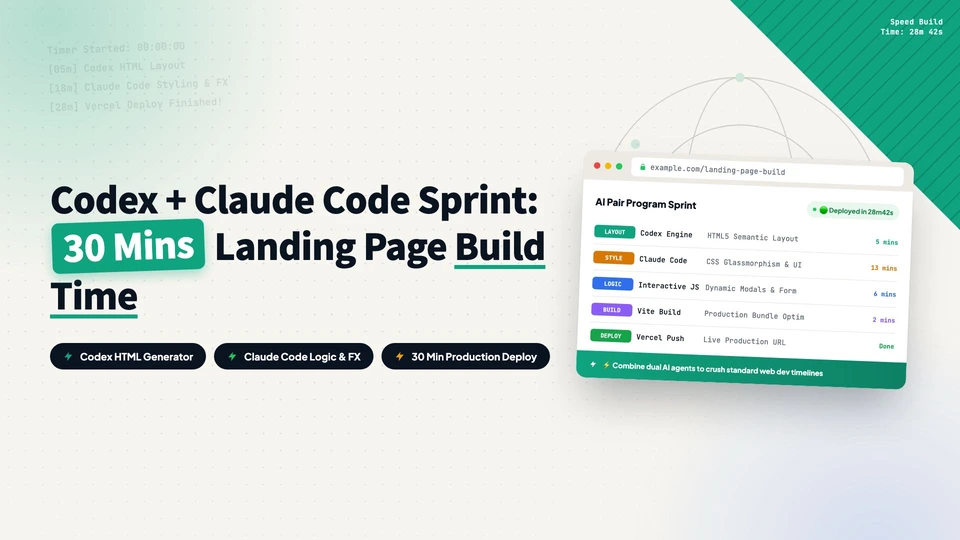
Building a landing page in Elementor used to take me half a day. With Codex and Claude Code, the same page now takes under 30 minutes. This post breaks down the four-step workflow: AI generates HTML from Markdown, inline styles get extracted into a standalone CSS file, SEO metadata and Schema are generated in the same pass, and everything deploys to WordPress with AIOSEO filled in automatically via a small mu-plugin. It also covers the manual versus automated split and an efficiency comparison against drag-and-drop editors.
Why I swapped drag-and-drop editors for Agent CLI tools
Building a landing page in Elementor used to take me half a day, from dragging modules and adjusting spacing to checking every breakpoint. With Codex and Claude Code, the same page now takes under 30 minutes, and the code comes out cleaner and faster to load. This post walks through the whole workflow.
The core idea is four steps: AI turns Markdown into a complete HTML page, inline styles get extracted into a separate CSS file, SEO metadata and Schema are generated alongside, and the result deploys to WordPress with AIOSEO filled in automatically.
Step 1: From Markdown to a previewable HTML file
Everything starts with a Markdown document that lays out the page structure: heading levels, paragraphs, lists, FAQ entries. Then you hand it to an Agent CLI. The prompt can be short:
Based on the following Markdown content, generate a responsive Landing Page HTML file.
Requirements:
1. Modern clean design
2. Full Hero area, features section, FAQ accordion, CTA buttons
3. All styles inline in a style tag
4. Mobile responsive
The AI returns a single HTML file you can open locally by double-clicking, with all CSS and JS inlined. Check the design in the browser first, and ask the AI to change anything you do not like. That is still much faster than adjusting things by hand in Elementor.
Do not chase pixel-perfect output at this stage. Confirm the information hierarchy and the overall style direction, and move on. The CSS can be fine-tuned later once it is extracted.
Step 2: Separating styles from content
The generated HTML works as-is, but with every style inside a style tag the markup is bloated. Mixing the two also causes two practical problems: the browser has to re-parse a large amount of inline CSS on every load with no cache to reuse, and search engine crawlers see an HTML file diluted by style code, with a lower share of useful content.
The key move is extracting inline styles into a standalone CSS file:
- Ask the AI to pull all style blocks out of the HTML and save them as a .css file
- Keep only clean content structure in the HTML: semantic tags, sensible hierarchy, no redundant styles
- Upload the CSS file to the child theme assets/css directory on the server
- When publishing, paste only the clean HTML into a Custom HTML block in Classic Editor
After separation, HTML size usually drops by 60% to 80%. The caching benefit of a standalone CSS file depends on the setup: if each landing page gets its own CSS, the cache helps on repeat visits to that same page, which no longer re-downloads the stylesheet. If multiple pages share one CSS file, cross-page visits also hit the cache. The LCP and FCP improvement comes from the first case, since the first screen no longer waits for inline style parsing.
Step 3: Have the AI output SEO metadata and Schema too
This step is easy to skip, and it pays off. Ask the AI to produce the full SEO configuration while it generates the page, so a plugin can fill everything in later without manual copy-paste.
Meta title and meta description
Add one line to the prompt:
Also generate the following SEO info:
1. Meta Title (50-60 chars, include core keywords)
2. Meta Description (120-160 chars, include a call to action)
Schema structured data
Schema is how search engines understand what a page is about. I ask the AI to generate three types for every landing page:
| Schema type | What it does | Search appearance |
|---|---|---|
| BreadcrumbList | Marks the page position in the site hierarchy | Breadcrumb path in search results |
| FAQPage | Marks FAQ question and answer content | Expandable Q&A in search results |
| Custom Schema | Page-specific structured data | Rich snippets, sitelinks |
Ask for plain JSON output and paste it into the AIOSEO Custom Schema field later. Generate FAQPage only when the page actually has FAQ content, not for its own sake.
Step 4: Deploying to WordPress
Once the assets are ready, the deployment looks like this on a Hello Elementor child theme.
Upload the CSS file
Place the extracted CSS in the child theme directory:
wp-content/themes/hello-elementor-child/assets/css/your-landing-page.css
Register it in functions.php
Edit the child theme functions.php and hook the CSS to the target page with wp_enqueue_style:
function bdwt_enqueue_landing_page_css() {
    if (is_page('your-landing-page-slug')) {
        wp_enqueue_style(
            'bdwt-landing-page',
            get_stylesheet_directory_uri() . '/assets/css/your-landing-page.css',
            array(),
            '1.0.0'
        );
    }
}
add_action('wp_enqueue_scripts', 'bdwt_enqueue_landing_page_css');
Publish the clean HTML
Create a new page in wp-admin, switch to a Custom HTML block in Classic Editor, and paste the separated HTML without any style tags.
Fill AIOSEO automatically with a mu-plugin
AIOSEO manages the meta title, meta description, and Schema. To avoid filling these by hand every time, I keep a small mu-plugin in wp-content/mu-plugins/ that exposes a REST API. The Agent CLI authenticates with a WordPress App Password and does three things automatically: writes the meta title into its field, writes the meta description into its field, and puts the complete Schema JSON into Custom Schema mode.
After adding the custom Schema, remove the WebPage Schema AIOSEO generates by default. Otherwise the page outputs two Schema blocks and search engines get confused. Delete the default WebPage entry in the AIOSEO Schema settings.
Generate the App Password under Users, your profile, Application Passwords in wp-admin. It differs from your login password and can be revoked at any time. Give the CLI tool only the permissions it needs.
Manual vs automated: where I draw the line
In theory the whole pipeline can run fully automated if you also hand the CLI the server SSH keys. I keep two steps manual: uploading the CSS and editing functions.php.
| Step | Manual | Automated |
|---|---|---|
| Upload CSS | FTP or file manager | Possible |
| Edit functions.php | Theme file editor | Possible |
The reason is a security boundary. An App Password only reaches the REST API surface, while an SSH key means full filesystem control. Opening the whole server to a CLI is a much bigger risk than spending two minutes uploading one file, so I draw a clear line between convenience and safety.
If the site has solid backups and a staging environment, full automation works too. When you operate directly on production like I do, those two manual steps do not slow things down much.
The full workflow and the efficiency comparison
Put together, the flow is four steps: AI generates a previewable HTML page with inline styles from Markdown, styles are extracted into a standalone CSS file so the HTML stays clean, SEO metadata and Schema are generated in the same pass, and the final deploy uploads the CSS, registers functions.php, publishes the HTML, and lets the mu-plugin fill AIOSEO.
The workflow in four steps
AI generate
Turn Markdown into previewable HTML with inline styles.
Separate styles
Extract style blocks into a standalone CSS file.
SEO prep
Generate meta title, description, and Schema.
Deploy
Upload CSS, register functions.php, publish HTML, fill AIOSEO.
Against the drag-and-drop editor, the difference shows up mainly in time, code quality, and batch capability:
| Dimension | Elementor drag-and-drop | Agent CLI workflow |
|---|---|---|
| Time per page | 2-4 hours | 15-30 minutes |
| HTML quality | Redundant nesting, heavy divs | Clean and semantic |
| Page load performance | Average | Excellent |
| SEO friendliness | Needs extra work | Built in |
| Schema markup | Written by hand | Generated by AI |
| Batch production | Hard | Easy |
| Responsive design | Per-breakpoint tweaks | Handled in one pass |
Using Agent CLI tools for landing pages replaces the drag-and-drop editor, not the designer. You still need taste and content strategy, but the execution layer gets roughly ten times faster.
every Thursday.
Hosting reviews, builder comparisons, performance tips, and plugin picks — curated weekly for WordPress site owners and builders.