Buy the Hostinger Business + AI plan ($3.99/mo for 48 months + 3 months free), register a $0.01 domain, install WordPress with one click, run the initial setup, and pick a theme. Zero to a live site in 30 minutes, with an exclusive 20% discount link.
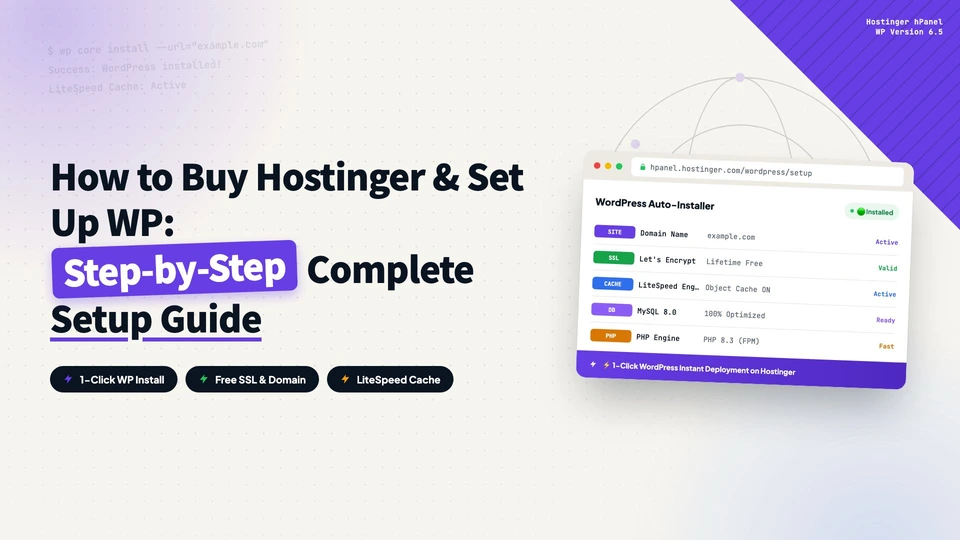
Once you have picked your Hostinger WordPress hosting plan, the next step is to purchase it, register a domain, and launch your first WordPress site. This guide walks you through the whole process, from checkout to a live website, and explains what to click and what to fill in at every step.
Before you start: enter Hostinger through bdwebtek.com/hostinger to claim an extra 20% discount on top of the site-wide promos. The discount stacks automatically, no extra steps needed.
Step 1: Purchase the Business + AI Plan
On the Hostinger homepage, go to Services in the top navigation, then Managed Hosting for WordPress. You will see the three-plan comparison page: Premium, Business + AI, and Cloud Startup + AI. The differences between them are covered in our Hostinger hosting plan comparison.
Go with the Business + AI tier. For just $1/mo more than the entry-level plan, you get AI tools, a staging environment, CDN, daily backups, and double the performance. It is the best value of the three tiers.
In the billing cycle selector, pick 48 months. The 48-month price is $3.99/mo with 3 extra months free, which works out to 51 months total. A 12-month term costs $7.99/mo, nearly double. And when the contract expires, the renewal price jumps to $18.99/mo. Buying the full 48 months locks in the promo rate for more than four years.
After confirming the plan and billing cycle, click Add to Cart, enter your email, choose a payment method (credit card, PayPal, Google Pay, all supported), and complete the purchase.
Step 2: Register Your Domain (Just $0.01)
The Business plan includes a hidden perk: your first year of a .com domain costs only $0.01 (as of May 2026, check the checkout page for the current offer).
Path: hPanel Dashboard → left sidebar Domains → click Get a New Domain → type your desired domain in the search box.
Domain name tips: stick with .com when possible, it has the highest recognition and is best for SEO; keep it short, 15 characters or fewer is ideal; avoid numbers and hyphens, they are easy to mistype; if .com is taken, .net or .co are solid alternatives.
When you find an available domain, click Add to Cart and complete the purchase. Buying the domain on Hostinger means no DNS configuration is needed: the system automatically points the domain to your hosting account, saving you from setting up A records or nameservers.
Step 3: Create Your WordPress Site
With the domain ready, it is time to build the site. Path: hPanel Dashboard → left sidebar Websites → click Add Website → select WordPress.
A WordPress installation wizard will appear. Fill in the following:
| Field | What to Enter | Notes |
|---|---|---|
| Website Title | Your site name | Can be changed later in the WordPress dashboard |
| Language | Site language | Pick the language of your audience |
| Admin Username | Admin username | Avoid admin, it is the first target for brute-force attacks |
| Admin Password | Strong password | Generate one with a password manager |
| Admin Email | Your email | Used for password resets and notifications |
Do not use admin, administrator, or root as the admin username. Brute-force scripts try these first; use a unique, uncommon username.
Click Install. Hostinger finishes the WordPress installation and configuration in a few minutes. You will see a success page with your site address and admin login link.
Step 4: Initial WordPress Configuration
Log in to the WordPress dashboard (yourdomain.com/wp-admin) with the admin account you just created. Do these right away.
Check the SSL certificate
Hostinger installs a free SSL certificate automatically. Confirm the padlock icon shows in the browser address bar. If it did not activate automatically, enable it manually under hPanel → Security → SSL.
Set permalinks
Go to Settings → Permalinks and choose Post name. This matters for SEO: it turns yoursite.com/?p=123 into yoursite.com/article-title/.
Install essential plugins
Hostinger pre-installs some plugins. Add these:
- Yoast SEO or Rank Math, for SEO
- Wordfence Security, for firewall and protection
- LiteSpeed Cache, for caching. Hostinger runs LiteSpeed servers, so LiteSpeed Cache is the natural fit
- UpdraftPlus, as an extra backup layer on top of the automatic backups
Delete default content
WordPress ships with a Hello World sample post and a Sample Page. Delete both to keep the site clean, which helps SEO and user experience. Path: Posts → move Hello World to trash; Pages → delete Sample Page.
Step 5: Choose a Theme and Start Building
Hostinger pre-installs a default theme. You can switch to something that fits your needs, in one of two ways.
Option 1: Use a free theme
Go to Appearance → Themes → Add New in the WordPress dashboard, browse thousands of free themes sorted by popularity or rating, then Install and Activate the one you like.
Option 2: Use the AI website builder
Business and higher plans include Hostinger’s AI Website Builder. Answer a few questions about your business type and style preferences, and the AI generates a complete site in minutes, including layout, copy, and images. You can edit everything after generation. Path: hPanel → Websites → your site → Edit Website → AI Builder.
Summary: From Zero to Live in 30 Minutes
Here is the whole flow again:
- Buy the Business + AI plan with a 48-month term, locking in $3.99/mo
- Register a domain for $0.01 the first year: Domains → Get a New Domain → search → buy
- Install WordPress with one click: Websites → Add Website → WordPress → fill in the details
- Run the initial setup: SSL, permalinks, plugins, remove default content
- Pick a theme and start building, with a free theme or the AI builder
Once you know the flow, the whole thing takes 20-30 minutes. Hostinger automates most of the technical details: no DNS setup, no manual server configuration, no command line. For beginners, it is one of the friendliest ways to get a WordPress site online.
Enter through bdwebtek.com/hostinger to get the extra 20% discount, and start building your first WordPress site.
Disclaimer: some links in this article are affiliate links. Buying through them costs you nothing extra, but this site may earn a small commission that keeps the blog running. Thank you for the support.
every Thursday.
Hosting reviews, builder comparisons, performance tips, and plugin picks — curated weekly for WordPress site owners and builders.