Logging into several accounts on the same platform from one device is routine, and swapping proxies is not enough, because the browser fingerprint stays identical and the accounts still get linked. This walkthrough sets up one AdsPower profile per account: sign up, click New profile, point the Proxy tab at a dedicated residential exit, then open the profile and check its fingerprint values.
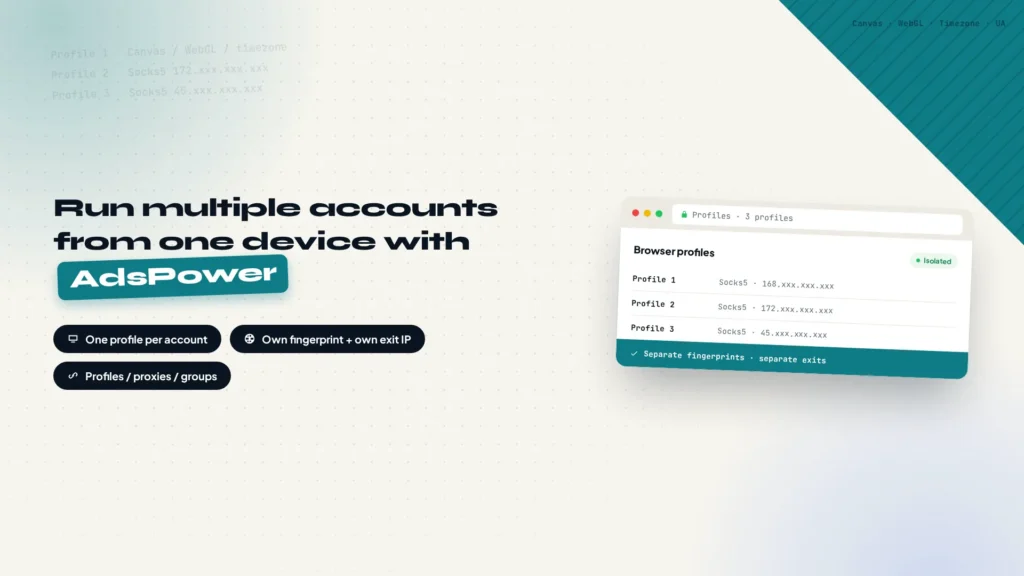
Sooner or later, running social media accounts means logging into several accounts on the same platform from the same device. The first instinct is to swap proxies: give each account its own exit IP and assume the platform can no longer tell the accounts belong to one person.
Swapping the IP alone is not enough. The IP is only part of the environment, and the browser carries a whole fingerprint of its own: Canvas and WebGL rendering output, the font list, timezone and geolocation, screen resolution, User-Agent, audio and hardware parameters, plus cookies and local storage. Those values are identical on one device, and platforms compare them against the IP, so the accounts still get linked and flagged together.
A fingerprint browser separates both things at once: every account gets its own browser environment, and each environment carries its own exit IP. With both links cut, the accounts are actually isolated. This walkthrough covers the full flow in AdsPower, using the residential proxy from the chain proxy setup in the previous post as the exit.
Step 1: Sign Up and Log In to AdsPower
Open the AdsPower site, register an account and sign in, then download and install the client. The client signs in to the same account, and the left sidebar becomes your working area for everything that follows: New profile, Profiles, Proxies and Groups.
Step 2: Click New Profile
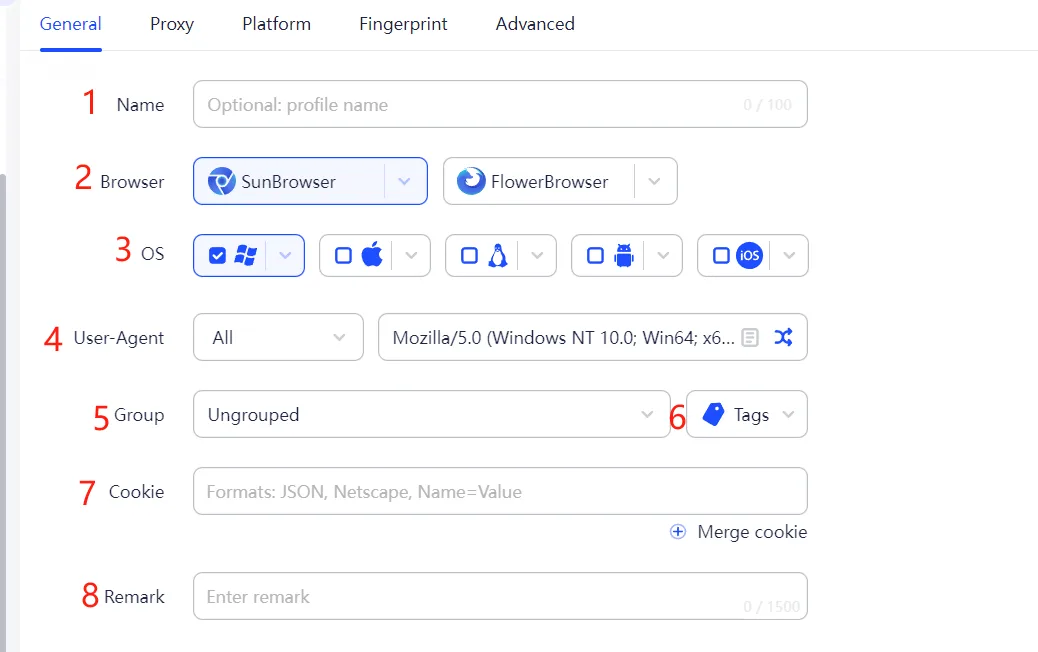
Click New profile in the upper left corner and the profile form opens on the right. It has five tabs: General, Proxy, Platform, Fingerprint and Advanced. On the General tab you fill in a profile name, a group and tags, and leave the browser kernel on the default SunBrowser.
Each profile keeps its own set of fingerprint values, including the kernel version, operating system, User-Agent, language, timezone, resolution, fonts and Canvas. That is the foundation of the isolation, every profile is created with a different set.
What the fingerprint environment actually isolates
Platforms do not rely on the IP alone to decide whether two sessions come from the same device. They also read Canvas and WebGL output, the font list, timezone and geolocation, resolution, User-Agent, audio and hardware parameters. AdsPower gives every profile its own set of those values and pairs it with its own exit IP, so there is no overlapping fingerprint left for the platform to match on. That goes further than changing an IP and clearing cookies.
Step 3: Set Up the Proxy
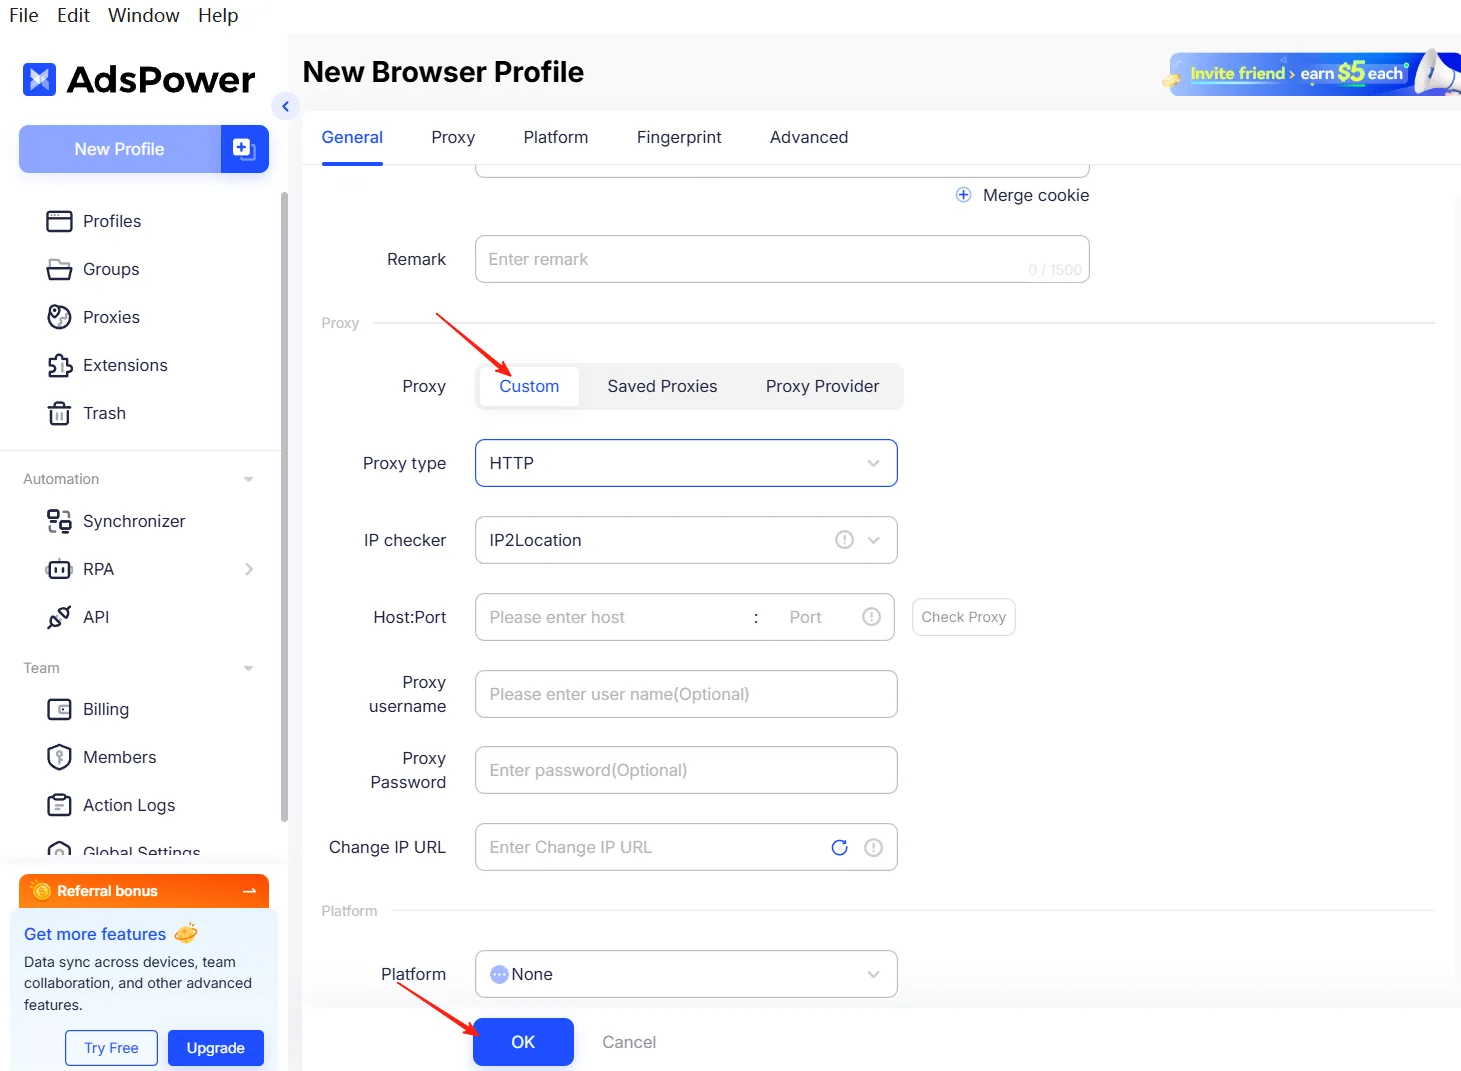
Switch to the Proxy tab, choose Custom, set the proxy type to Socks5 and enter the residential proxy you bought in the previous post. The fields go like this:
- Proxy type: Socks5
- Host and port: the IP and port of your residential proxy, for example 168.xxx.xxx.xxx and 1080
- Proxy username: the username on your order
- Proxy password: the password on your order
- IP checker: leave the default IP2Location
Click Check proxy when the fields are filled in. The panel shows the location and timezone behind that exit, so confirm there is no error before clicking OK.
PRO TIP One exit per profile
Do not point several accounts at the same exit IP. Once the IP and the fingerprint environment are separated but the exit is shared, the platform still has that one overlap to link the accounts with. Keep profile, account and exit in a one to one relationship and the isolation is complete.
Step 4: Open the Profile and Check the Fingerprint
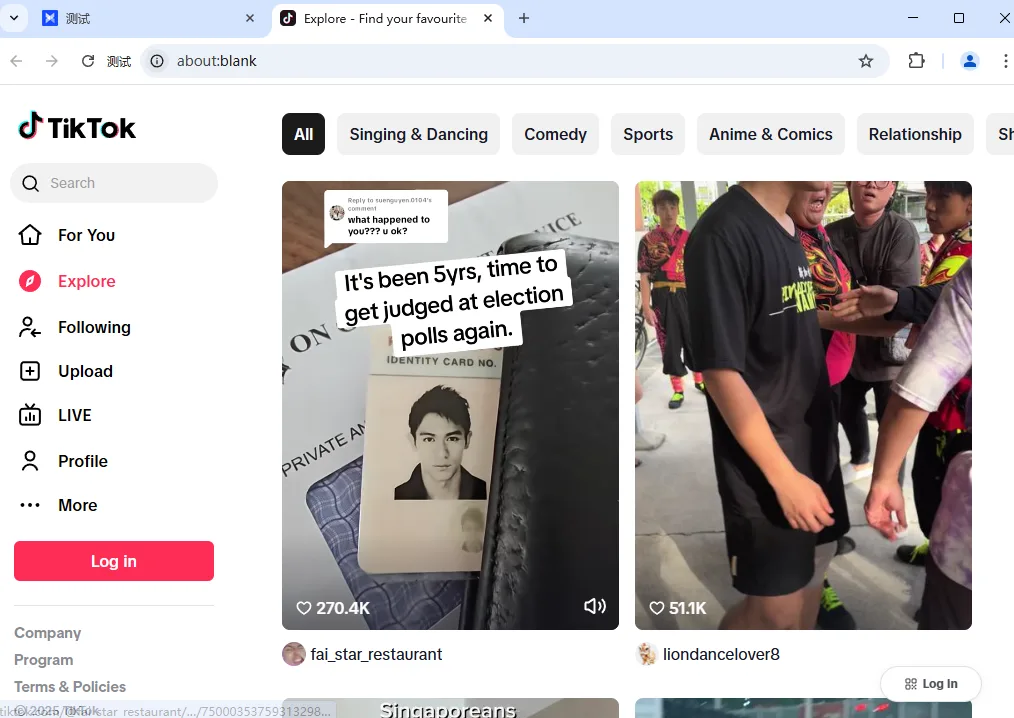
Once the profile is created, go back to Profiles in the left sidebar. The new entry is in the list, and clicking Open in the Actions column starts it. It opens an independent browser window whose cookies, cache and fingerprint values belong to that one profile and do not touch your everyday browser.

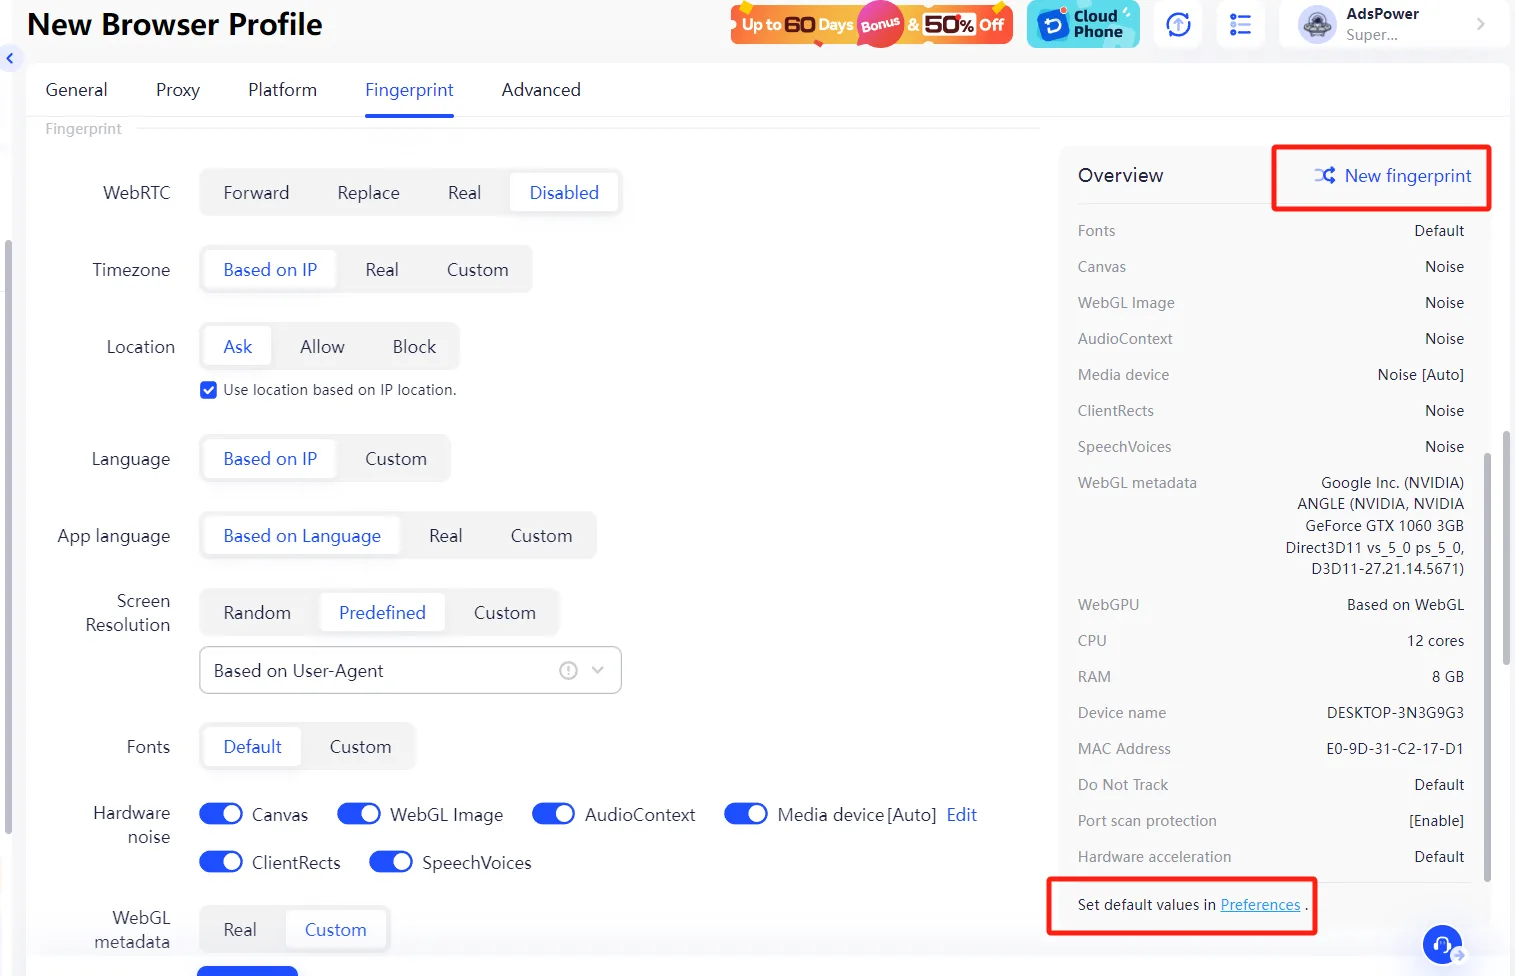
If you want to see what the profile pretends to be, the Fingerprint tab of that profile lists the values it runs with: kernel version, operating system, User-Agent, language, timezone, WebGL and Canvas. When they match what you configured, the profile is clean and ready to use.
The Whole Flow in Four Steps
One AdsPower profile per social media account, four steps in total.
The whole flow: four steps
Sign up and install
Create the AdsPower account
Create the profile
Name and group it, fingerprint generated
Set the proxy
Socks5 exit plus Check proxy
Open the profile
Start it and check the fingerprint
Closing Thoughts
Once profiles start piling up, the thing that goes wrong first is losing track of which profile belongs to which account. Set the naming and grouping rules before you create anything: name each profile after the platform and its purpose, split groups by platform or by business line, and every profile you add later follows the same pattern instead of needing to be opened one by one to find out what it is.
Also resist logging in straight after a profile is created. Open an IP lookup page inside the new profile first and confirm the exit IP and the environment values are what you expect, then log in. That check is far cheaper than debugging a flagged account later.
every Thursday.
Hosting reviews, builder comparisons, performance tips, and plugin picks — curated weekly for WordPress site owners and builders.