WordPress speed is not just a plugin problem. This guide deploys caching at every layer of a Linux VPS: OPcache for compiled PHP, Redis for database results, Nginx FastCGI Cache for full-page HTML, plus Cloudflare CDN on top. Every configuration is copy-paste ready, and a small 2-core 2 GB VPS can serve pages close to instantly.
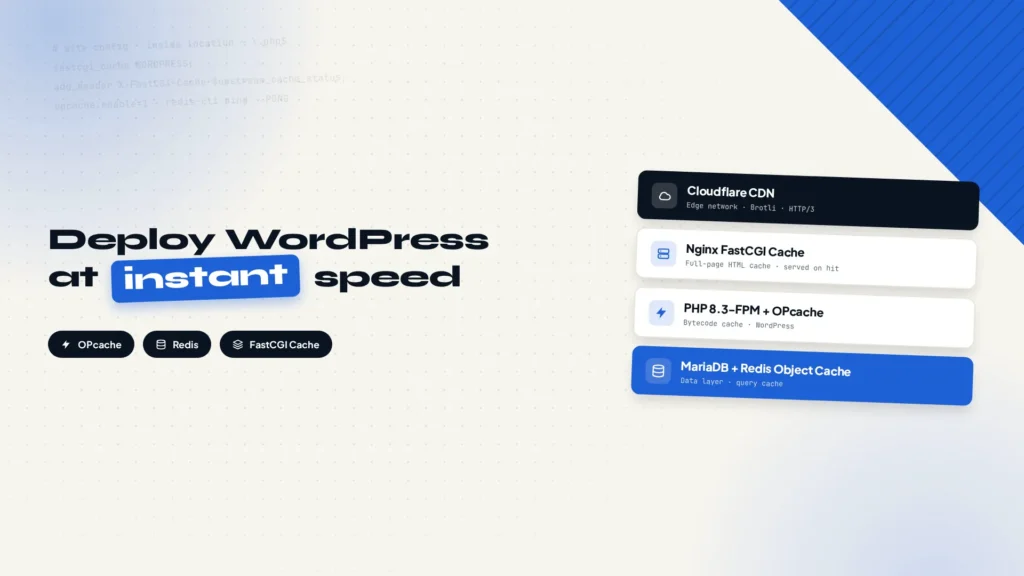
WordPress speed is not a plugin problem. A cache plugin alone will not make a busy site load fast, because the slow part is the request pipeline itself. This guide deploys caching at every layer on a Linux VPS: OPcache for compiled PHP, Redis for database results, Nginx FastCGI Cache for full-page HTML, and Cloudflare CDN on top. Every config below is copy-paste ready.
The examples use a Debian or Ubuntu server running Nginx, PHP 8.3-FPM, MariaDB and WordPress, with example.com installed at /var/www/example.com. If your stack was installed with a control panel, Docker, or compiled by hand, paths and service names will differ, but the configuration itself carries over. Replace the sample domain, paths and parameters with your own before you start.
Why WordPress Sites Get Slower Over Time
A fresh WordPress site feels instant. After a few years of plugins, posts and traffic, the same page can take three seconds or more. WordPress is not the problem; the default request flow is. Every visit reruns the whole chain from scratch.
Default request chain: every step is computed live
Visitor
Sends a request
→
Nginx
Accepts request
→
PHP-FPM
Runs PHP
→
WordPress
Loads theme and plugins
→
MySQL
Reads data
→
HTML output
Sent back
For every visitor, WordPress reloads the theme and plugins, recompiles the PHP, queries MySQL, and assembles a fresh HTML document. With more traffic or a small server, the delay shows up in every step because everything is computed live. Caching fixes this by doing the repetitive work once and reusing the result.
Fast WordPress requires optimization on four layers:
| Layer | Component | What it solves |
|---|---|---|
| Web server layer | Nginx FastCGI Cache | Serves page HTML straight from Nginx; requests never reach PHP or MySQL |
| PHP layer | OPcache | Caches compiled bytecode and skips repeated compilation |
| Data cache layer | Redis Object Cache | Caches database query results and relieves MySQL |
| Network layer | Cloudflare CDN | Serves static assets from nearby edges |
The first three layers are deployed fully on the server in this guide; the network layer gets a section of its own. Only when all four are in place does a site really approach instant loading.
The Recommended Architecture, Before You Start
The idea is simple: stop as many requests as possible at the cheapest, closest stage. Static files come back from Cloudflare edges, full pages come back from the Nginx FastCGI Cache, and only cache misses reach PHP and MySQL, where OPcache and Redis catch the expensive work inside.
Recommended stack: requests travel down, caches intercept layer by layer
User
Browser request
Cloudflare CDN
Network cache and acceleration
Nginx
Web server
FastCGI Cache
Page-level cache, serves on hit
PHP 8.3-FPM
Handles cache misses
OPcache
Bytecode cache
WordPress
Application
Redis Object Cache
Object and query cache
MariaDB
Data storage
The rest of this guide follows six steps: install the stack, enable OPcache, install Redis, connect the cache plugin, configure FastCGI Cache, and verify the result.
The deployment path: three cache layers in six steps
Install the stack
Nginx, PHP 8.3, MariaDB
Enable OPcache
Cache compiled PHP
Install Redis
Server and PHP extension
Connect the plugin
Enable Redis Object Cache
Configure FastCGI Cache
Let Nginx cache the HTML
Verify the caches
MISS turns to HIT, Redis Connected
Install the Base Stack
The prerequisite is a Linux VPS where you can install Nginx and PHP-FPM. If you do not have one yet, pick any provider that sells unmanaged VPS plans with Ubuntu or Debian images. Hostinger is a solid starting point: its KVM plans begin at 2 cores and 2 GB of RAM, which is enough for everything in this guide, and you can scale up later as the site grows. The commands below target Debian and Ubuntu.
- OS: Ubuntu or Debian
- Web server: Nginx
- PHP: 8.3-FPM
- Database: MariaDB
On a clean Debian or Ubuntu system, install everything in one go:
sudo apt update
sudo apt install nginx php8.3-fpm php8.3-mysql php8.3-redis mariadb-server redis-serverThen create the site directory, upload WordPress, and point an Nginx server block at it. If you use a control panel such as CloudPanel, or a Docker image, the file paths and service names in this guide change, but the configuration values do not.
Enable PHP OPcache
WordPress is PHP, and PHP recompiles every file it loads on every request. The more plugins you run, the more compilation happens. OPcache is PHP’s built-in bytecode cache: it keeps compiled results in memory so the second execution reuses them instead of recompiling.
On Debian and Ubuntu, install the extension and make sure it is loaded by PHP-FPM:
sudo apt install php8.3-opcache
php -m | grep opcacheAppend these settings to the FPM php.ini file (/etc/php/8.3/fpm/php.ini on Debian and Ubuntu):
opcache.enable=1
opcache.memory_consumption=128
opcache.interned_strings_buffer=32
opcache.max_accelerated_files=30000
opcache.revalidate_freq=60
opcache.validate_timestamps=1
opcache.fast_shutdown=1
opcache.enable_cli=1
opcache.jit=0Save the file and restart PHP-FPM:
sudo systemctl restart php8.3-fpmmemory_consumption and max_accelerated_files are sized for small and medium sites. If you run a heavy plugin set, raise both.
Install Redis: Server and PHP Extension, Both Required
Redis is the object cache backend in this stack. It stores WordPress objects and database query results so MySQL is not hit twice for the same data. Two pieces must be in place: the Redis server and the PHP redis extension. Both are required, and neither works alone.
- Redis Server: the redis-server package from the install command above. Enable and start it, then check it with
redis-cli ping. - PHP Redis extension: the php8.3-redis package. Confirm it is loaded after the PHP-FPM restart.
sudo systemctl enable --now redis-server
redis-cli pingA healthy server answers:
PONGConnect WordPress to Redis Object Cache
With Redis running on the server, install the plugin from the WordPress admin:
- Go to Plugins, search for Redis Object Cache, install and activate it.
- Open Settings, then the Redis page, and click Enable Object Cache.
- The page should show Status: Connected.
The plugin connects to localhost on port 6379 by default, so no configuration is needed. Only change Host and Port if Redis runs on a different machine.
Configure Nginx FastCGI Cache at the Server Level
FastCGI Cache is not a WordPress plugin; it is a built-in Nginx feature. It writes the full page HTML to cache files, and on a hit Nginx returns the file directly. PHP, WordPress and MySQL never get involved. Because it does not consume PHP workers, it is the single biggest speed win in this guide. Configuration happens in three steps.
Step 1: Declare a Cache Zone in the Main Nginx Config
Edit /etc/nginx/nginx.conf and add this line inside the http block:
fastcgi_cache_path /var/cache/nginx/fastcgi_cache levels=1:2 keys_zone=WORDPRESS:100m inactive=60m max_size=1g;The line defines where cache files live and names the zone: keys_zone=WORDPRESS:100m allocates 100 MB of shared memory for the index under the name WORDPRESS, inactive=60m removes files not accessed for 60 minutes, and max_size=1g caps disk usage at 1 GB. The site config references the zone by that same name. Create the cache directory first:
sudo mkdir -p /var/cache/nginx/fastcgi_cache
sudo chown www-data:www-data /var/cache/nginx/fastcgi_cacheStep 2: Enable the Cache in Your Site Config
Open the server block for your site (/etc/nginx/sites-available/example.com in the Debian layout), find the location ~ \.php$ block, and add inside it:
fastcgi_cache WORDPRESS;
fastcgi_cache_valid 200 1d;
fastcgi_cache_valid 301 302 10m;
fastcgi_cache_bypass $skip_cache;
fastcgi_no_cache $skip_cache;
add_header X-FastCGI-Cache $upstream_cache_status;fastcgi_cache WORDPRESS references the zone declared in the main config; fastcgi_cache_valid 200 1d caches normal pages for one day, while 301 and 302 redirects are cached for 10 minutes. The last line adds the cache status to the response headers so you can verify what is happening. The $skip_cache variable is not defined yet; the next step adds it.
Step 3: Exclude Requests That Must Not Be Cached
In the same location block, define the variable first, then add the three conditions:
set $skip_cache 0;
if ($request_method = POST) {
    set $skip_cache 1;
}
if ($http_cookie ~* "wordpress_logged_in") {
    set $skip_cache 1;
}
if ($request_uri ~* "/wp-admin/") {
    set $skip_cache 1;
}POST requests (comment submissions, form actions), requests with a login cookie, and everything under wp-admin must bypass the cache. Caching them causes problems that are hard to diagnose, such as comments that never appear or login states leaking between users. The set $skip_cache 0; line must run before the if checks.
Test the configuration and reload Nginx:
sudo nginx -t
sudo systemctl reload nginxnginx -t prints syntax is ok when the configuration is valid, and points at the exact line when it is not.
Skip WP Super Cache and Similar Page Cache Plugins
FastCGI Cache and WP Super Cache do the same job: they cache the full page HTML. Running both means two independent page caches on one server. You edit a post, one cache updates, the other keeps serving the old page, and tracing the problem takes forever.
WARNING Keep Only One Page Cache Layer
Do not run Nginx FastCGI Cache together with WP Super Cache. If you already have WP Super Cache installed, deactivate and delete it. The recommended combination is FastCGI Cache plus OPcache plus Redis Object Cache; each layer owns one job and they do not overlap.
Add Cloudflare CDN and Optimize Images
The three server-side caches handle what happens on the machine. Distance to visitors and image weight are network problems, and they need a different layer.
Put the Site Behind Cloudflare CDN
The free plan includes CDN caching, Brotli compression and HTTP/3. Once the domain is on Cloudflare, static requests are answered from the edge closest to the visitor and dynamic requests go back to Nginx, so CDN and FastCGI Cache each own a different stage. While you are in the Cloudflare dashboard, also add the standard security headers; the setup is covered in the Cloudflare security headers guide.
Cache Static Assets for Longer
CSS, JS and image files live at stable URLs, so their browser cache lifetime can be long. Versioned assets (typical for bundled CSS and JS) can safely be cached for a year; when the file name changes on the next deploy, browsers fetch the new file automatically.
Serve Images as WebP or AVIF
Images are usually the largest part of a WordPress page. Convert images to WebP or AVIF and compress them before upload; combined with CDN delivery, this shrinks the first screen dramatically. If your theme does not convert automatically, run a one-off conversion through an image plugin.
Verify the Caches Are Actually Working
Do not declare victory right after the configuration. FastCGI Cache and Redis each have their own check.
Start with FastCGI Cache. Run this from the server and replace the domain with yours:
curl -I https://example.comThe first run shows X-FastCGI-Cache: MISS in the response headers. Run the same command again and it should show X-FastCGI-Cache: HIT, which means Nginx is serving the page from cache and PHP and MySQL are no longer involved in that request.
PRO TIP Testing and Cache Clearing Habits
curl sends no cookies, so it is naturally a visitor request. If you test in a browser, use a private window: requests with the wordpress_logged_in cookie are excluded by the rules above and will never show HIT. One more thing to know: FastCGI Cache does not purge a page automatically when you update it. After publishing or editing content, if the front end still shows the old page, clear the files under /var/cache/nginx/fastcgi_cache and reload. Knowing that directory saves you from restarting the whole server.
Then check Redis. In the WordPress admin, go to Tools, Site Health, then the Info tab, and find Redis in the list. Connected means the object cache is working. If it says it cannot connect, go back and confirm that redis-server is running and the php8.3-redis extension is loaded.
Final Stack and Where It Fits
When everything is done, a site looks like this from the outside in:
- Network layer: Cloudflare CDN serves static assets from the edge
- Web server: Nginx serves page HTML from the FastCGI Cache
- PHP layer: PHP 8.3-FPM with OPcache skips recompilation
- Data layer: MariaDB with Redis Object Cache keeps query results in Redis
- Application: WordPress itself
This stack fits read-heavy sites: company websites, SEO blogs, content marketing sites, technical blogs, and small to medium WordPress projects. With all four layers in place, even a 2-core 2 GB VPS serves pages close to instantly, because most requests never reach PHP and MySQL at all.
Performance is only half of the launch checklist. Login protection, backend access limits and Cloudflare Security Rules are covered in the WordPress security hardening guide. If you also want to squeeze the content and plugin side, the 15-trick WordPress speed checklist covers the lighter optimizations; the two guides together cover most of what a WordPress site needs.
every Thursday.
Hosting reviews, builder comparisons, performance tips, and plugin picks — curated weekly for WordPress site owners and builders.