Block country IPs in WordPress with the .htaccess method: download an IP list from IP2Location, paste it into .htaccess on Hostinger, and deny access by country. Works on any Apache-based host.
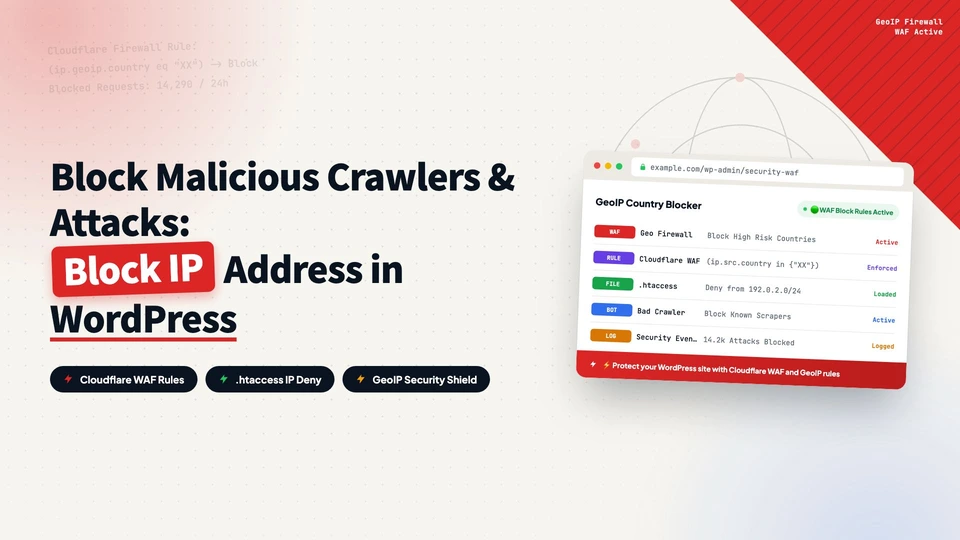
Once your website is live, it is normally accessible to users worldwide. But sometimes you want to block traffic from specific countries, for example when you only serve a particular region or want to stop malicious traffic from one area. This guide shows how to block country IPs with the universal .htaccess method, which works on virtually any Apache-based host.
The example uses Hostinger, but the same steps apply to any host with a file manager.
Block Country IPs Using the .htaccess File on Hostinger
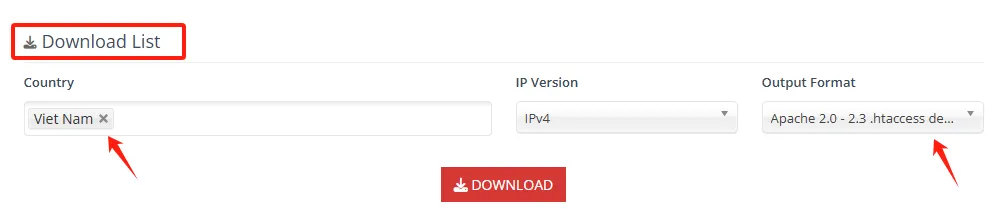
Step 1: Open the IP2Location Firewall IP list tool. Scroll down to Download list, select the country you want to block, and in the Output Format dropdown choose the format that matches your web server. For a Hostinger server, select the second option, Apache 2.0-2.3 .htaccess deny. Click DOWNLOAD.
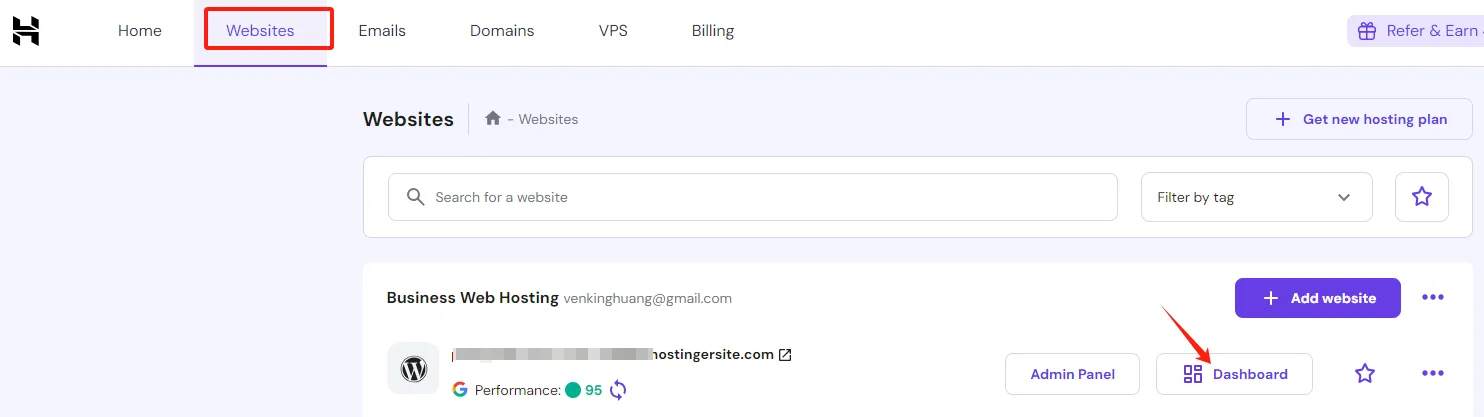
Step 2: Log in to the Hostinger dashboard and click the website you want to configure. Other hosts work the same way.
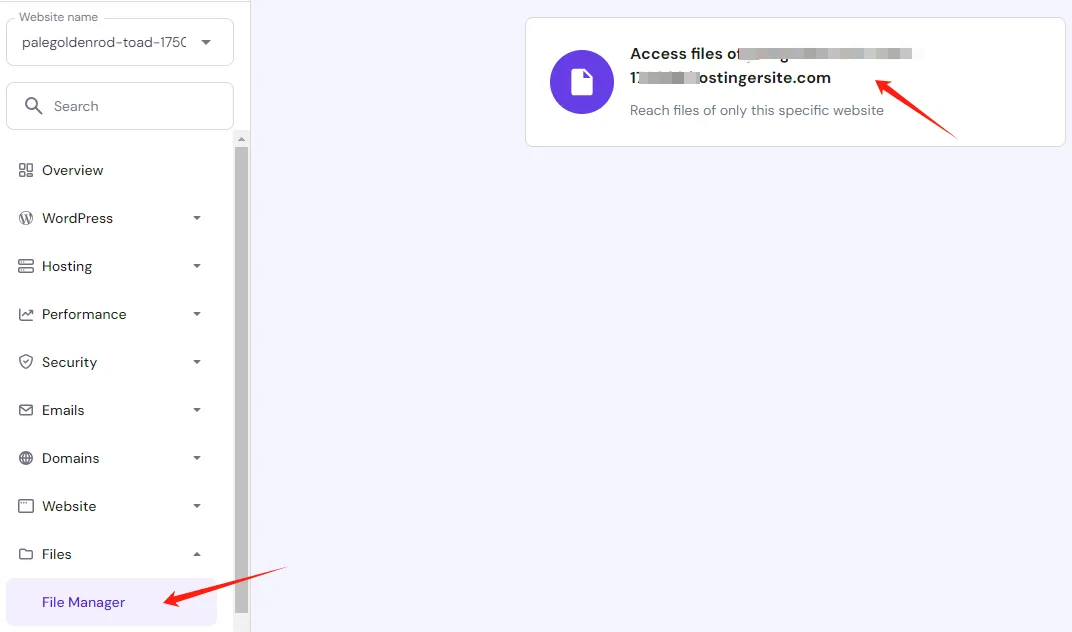
Step 3: Go into File Manager, then Access files.
Step 4: Double-click public_html.

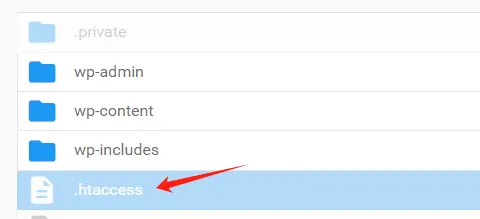
Step 5: Find the .htaccess file and double-click it.
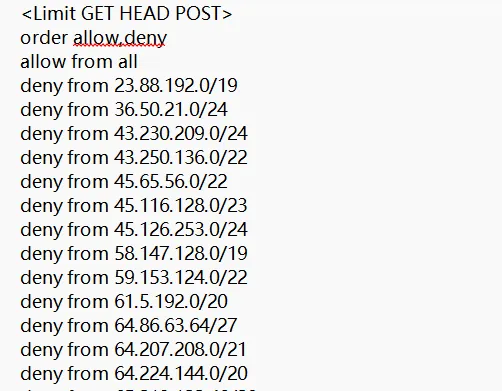
Step 6: Open the file you downloaded from IP2Location. It contains many IP addresses.
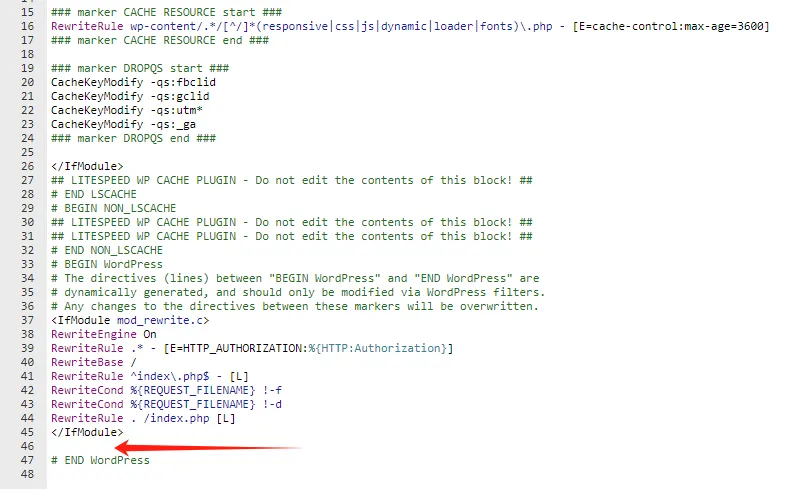
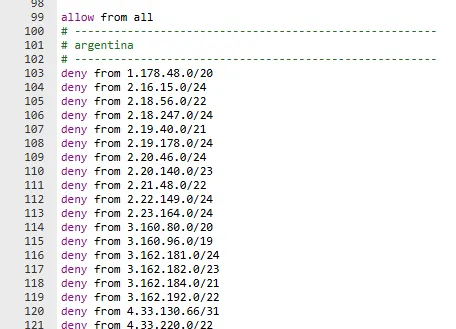
Step 7: In the .htaccess file, scroll to the bottom where the arrow points, and paste the IP addresses from the downloaded file. If you are blocking multiple countries, separate them with #————- lines.
Step 8: Click the save button at the top right to save the .htaccess file.
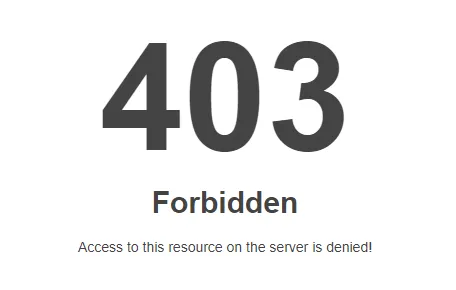
Step 9: Switch to an IP from the blocked country and test. The site should now be unreachable.
The .htaccess method is the most portable way to block countries: it works on any Apache-based server, with no host-specific tools or plugins required.
every Thursday.
Hosting reviews, builder comparisons, performance tips, and plugin picks — curated weekly for WordPress site owners and builders.