SPF, DKIM, and DMARC are the three DNS-based checks that prove your sending domain is legitimate. This article explains what each record does, how to add the TXT or CNAME records in Cloudflare DNS, and how to verify them by sending a test email to Gmail and looking for spf=pass, dkim=pass, and dmarc=pass.
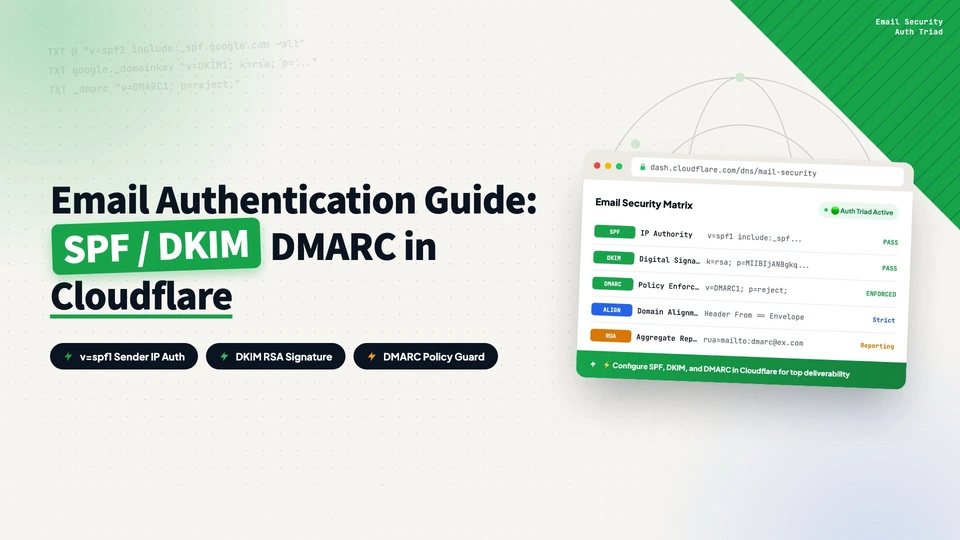
SPF, DKIM, and DMARC are three layers of authentication for your sending domain. Without them, a cold email system may not error out directly, but messages are much more likely to be downgraded by receivers, land in spam, or be flagged as forged.
What each record does
Here’s what each record is responsible for.
| Record | What it proves | Typical shape |
|---|---|---|
| SPF | The email comes from a server your domain authorized. | TXT @ "v=spf1 include:mailgun.org ~all" |
| DKIM | The email was signed by your domain and was not altered in transit. | TXT / CNAME selector._domainkey, provided by your email service |
| DMARC | What receivers should do when SPF or DKIM fails, and where reports go. | TXT _dmarc "v=DMARC1; p=none; rua=mailto:..." |
Cloudflare puts it simply: SPF authorizes sending sources, DKIM verifies the message wasn’t tampered with, and DMARC ties the two together while telling receiving servers what to do on failure.
Why cold email systems need this first
These records won’t turn a weak email into a good one, but they stop your mail from losing on authentication before the message is even read. A few practical points:
- Every sending domain needs its own records. Configuring only the root company domain is not enough.
- New domains should be authenticated before warm-up begins, not after deliverability problems appear.
- These records live in DNS. Where your website is hosted doesn’t matter; what matters is the current authoritative DNS provider. If your domain uses Cloudflare as authoritative DNS, add the records there.
Before you link a sending mailbox in Apollo (the IMAP/SMTP fields are covered in this guide on IMAP, POP, and SMTP), set these three records up first. Deliverability depends on it.
How to add them in Cloudflare
Log in to Cloudflare and open your domain; if your DNS is hosted there, this is where the records live. Then follow these steps:
- Open DNS → Records.
- Copy the exact TXT or CNAME records from Mailgun, Google Workspace, Microsoft 365, or your email provider.
- SPF and DMARC are usually TXT records. DKIM may be TXT or CNAME depending on the provider.
- Save, wait for DNS propagation, then verify inside your email provider.
For why developers generally prefer Cloudflare for DNS, see this article on hosting DNS on Cloudflare.
How to verify with Gmail
Don’t go live right after configuring. Send a test email first:
- Send a test email to a Gmail inbox.
- Open the message menu and choose Show original.
- Search for SPF, DKIM, DMARC, or Authentication-Results.
- Look for
spf=pass,dkim=pass, anddmarc=pass.
Start with DMARC set to p=none to observe, and only consider quarantine or reject after every legitimate sending source passes.
References
every Thursday.
Hosting reviews, builder comparisons, performance tips, and plugin picks — curated weekly for WordPress site owners and builders.