Mailgun will not send from your main domain until you add a sending domain and prove ownership with DNS records. This walkthrough covers the Add new domain form, the Sending, Tracking, and Authentication record groups, why Receiving records should be left alone, how long verification takes, and how to create a sending key, test it with one curl command, and hand it to your automation.
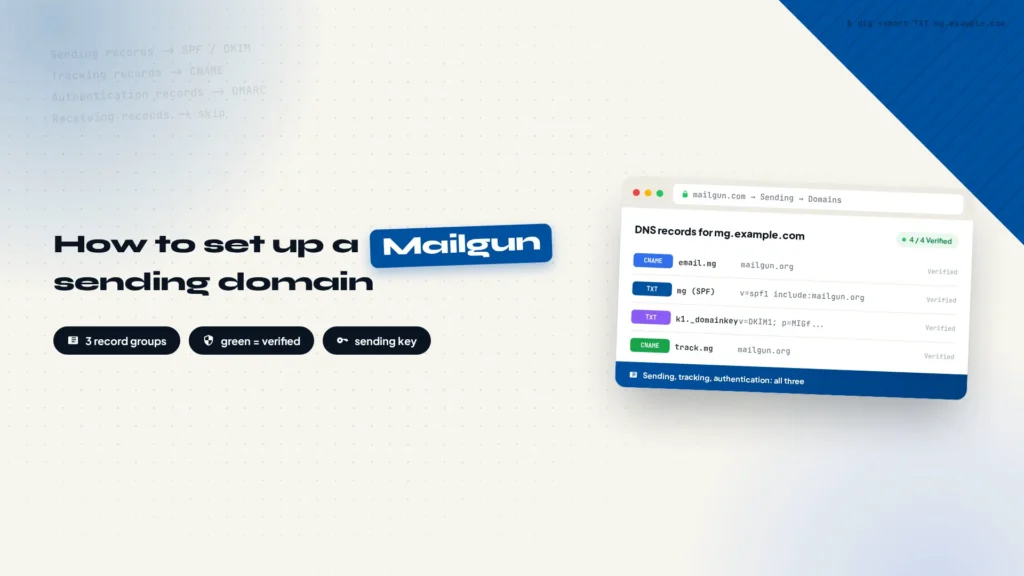
Once your Mailgun account is registered and subscribed, the first thing to do is not write sending code. It is to set up the sending domain. Until that domain passes verification, every piece of sending logic you write hits the same wall: the email never leaves, or it leaves and lands straight in spam.
Why the sending domain is added separately
To use Mailgun’s sending service, you add a sending domain inside the dashboard, then prove ownership of that domain with a handful of DNS records. When a recipient server receives your email, it checks SPF and DKIM to confirm the message really came from your domain and not from someone impersonating it.
A subdomain is the better choice for a sending domain. If it ever gets flagged by an email provider, the company’s main domain mailbox stays unaffected. If you need to create one, see How to Create a Subdomain in Cloudflare.
Adding the sending domain in Mailgun
After logging in, open the Send group in the left sidebar, click SENDING, then Domains, and use the Add new domain button in the top right corner. Only one field is really your decision: Domain name takes a subdomain such as mg.example.com, not your main domain.
Domain Region decides which sending endpoint you get. US is the default and maps to api.mailgun.net; EU maps to api.eu.mailgun.net, and you will need that when you write the sending code. Leave IP Assignment Option on the default shared IP, and only consider a dedicated IP once you send a few hundred messages a day consistently; Advanced Settings needs no changes on a first setup.
Click Add domain and the page jumps straight to the DNS Records view for that domain, where every listed record has to be copied into the DNS zone of your subdomain.
Configuring the three groups of DNS records
The DNS Records page splits the records into three groups. Each row shows a record type and name on the left, and the value to copy on the right. All three groups have to be filled in, down to the last row.
- Sending records: SPF and DKIM. These decide whether your mail passes domain authentication, which is what puts it in the inbox rather than the spam folder.
- Tracking records: the domain used for open and click tracking, usually pointing at Mailgun with a CNAME record.
- Authentication records: DMARC and friends, telling a receiving server what to do when a message fails authentication.
Leave the Receiving records group alone. It exists for inbound mail, and adding it writes an MX record on the subdomain that will fight with whatever mailbox records are already there.
Where you paste those values depends on who hosts your DNS. The entry points, field names, and the way common record types are filled in on both Alibaba Cloud DNS and Cloudflare are covered in How to configure DNS records in Cloudflare and Alibaba Cloud. Match the fields there and you are done.
Two things trip people up here. Copy each value whole, because a TXT value is long and cannot contain spaces or line breaks, and some DNS consoles wrap values in quote marks that Mailgun’s verification will not accept, so strip them before saving. The host name is relative as well: Mailgun gives you a prefix like em1234 or email, and the domain should not be appended a second time.
Waiting for the status to turn green
There is no button to press after saving the records. Mailgun re-checks DNS on its own schedule, and within 24 hours at the latest the Status column on every row turns green, which means verification passed.
In practice most domains go green within fifteen minutes. A record that stays grey or red usually means one of two things. Either a field was filled in wrong, most often a host name with the domain appended twice or a value that lost a chunk when it was copied, or the record has not propagated yet, which is common right after an NS change because the local recursive resolver is still holding the old answer. The DNS article covers how to check this with dig.
Creating a sending key
Once verification passes, find Sending Keys under Domain settings on the same page and click Add sending key. That key is the credential your automation uses to reach Mailgun’s sending service, and it authenticates both the API and SMTP.
Copy it the moment it is created, because the page never shows the full value again. Then send one test message to confirm the whole path works:
curl -s --user 'api:YOUR-SENDING-KEY' \
  https://api.mailgun.net/v3/mg.example.com/messages \
  -F from='[email protected]' \
  -F to='[email protected]' \
  -F subject='Mailgun sending domain test' \
  -F text='Sending domain verified and working.'
Replace YOUR-SENDING-KEY with the key you just created, mg.example.com with your sending domain, and [email protected] with a test mailbox you can check. An id field in the response means Mailgun has accepted the message for delivery. If you would rather use SMTP, the host is smtp.mailgun.org on port 587, the username is postmaster@your-sending-domain, and the password is the same sending key.
Warning
A sending key carries full sending rights for that domain. Anyone who has it can send email as you. Keep it out of front-end code and out of your Git repository. Load it from an environment variable or a secrets manager on the server, and regenerate the key in the dashboard whenever someone leaves the project or you suspect a leak.
The full workflow
From signing up for Mailgun to a working send path is four steps. The DNS records take the most time and cause the most trouble, and once they check out, the domain is genuinely under your control.
The workflow in four steps
Add the domain
A subdomain under Domains, defaults everywhere else.
Configure DNS
Sending, tracking, and authentication records, all of them.
Wait for green
Status turns green within 24 hours, often minutes.
Create the sending key
A revocable credential for your automation.
What comes next
With the domain verified and the key in hand, the send path is open. How to wire it into an automated system, including send cadence, random intervals, and reply detection in the scheduling layer, is written up in how to build an AI agent-driven customer acquisition system.
Sending answers how mail leaves your system. Who it goes to is the other half. Lead data, company details, and verified addresses are what tools like Apollo are for, and the full walkthrough from signup to automated sequences is in How to set up Apollo email marketing from signup to automated sequences.
every Thursday.
Hosting reviews, builder comparisons, performance tips, and plugin picks — curated weekly for WordPress site owners and builders.