Once Search Console, GA4, and Google Ads data are in BigQuery, an AI Agent on a VPS needs a machine identity to read it. This guide covers confirming the BigQuery API, creating a Service Account, granting the minimum roles, generating a JSON Key, and verifying access with a Python script.
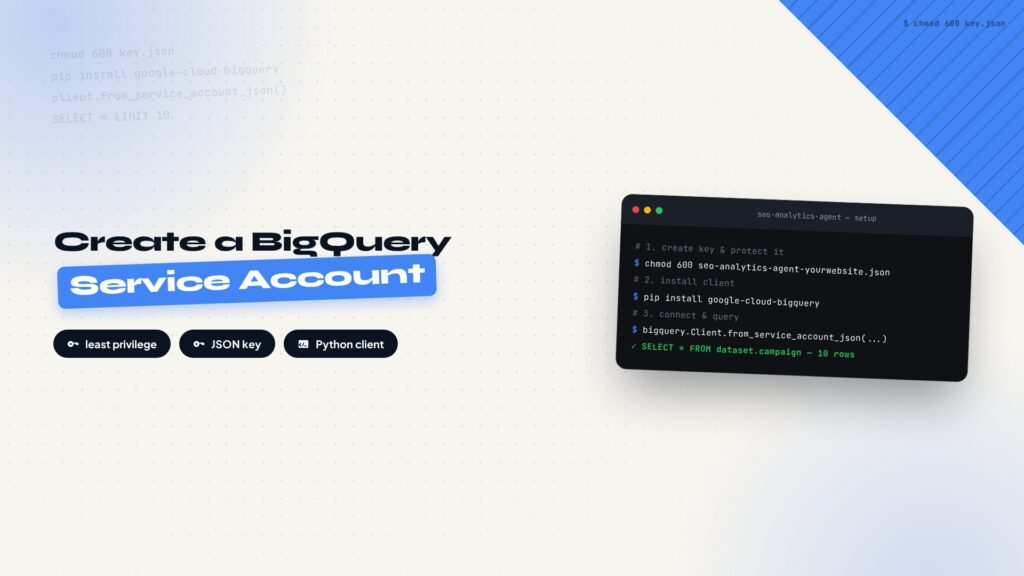
Why create a dedicated Agent Service Account?
After exporting Google Search Console data to BigQuery, exporting GA4 data to BigQuery, and exporting Google Ads data to BigQuery, all three data streams live in one data warehouse. The next step is letting an AI Agent read those tables on its own and generate a weekly analysis report.
There is one catch: the Python scripts, AI Agents, and automation programs running on a VPS cannot use your personal Google account to access BigQuery. A personal login goes through a browser OAuth flow that needs a human to click approve, so it cannot be automated inside a script. The right approach is creating a dedicated Service Account for the Agent. It is an identity made for machines, and with a JSON Key it can access BigQuery long-term without any login prompts.
Data flow: three sources to the AI Agent
Google Search Console
Search data
GA4
Traffic data
Google Ads
Ad data
BigQuery data warehouse
searchconsole / analytics / google_ads datasets
AI Agent
Scripts and automation on a VPS
→
Service Account
Machine identity + JSON Key
→
BigQuery API
Query and analysis
→
Automated read / analysis
Weekly report generation
If you do not have a VPS to run these scripts yet, a Hostinger plan covers lightweight data tasks for a few dollars a month.
Step 1: Confirm BigQuery API is enabled
Open Google Cloud Console and confirm the project selected at the top is yourwebsite-dataset. Go to APIs & Services, open Enabled APIs & Services, search for BigQuery API, and check the status is Enabled.
If it was never enabled, go to APIs & Services, open Library, search for BigQuery API, and click Enable.
Step 2: Create a dedicated Service Account for the Agent
In Google Cloud Console, open IAM & Admin and select Service Accounts. Note that the entry is Service Accounts, not IAM. IAM grants permissions to existing accounts, while Service Accounts is where you create machine identities.
Click Create Service Account. In Service Account Details, fill in the name. For example, set Service Account Name to seo-analytics-agent-yourwebsite, and the system generates the matching email seo-analytics-agent-yourwebsite@yourwebsite-dataset.iam.gserviceaccount.com. For Description, something like SEO analytics AI Agent access to BigQuery data helps when you manage accounts for multiple sites later. Click Create and Continue when done.
Step 3: Grant permissions to the Agent Service Account
You land on the Grant This Service Account Access to Project page. This step decides what the Agent can do with BigQuery. Add the roles from the table below. The first two are required, the last two depend on your needs.
| Role | What it does | Required |
|---|---|---|
| BigQuery Job User | Lets the Agent run SQL queries and create Query Jobs | Yes |
| BigQuery Data Viewer | Lets it read GA4, Search Console, and Google Ads tables and views | Yes |
| BigQuery Data Editor | Lets it create analysis tables, update export tables, and save results | Optional |
| Storage Object Admin | Lets it export results to Google Cloud Storage via EXPORT DATA | Optional |
For ad data, once the Agent has BigQuery Job User and BigQuery Data Viewer, it can run queries like SELECT * FROM google_ads_yourwebsite.campaign. If the Agent needs to create analysis tables such as seo_weekly_report_table, add BigQuery Data Editor. If results should be archived to GCS, add Storage Object Admin as well. Click Done when finished.
Step 4: Leave Principals With Access empty
The create form shows a Principals With Access (Optional) section at the bottom. Skip it. This option lets other users impersonate the Service Account, for example allowing [email protected] to call the API as seo-agent-service-account.
In your setup, a Cron job on the VPS holds the JSON Key and uses the Service Account directly. Nobody needs to impersonate it, so keep it Empty.
Step 5: Create a JSON Key
Back in IAM & Admin, open Service Accounts and click seo-analytics-agent-yourwebsite. Go to the Keys tab, click Add Key, choose Create New Key, pick JSON as the format, and click Create. The browser downloads a seo-analytics-agent-yourwebsite-xxxx.json file, which is the Agent’s identity credential.
Step 6: Protect the JSON Key
This JSON file is as sensitive as an API Secret or an SSH Private Key. If it leaks, whoever holds it can read your BigQuery data. Treat these as hard rules:
- Do not upload it to GitHub or commit it to any code repository
- Do not share it with anyone
- Do not place it on a public server or in a public directory
The recommended setup is a dedicated directory on the server, for example /opt/seo-agent/credentials/, with permissions tightened so only the current user can read and write:
chmod 600 seo-analytics-agent-yourwebsite.jsonIf the project is managed with Git, add the credentials path and JSON files to .gitignore to prevent accidental commits:
*.json
credentials/Step 7: Test BigQuery access with the Service Account
With the credential in place, install the official client library on the server and run a small test script to confirm the whole chain works:
pip install google-cloud-bigqueryfrom google.cloud import bigquery
client = bigquery.Client.from_service_account_json(
"/opt/seo-agent/credentials/seo-analytics-agent-yourwebsite.json"
)
query = """
SELECT *
FROM `yourwebsite-dataset.google_ads_yourwebsite.campaign`
LIMIT 10
"""
result = client.query(query)
for row in result:
print(row)If the script prints rows, the chain from VPS to Service Account to BigQuery API to Dataset is working. The Agent can run queries, analysis, and table creation with this identity from now on.
Step 8: Confirm the final data automation architecture
At this point the whole data automation chain is complete. Four identities have their own jobs: three data sources write into BigQuery, and the AI Agent reads and analyzes through seo-analytics-agent-yourwebsite:
yourwebsite-dataset
├── searchconsole_yourwebsite
│       ↑ search-console-data-export
├── analytics_xxxxxxxx
│       ↑ GA4 Export
├── google_ads_yourwebsite
│       ↑ google-ads-transfer-yourwebsite
└── AI Agent
        ↑ seo-analytics-agent-yourwebsite
        ↑ VPS Cron
↑ Python / LLMService Account role summary
| Service Account | Purpose |
|---|---|
| [email protected] | Google Search Console writes into BigQuery |
| google-ads-transfer-yourwebsite | Google Ads Transfer writes into BigQuery |
| seo-analytics-agent-yourwebsite | AI Agent queries and analyzes BigQuery |
Keep writers and readers separate, and give each Service Account only the minimum permissions it needs. When you add another Agent or data source later, create a new account and assign roles the same way, and nothing interferes with existing setups.
Full workflow recap
Creating the Service Account in eight steps
Confirm API
Check BigQuery API is enabled.
Create the account
New Service Account with a name.
Assign roles
Job User plus Data Viewer, Editor as needed.
Keep empty
Principals With Access left blank.
Create the Key
Generate the JSON identity credential.
Protect it
chmod 600 and add to .gitignore.
Test access
Python script verifies the query chain.
Confirm the setup
Four identities in place, hand it to the Agent.
Related reading
- How to Export Google Search Console Data to BigQuery
- How to Export GA4 Data to BigQuery
- How to Export Google Ads Data to BigQuery
every Thursday.
Hosting reviews, builder comparisons, performance tips, and plugin picks — curated weekly for WordPress site owners and builders.